


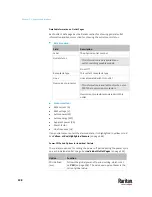


Chapter 7: Using the Web Interface
236
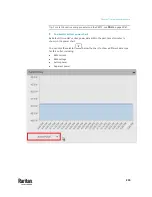
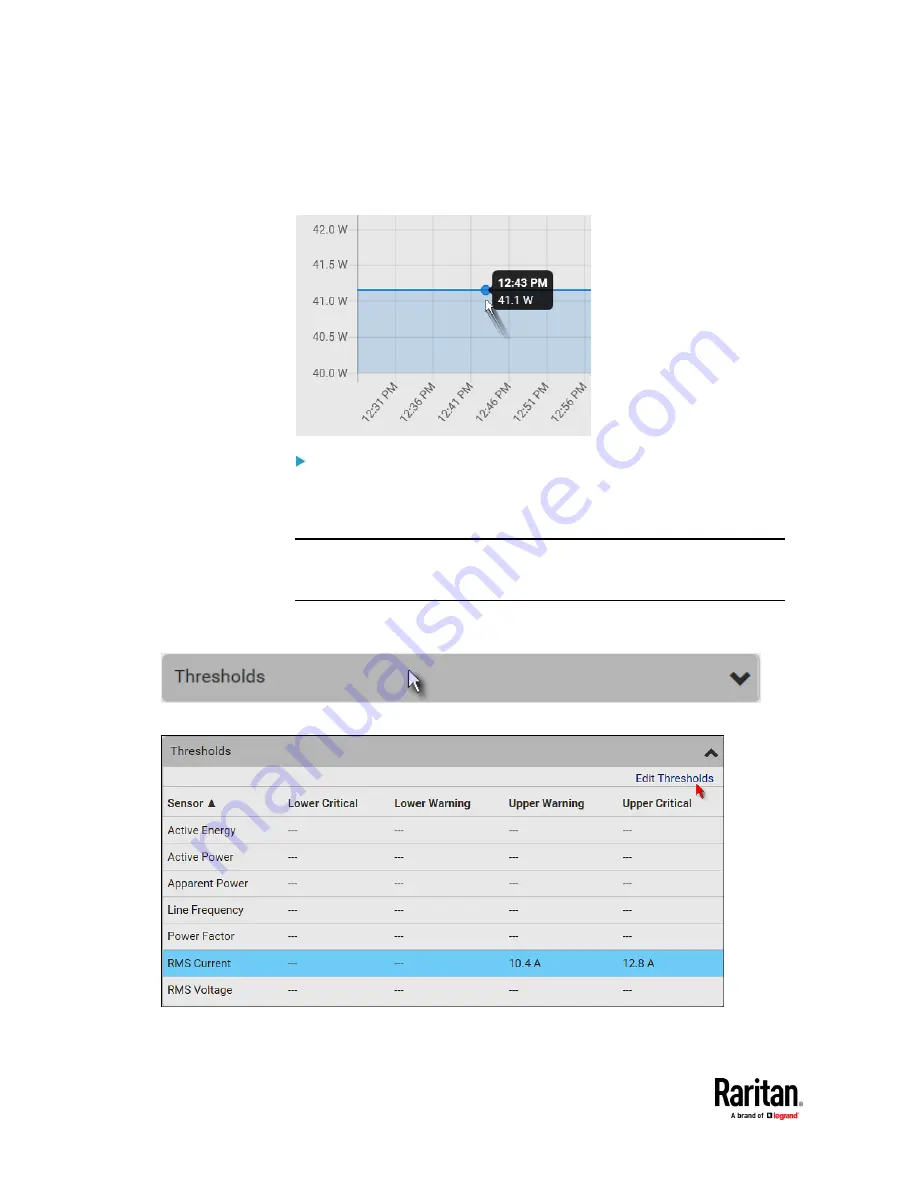
▪
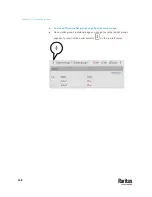
To retrieve the exact data at a particular time, hover your mouse over
the data line in the chart. Both the time and data are displayed as
illustrated below.
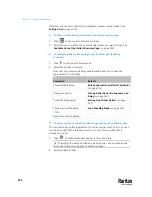
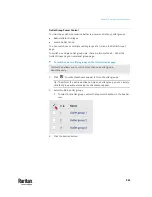
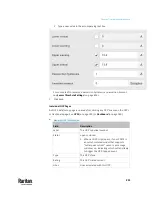
To configure this outlet's threshold settings:
Per default, there are pre-defined RMS voltage and current threshold values in
related fields. See
Default Voltage and Current Thresholds
(on page 842). You
can modify the defaults as needed.
Note: The threshold values set for an individual outlet will override the bulk
threshold values, if any, stored on that particular outlet. See
Bulk Configuration
for Outlet Thresholds
(on page 225).
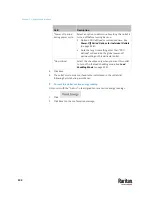
1.
If the outlet's threshold data is invisible, click the Thresholds title bar to
display it.
2.
Click the desired sensor
(required), and then click Edit Thresholds.
3.
Make changes as needed.
Summary of Contents for Raritan PX3TS
Page 4: ......
Page 6: ......
Page 20: ......
Page 80: ...Chapter 4 Connecting External Equipment Optional 60...
Page 109: ...Chapter 5 PDU Linking 89...
Page 117: ...Chapter 5 PDU Linking 97...
Page 441: ...Chapter 7 Using the Web Interface 421...
Page 464: ...Chapter 7 Using the Web Interface 444...
Page 465: ...Chapter 7 Using the Web Interface 445 Continued...
Page 746: ...Appendix A Specifications 726...
Page 823: ...Appendix I RADIUS Configuration Illustration 803 Note If your PX3TS uses PAP then select PAP...
Page 828: ...Appendix I RADIUS Configuration Illustration 808 14 The new attribute is added Click OK...
Page 829: ...Appendix I RADIUS Configuration Illustration 809 15 Click Next to continue...
Page 860: ...Appendix J Additional PX3TS Information 840...
Page 890: ...Appendix K Integration 870 3 Click OK...
Page 900: ......


