


Chapter 7: Using the Web Interface
262
Field
Function
Note
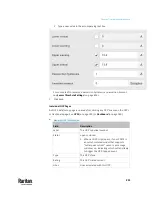
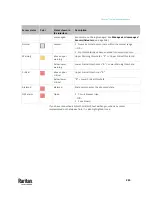
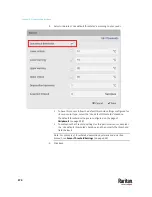
Altitude
Specifies the altitude of PX3TS above sea
level when a Raritan's differential air
pressure sensor is attached.
▪
Range: -425 to 3000 meters (-1394 to
9842 feet)
▪
Note that it can be a negative value
down to -425 meters (-1394 feet)
because some locations are below the
sea level.
▪
The device's altitude is associated
with the altitude correction factor.
See
Altitude Correction Factors
(on
page 844).
▪
The default altitude measurement
unit is meter. See
Setting Default
Measurement Units
(on page 306).
▪
You can have the measurement unit
vary between meter and foot
according to user credentials. See
Setting Your Preferred Measurement
Units
(on page 305).
Active powered dry
contact limit
Determines the maximum number of
"active" powered dry contact actuators
that is permitted concurrently.
▪
Range: 0 to 24
▪
Default:
1
▪
An "active" actuator is the one that is
turned ON, or, if with a door handle
connected, is OPENED.
▪
This setting only applies to "powered
dry contact" (PD) actuators rather
than normal "dry contact" actuators.
▪
You need either 'Change Peripheral
Device Configuration' privilege or
'Administrator Privileges' to change
its upper limit.
▪
To turn on/off the connected
actuators, see
Peripherals
(on page
258).
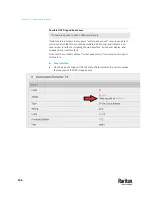
3.
Click Save.
4.
To return to the sensor list on the Peripheral Devices page, click
"Peripheral Devices" on the top.
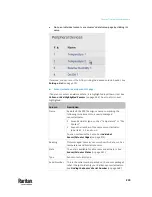
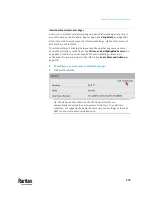
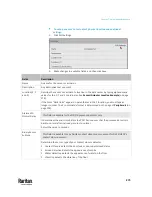
To configure default threshold settings:
Note that any changes made to default threshold settings not only
re-determine the initial threshold values that will apply to newly-added sensors
but also the threshold values of the already-managed sensors where default
thresholds are being applied. See
Individual Sensor/Actuator Pages
(on page
273).
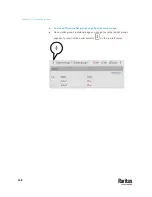
1.
Click
> Default Threshold Setup.
Summary of Contents for Raritan PX3TS
Page 4: ......
Page 6: ......
Page 20: ......
Page 80: ...Chapter 4 Connecting External Equipment Optional 60...
Page 109: ...Chapter 5 PDU Linking 89...
Page 117: ...Chapter 5 PDU Linking 97...
Page 441: ...Chapter 7 Using the Web Interface 421...
Page 464: ...Chapter 7 Using the Web Interface 444...
Page 465: ...Chapter 7 Using the Web Interface 445 Continued...
Page 746: ...Appendix A Specifications 726...
Page 823: ...Appendix I RADIUS Configuration Illustration 803 Note If your PX3TS uses PAP then select PAP...
Page 828: ...Appendix I RADIUS Configuration Illustration 808 14 The new attribute is added Click OK...
Page 829: ...Appendix I RADIUS Configuration Illustration 809 15 Click Next to continue...
Page 860: ...Appendix J Additional PX3TS Information 840...
Page 890: ...Appendix K Integration 870 3 Click OK...
Page 900: ......


