


Appendix C: Configuration or Firmware Upgrade with a USB Drive
742
Creating Configuration Files via Mass Deployment Utility
The Mass Deployment Utility is an Excel file that lets you fill in basic
information required for the three configuration files, such as the admin
account and password.
After entering required information, you can generate all configuration files
with only one click, including
fwupdate.cfg
,
config.txt
and
devices.csv
.
To use the Mass Deployment Utility:
1.
Download the Mass Deployment Utility from the Raritan website.
▪
The utility is named
mass_deployment-xxx
(where xxx is the firmware
version number).
▪
It is available on the PX3TS product section of Raritan website's
Support page
http://www.raritan.com/support/
).
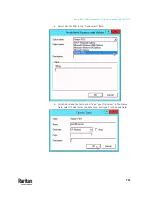
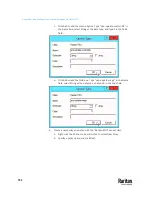
2.
Launch Excel to open this utility.
Note: Other office suites, such as OpenOffice and LibreOffice, are not
supported.
3.
Read the instructions in the 1st worksheet of the utility, and make sure
Microsoft Excel's security level has been set to Medium or the equivalent
for executing unsigned macros of this utility.
4.
Enter information in the 2nd and 3rd worksheets.
▪
The 2nd worksheet contains information required for
fwupdate.cfg
and
config.txt
.
▪
The 3rd worksheet contains device-specific information for
devices.csv
.
5.
Return to the 2nd worksheet to execute the export macro.
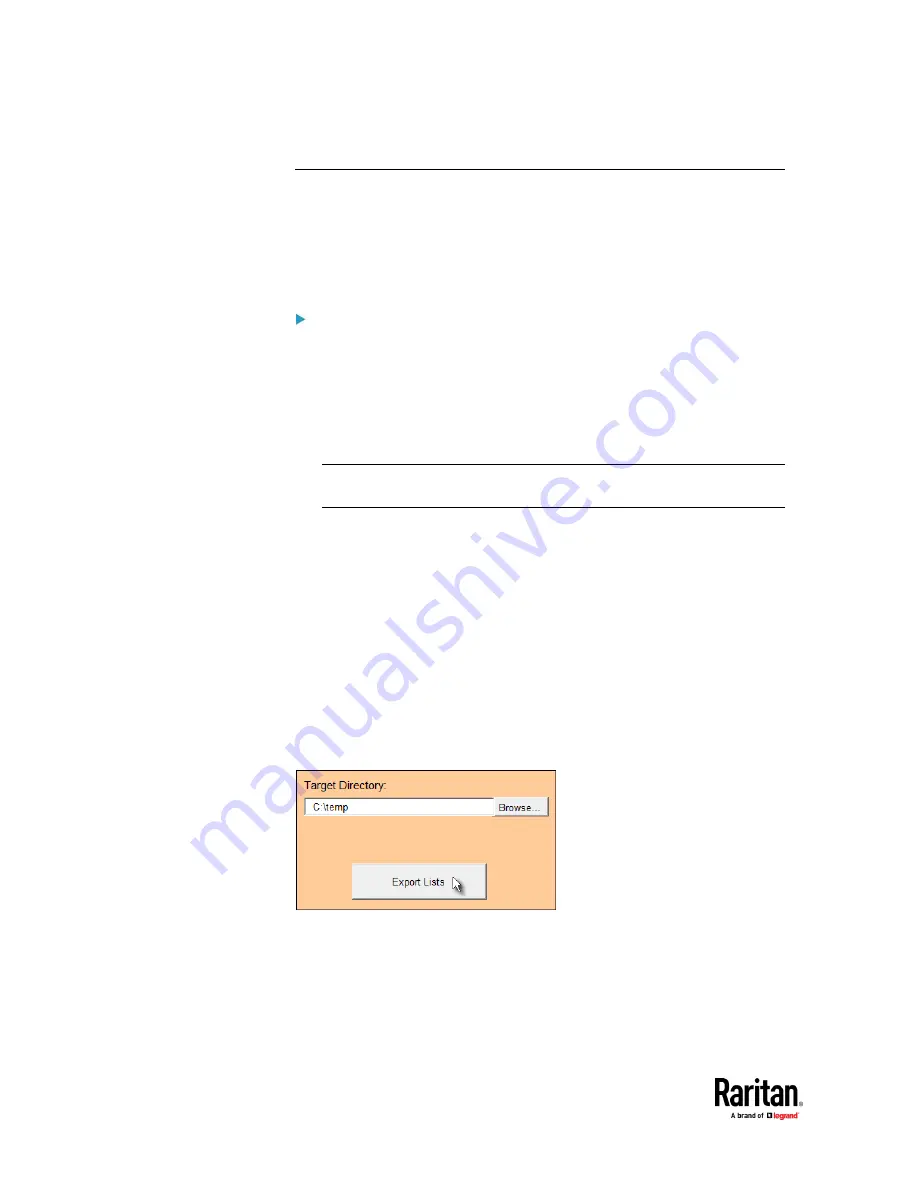
a.
In the Target Directory field, specify the folder where to generate the
configuration files. For example, you can specify the root directory of a
connected USB drive.
b.
Click Export Lists to generate configuration files.
Verify that at least 3 configuration files are created -
fwupdate.cfg
,
config.txt
and
devices.csv
. You are ready to configure or upgrade any PX3TS with these
files.
See
Configuration or Firmware Upgrade with a USB Drive
(on page 731).
Summary of Contents for Raritan PX3TS
Page 4: ......
Page 6: ......
Page 20: ......
Page 80: ...Chapter 4 Connecting External Equipment Optional 60...
Page 109: ...Chapter 5 PDU Linking 89...
Page 117: ...Chapter 5 PDU Linking 97...
Page 441: ...Chapter 7 Using the Web Interface 421...
Page 464: ...Chapter 7 Using the Web Interface 444...
Page 465: ...Chapter 7 Using the Web Interface 445 Continued...
Page 746: ...Appendix A Specifications 726...
Page 823: ...Appendix I RADIUS Configuration Illustration 803 Note If your PX3TS uses PAP then select PAP...
Page 828: ...Appendix I RADIUS Configuration Illustration 808 14 The new attribute is added Click OK...
Page 829: ...Appendix I RADIUS Configuration Illustration 809 15 Click Next to continue...
Page 860: ...Appendix J Additional PX3TS Information 840...
Page 890: ...Appendix K Integration 870 3 Click OK...
Page 900: ......


