


Chapter 7: Using the Web Interface
496
Tip: The date and time shown on the PX3TS web interface are
automatically converted to your computer's time zone. To avoid time
confusion, it is suggested to apply the same time zone settings as those of
PX3TS to your computer or mobile device.
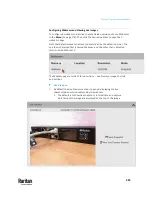
2.
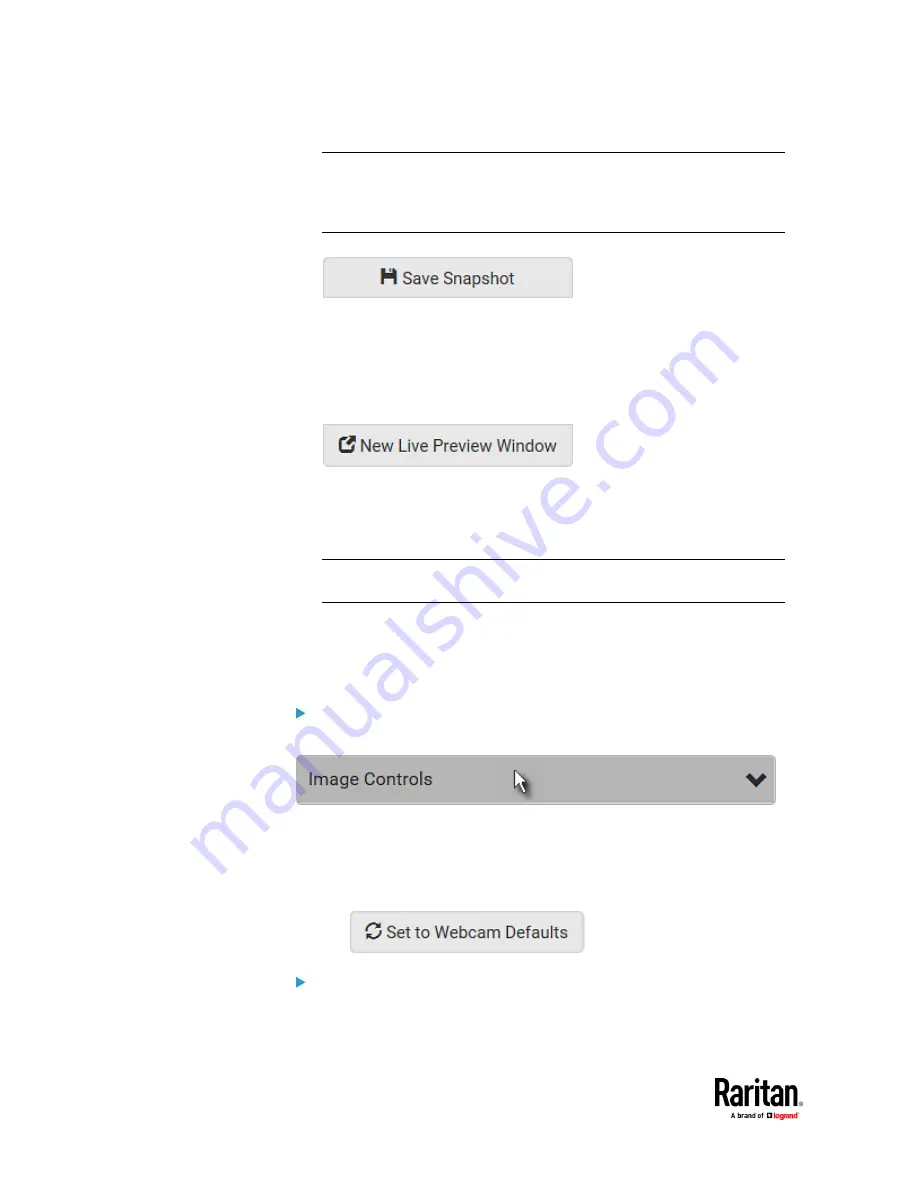
To save the current image onto PX3TS or a remote server, click
.
▪
The default storage location for snapshots is the PX3TS device. To save
them onto a remote server, see
Changing Storage Settings
(on page
502).
▪
To download an image onto your computer, move your mouse to that
image, right click on it, and choose Save Image As.
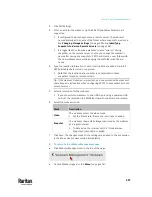
3.
To have the same live session displayed in a separate window, click
.
▪
A separate window appears, which is called the Primary Standalone
Live Preview window in this User Guide.
▪
You can send out this window's URL to share the live image with others.
See
Sending Links to Snapshots or Videos
(on page 498).
Note: Make sure your browser does not block the pop-up window, or the
separate window does not show up.
4.
To switch between snapshot and video modes, refer to the
Settings
section
below.
▪
In the video mode, the number of frames to take per second (fps) and
the video capture date/time are displayed on the top of the image.
Image Controls:
1.
Click the Image Controls title bar to expand it.
2.
Adjust the brightness, contrast, saturation and gain by modifying their
values or adjusting the corresponding slide bar.
▪
To customize the gain value, you must deselect the Auto Gain
checkbox first.
▪
To restore all settings to this webcam's factory defaults, click
.
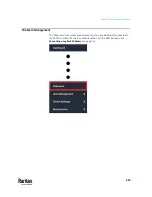
Settings:
1.
By default the Settings section is open. If not, click the Settings title bar.
Summary of Contents for Raritan PX3TS
Page 4: ......
Page 6: ......
Page 20: ......
Page 80: ...Chapter 4 Connecting External Equipment Optional 60...
Page 109: ...Chapter 5 PDU Linking 89...
Page 117: ...Chapter 5 PDU Linking 97...
Page 441: ...Chapter 7 Using the Web Interface 421...
Page 464: ...Chapter 7 Using the Web Interface 444...
Page 465: ...Chapter 7 Using the Web Interface 445 Continued...
Page 746: ...Appendix A Specifications 726...
Page 823: ...Appendix I RADIUS Configuration Illustration 803 Note If your PX3TS uses PAP then select PAP...
Page 828: ...Appendix I RADIUS Configuration Illustration 808 14 The new attribute is added Click OK...
Page 829: ...Appendix I RADIUS Configuration Illustration 809 15 Click Next to continue...
Page 860: ...Appendix J Additional PX3TS Information 840...
Page 890: ...Appendix K Integration 870 3 Click OK...
Page 900: ......


