


Chapter 5: PDU Linking
99
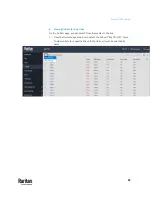
To add an outlet group:
1.
On the Outlet Groups page, click
. The New Outlet Group page
displays, defaulting to the outlets in the master unit.
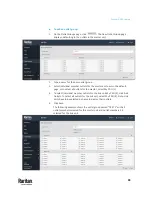
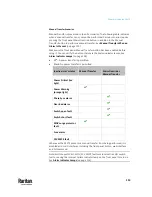
2.
Type a name for the new outlet group.
3.
Select individual member outlets for the master as shown in the default
page, or to select all outlets for the master, select My PDU (1).
4.
To select individual member outlets for the link unit My PDU (2), click Add
Outlets. To select all outlets for the link unit, select My PDU (2). Note: Link
units have to be selected by name to display their outlets.
5.
Click Save.
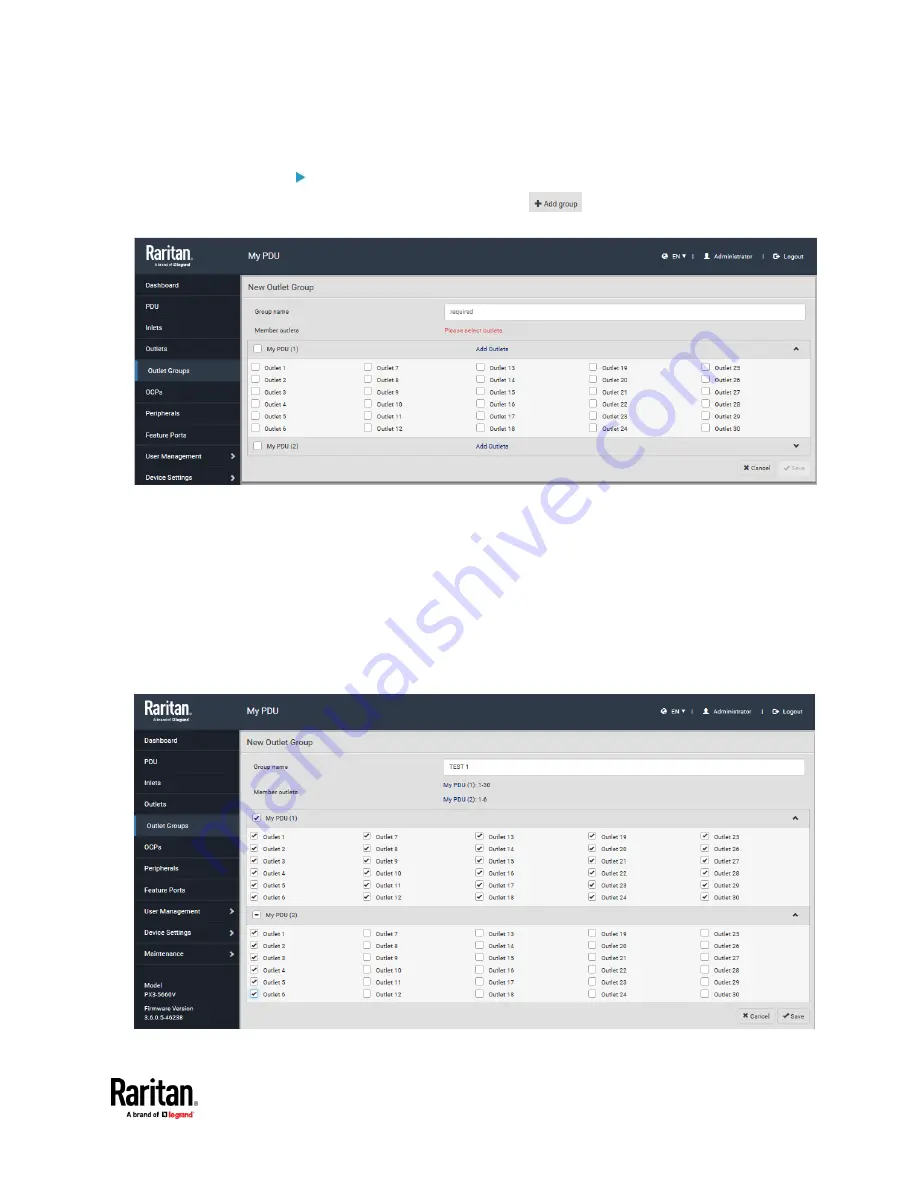
The following example shows the outlet group named "TEST 1" with all
outlet members selected for the master unit and outlet members 1-6
selected for the link unit.
Summary of Contents for Raritan PX3TS
Page 4: ......
Page 6: ......
Page 20: ......
Page 80: ...Chapter 4 Connecting External Equipment Optional 60...
Page 109: ...Chapter 5 PDU Linking 89...
Page 117: ...Chapter 5 PDU Linking 97...
Page 441: ...Chapter 7 Using the Web Interface 421...
Page 464: ...Chapter 7 Using the Web Interface 444...
Page 465: ...Chapter 7 Using the Web Interface 445 Continued...
Page 746: ...Appendix A Specifications 726...
Page 823: ...Appendix I RADIUS Configuration Illustration 803 Note If your PX3TS uses PAP then select PAP...
Page 828: ...Appendix I RADIUS Configuration Illustration 808 14 The new attribute is added Click OK...
Page 829: ...Appendix I RADIUS Configuration Illustration 809 15 Click Next to continue...
Page 860: ...Appendix J Additional PX3TS Information 840...
Page 890: ...Appendix K Integration 870 3 Click OK...
Page 900: ......


