


Chapter 9: Using the Command Line Interface
592
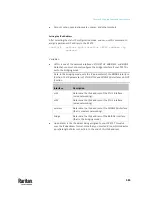
Option
Description
false
The network connection is NOT successfully established
when the TLS certificate chain contains any certificate
which is outdated or not valid yet.
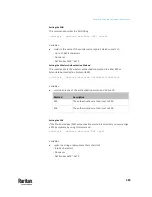
•
<option3> is one of the options:
true
or
false
.
Option
Description
true
Make the network connection successful when the
PX3TS system time is earlier than the firmware build
before synchronizing with the NTP server, causing the
TLS certificate to become invalid.
false
The network connection is NOT successfully established
when the PX3TS finds that the TLS certificate is not valid
due to incorrect system time.
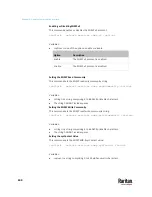
•
<FQDN> is the name of the RADIUS server if it is present in the TLS
certificate. The name must match the fully qualified domain name (FQDN)
of the host shown in the certificate.
EAP CA Certificate Example
This section provides a CA certificate example for the Ethernet interface "ETH1".
Your CA certificate contents should be different from the contents displayed in
this example.
In addition, the procedure of uploading the client certificate and client private
key in CLI is similar to the following example, except for the CLI command.
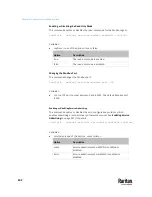
To provide a CA certificate:
1.
Make sure you have entered the configuration mode. See
Entering
Configuration Mode
(on page 563).
2.
Type the following command for ETH1 and press Enter.
config:#
network ethernet eth1 eapCACertificate
3.
The system prompts you to enter the contents of the CA certificate.
Summary of Contents for Raritan PX3TS
Page 4: ......
Page 6: ......
Page 20: ......
Page 80: ...Chapter 4 Connecting External Equipment Optional 60...
Page 109: ...Chapter 5 PDU Linking 89...
Page 117: ...Chapter 5 PDU Linking 97...
Page 441: ...Chapter 7 Using the Web Interface 421...
Page 464: ...Chapter 7 Using the Web Interface 444...
Page 465: ...Chapter 7 Using the Web Interface 445 Continued...
Page 746: ...Appendix A Specifications 726...
Page 823: ...Appendix I RADIUS Configuration Illustration 803 Note If your PX3TS uses PAP then select PAP...
Page 828: ...Appendix I RADIUS Configuration Illustration 808 14 The new attribute is added Click OK...
Page 829: ...Appendix I RADIUS Configuration Illustration 809 15 Click Next to continue...
Page 860: ...Appendix J Additional PX3TS Information 840...
Page 890: ...Appendix K Integration 870 3 Click OK...
Page 900: ......


