


Chapter 7: Using the Web Interface
232
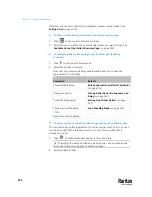
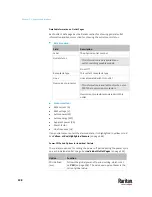
Individual Outlet Pages
An outlet's data/setup page is opened after clicking the outlet's name on the
Outlets overview page. See
Outlets
(on page 220).
The individual outlet's page shows this outlet's detailed information. See
Detailed Information on Outlet Pages
(on page 238).
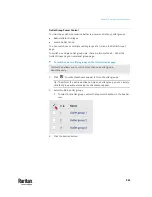
In addition, you can perform the following operations on this outlet page. Note
that only outlet-switching capable models show the power-control buttons,
and you must have the Switch Outlet permission to perform outlet-switching
operations.
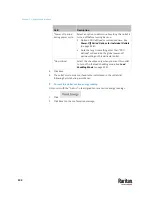
To power control this outlet:
1.
Click one of the power-control buttons.
Summary of Contents for Raritan PX3TS
Page 4: ......
Page 6: ......
Page 20: ......
Page 80: ...Chapter 4 Connecting External Equipment Optional 60...
Page 109: ...Chapter 5 PDU Linking 89...
Page 117: ...Chapter 5 PDU Linking 97...
Page 441: ...Chapter 7 Using the Web Interface 421...
Page 464: ...Chapter 7 Using the Web Interface 444...
Page 465: ...Chapter 7 Using the Web Interface 445 Continued...
Page 746: ...Appendix A Specifications 726...
Page 823: ...Appendix I RADIUS Configuration Illustration 803 Note If your PX3TS uses PAP then select PAP...
Page 828: ...Appendix I RADIUS Configuration Illustration 808 14 The new attribute is added Click OK...
Page 829: ...Appendix I RADIUS Configuration Illustration 809 15 Click Next to continue...
Page 860: ...Appendix J Additional PX3TS Information 840...
Page 890: ...Appendix K Integration 870 3 Click OK...
Page 900: ......


