


Chapter 4: Connecting External Equipment (Optional)
45
DX Sensor Packages
Most DX sensor packages contain terminals for connecting detectors or
actuators. For information on connecting actuators or detectors to DX
terminals, refer to the Environmental Sensors and Actuators Guide (or Online
Help) on Raritan website's
Support page
http://www.raritan.com/support/
).
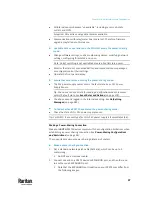
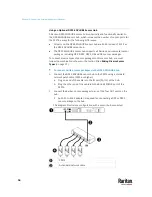
You can cascade up to 12 DX sensor packages.
When cascading DX, remember that the PX3TS only supports a maximum of 32
sensors and/or actuators.
If there are more than 32 sensors and/or actuators connected, every sensor
and/or actuator after the 32nd one is NOT managed by the PX3TS.
For example, if you cascade 12 DX packages, and each package contains 3
functions (a function is a sensor or actuator), the PX3TS does NOT manage the
last 4 functions because the total 36 (12*3=36) exceeds 32 by 4.
Tip: To manage the last several sensors/actuators after 32nd function, you can
release some "managed" sensors or actuators, and then manually bring the last
several sensors/actuators into management. See
Peripherals
(on page 258).
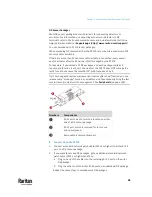
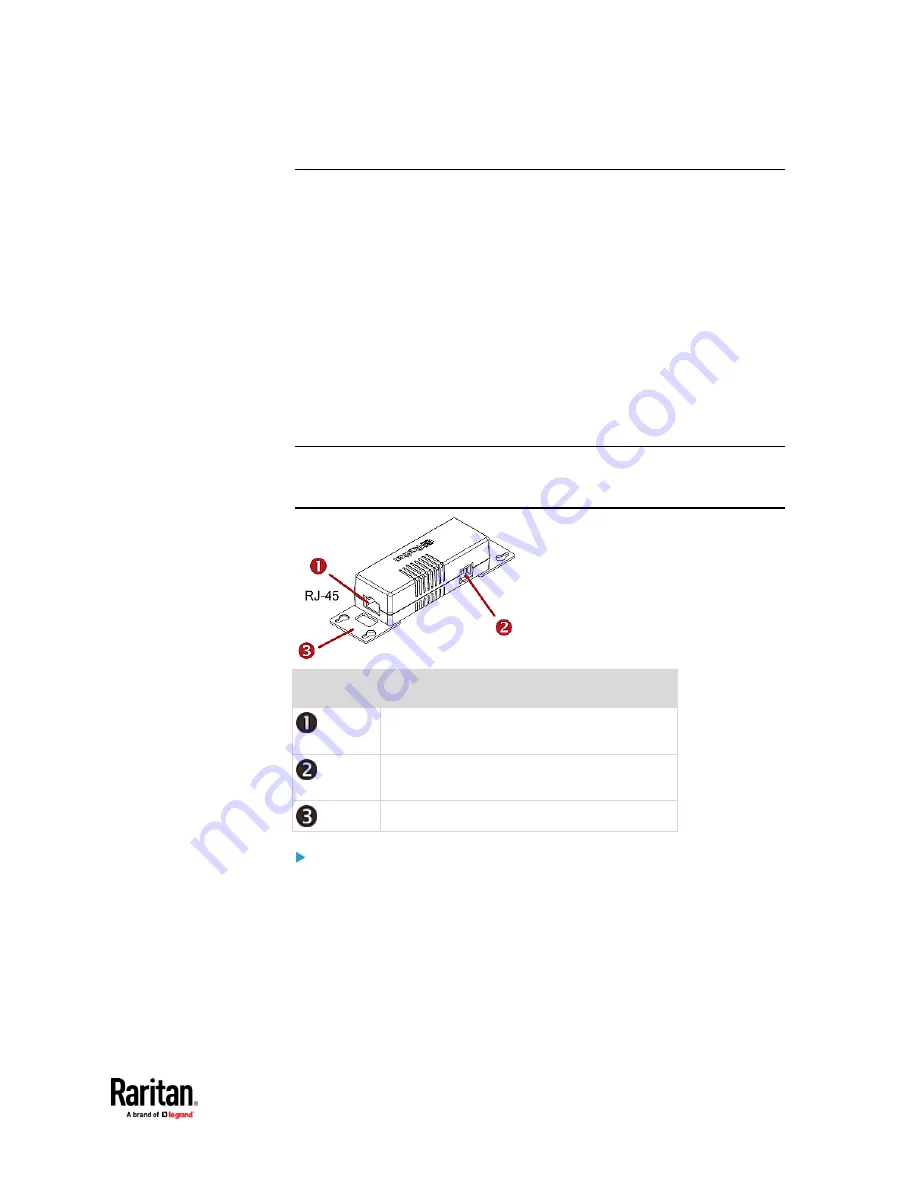
Numbers
Components
RJ-45 ports, each of which is located on either
end of a DX sensor package.
RJ-12 port, which is reserved for future use
and now blocked.
Removable rackmount brackets.
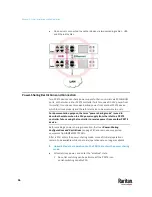
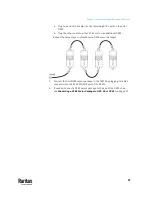
Connect DX to the PX3TS:
1.
Connect a standard network patch cable (CAT5e or higher) to either RJ-45
port on a DX sensor package.
2.
If you want to cascade DX packages, get an additional standard network
patch cable (CAT5e or higher) and then:
a.
Plug one end of the cable into the remaining RJ-45 port on the prior
DX package.
b.
Plug the other end into either RJ-45 port on an additional DX package.
Repeat the same steps to cascade more DX packages.
Summary of Contents for Raritan PX3TS
Page 4: ......
Page 6: ......
Page 20: ......
Page 80: ...Chapter 4 Connecting External Equipment Optional 60...
Page 109: ...Chapter 5 PDU Linking 89...
Page 117: ...Chapter 5 PDU Linking 97...
Page 441: ...Chapter 7 Using the Web Interface 421...
Page 464: ...Chapter 7 Using the Web Interface 444...
Page 465: ...Chapter 7 Using the Web Interface 445 Continued...
Page 746: ...Appendix A Specifications 726...
Page 823: ...Appendix I RADIUS Configuration Illustration 803 Note If your PX3TS uses PAP then select PAP...
Page 828: ...Appendix I RADIUS Configuration Illustration 808 14 The new attribute is added Click OK...
Page 829: ...Appendix I RADIUS Configuration Illustration 809 15 Click Next to continue...
Page 860: ...Appendix J Additional PX3TS Information 840...
Page 890: ...Appendix K Integration 870 3 Click OK...
Page 900: ......


