


Chapter 9: Using the Command Line Interface
590
Setting Wireless EAP Parameters
When the wireless authentication method is set to EAP, you must configure
EAP authentication parameters, including outer authentication, inner
authentication, EAP identity, client certificate, client private key, password, CA
certificate, and RADIUS authentication server. For more information, see
Wireless Network Settings
(on page 317).
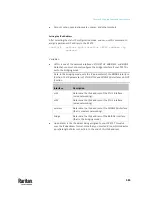
Determine the outer authentication protocol:
config:#
network wireless eapOuterAuthentication <outer_auth>
Determine the inner authentication protocol for authentication set to
"EAP + PEAP":
config:#
network wireless eapInnerAuthentication <inner_auth>
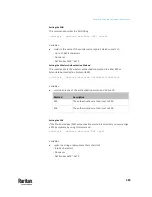
Set the EAP identity:
config:#
network wireless eapIdentity <identity>
Set the EAP password:
config:#
network wireless eapPassword
After performing the above command, the PX3TS prompts you to enter the
password. Then type the password and press Enter.
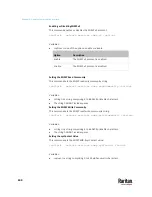
Provide a Client Certificate for authentication set to "EAP + TLS" or "EAP
+ PEAP + TLS":
config:#
network wireless eapClientCertificate
After performing any certificate or private key commands, including commands
for the client certificate, client private key, and CA certificate, the system
prompts you to enter the contents of the wanted certificate or key. For an
example with detailed procedure, see
EAP CA Certificate Example
(on page
592).
Provide a Client Private Key for authentication set to "EAP + TLS" or "EAP
+ PEAP + TLS":
config:#
network wireless eapClientPrivateKey
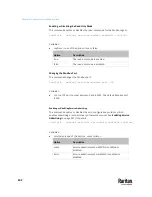
Provide a CA TLS certificate for EAP:
config:#
network wireless eapCACertificate
Eable or disable verification of the TLS certificate chain:
config:#
network wireless enableCertVerification <option1>
Summary of Contents for Raritan PX3TS
Page 4: ......
Page 6: ......
Page 20: ......
Page 80: ...Chapter 4 Connecting External Equipment Optional 60...
Page 109: ...Chapter 5 PDU Linking 89...
Page 117: ...Chapter 5 PDU Linking 97...
Page 441: ...Chapter 7 Using the Web Interface 421...
Page 464: ...Chapter 7 Using the Web Interface 444...
Page 465: ...Chapter 7 Using the Web Interface 445 Continued...
Page 746: ...Appendix A Specifications 726...
Page 823: ...Appendix I RADIUS Configuration Illustration 803 Note If your PX3TS uses PAP then select PAP...
Page 828: ...Appendix I RADIUS Configuration Illustration 808 14 The new attribute is added Click OK...
Page 829: ...Appendix I RADIUS Configuration Illustration 809 15 Click Next to continue...
Page 860: ...Appendix J Additional PX3TS Information 840...
Page 890: ...Appendix K Integration 870 3 Click OK...
Page 900: ......


