Chapter 6: Using the Web Interface
234
3.
To release selected ones, click
> Release.
To manage them, click
> Manage.
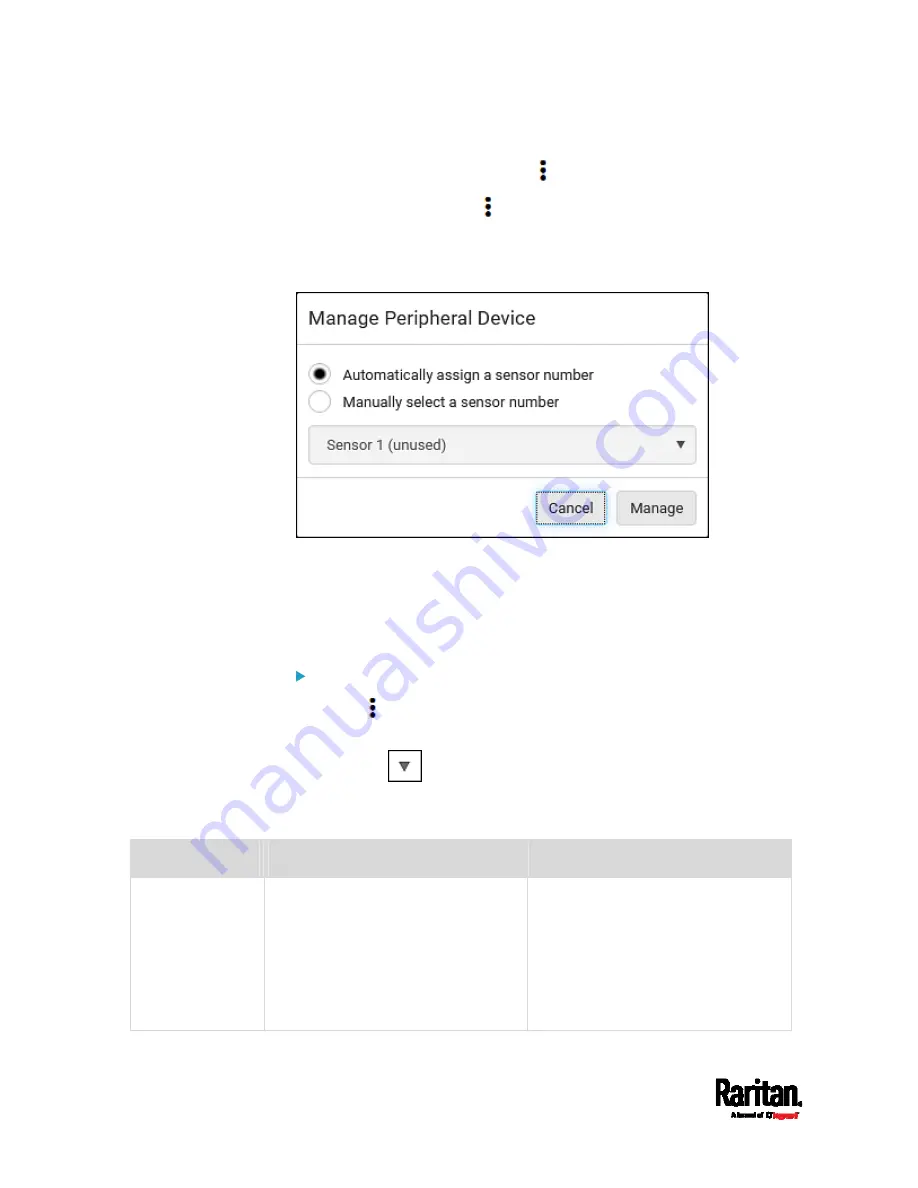
The management action triggers a "Manage Peripheral Device"
dialog. Simply click Manage if you are managing
multiple
sensors/actuators.
If you are managing only
one sensor/actuator, you can choose to
assign an ID number by selecting "Manually select a sensor
number." See
Managing One Sensor or Actuator
(on page 245).
4.
Now released sensors/actuators become "unmanaged."
Managed ones show one of the managed states.
To configure sensor/actuator-related settings:
1.
Click
> Peripheral Device Setup.
2.
Now you can configure the fields.
Click
to select an option.
Adjust the numeric values.
Select or deselect the checkbox.
Field
Function
Note
Peripheral device
Z coordinate
format
Determines how to describe the
vertical locations (Z coordinates) of
Raritan environmental sensor
packages.
Options: Rack units and Free-form
See
Z Coordinate Format
(on page
To specify the location of any
sensor/actuators in the data center,
see
Individual Sensor/Actuator
Pages
(on page 247).
Summary of Contents for Raritan PX3-3000 Series
Page 5: ......
Page 90: ...Chapter 4 Connecting External Equipment Optional 69 ...
Page 424: ...Chapter 6 Using the Web Interface 403 ...
Page 447: ...Chapter 6 Using the Web Interface 426 ...
Page 448: ...Chapter 6 Using the Web Interface 427 Continued ...
Page 885: ...Appendix K RADIUS Configuration Illustration 864 Note If your PX3 uses PAP then select PAP ...
Page 890: ...Appendix K RADIUS Configuration Illustration 869 14 The new attribute is added Click OK ...
Page 891: ...Appendix K RADIUS Configuration Illustration 870 15 Click Next to continue ...
Page 921: ...Appendix L Additional PX3 Information 900 ...


