Chapter 6: Using the Web Interface
187
3.
Click Save.
4.
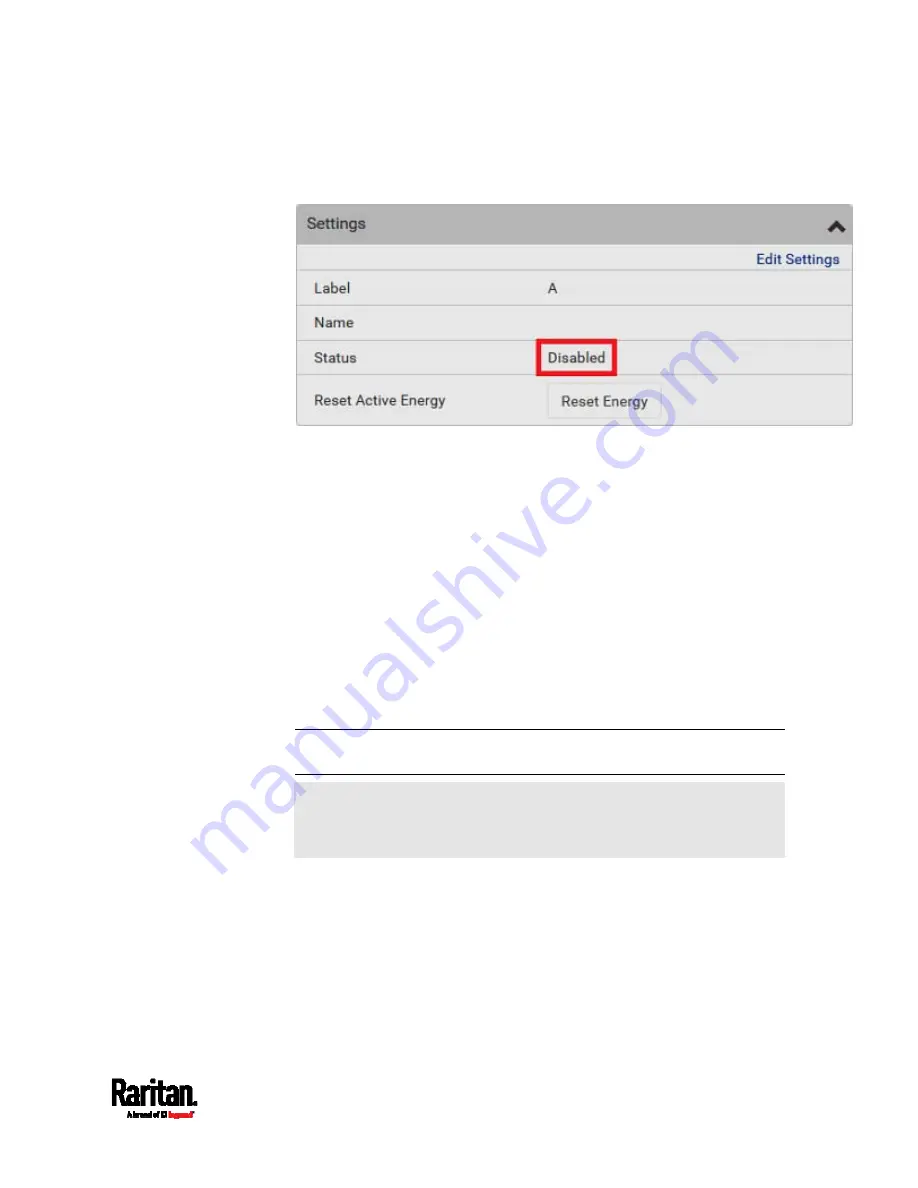
The inlet status now shows "Disabled."
5.
To disable additional inlets, repeat the above steps.
If disabling an inlet will result in all inlets being disabled, a
confirmation dialog appears, indicating that all inlets will be
disabled. Then click Yes to confirm this operation or No to abort
it.
After disabling any inlet, the following information or features associated
with the disabled one are no longer available:
Sensor readings, states, warnings, alarms or event notifications
associated with the disabled inlet.
Sensor readings, states, warnings, alarms or event notifications for
all outlets and overcurrent protectors associated with the disabled
inlet.
The outlet-switching capability, if available, for all outlets associated
with the disabled inlet.
Exception: All active energy sensors continue to accumulate data
regardless of whether any inlet has been disabled.
Warning: A disabled inlet, if remaining connected to a power source,
continues to receive power from the connected power source and
supplies power to the associated outlets and overcurrent protectors.
Summary of Contents for Raritan PX3-3000 Series
Page 5: ......
Page 90: ...Chapter 4 Connecting External Equipment Optional 69 ...
Page 424: ...Chapter 6 Using the Web Interface 403 ...
Page 447: ...Chapter 6 Using the Web Interface 426 ...
Page 448: ...Chapter 6 Using the Web Interface 427 Continued ...
Page 885: ...Appendix K RADIUS Configuration Illustration 864 Note If your PX3 uses PAP then select PAP ...
Page 890: ...Appendix K RADIUS Configuration Illustration 869 14 The new attribute is added Click OK ...
Page 891: ...Appendix K RADIUS Configuration Illustration 870 15 Click Next to continue ...
Page 921: ...Appendix L Additional PX3 Information 900 ...


