


Chapter 6: Using the Web Interface
237
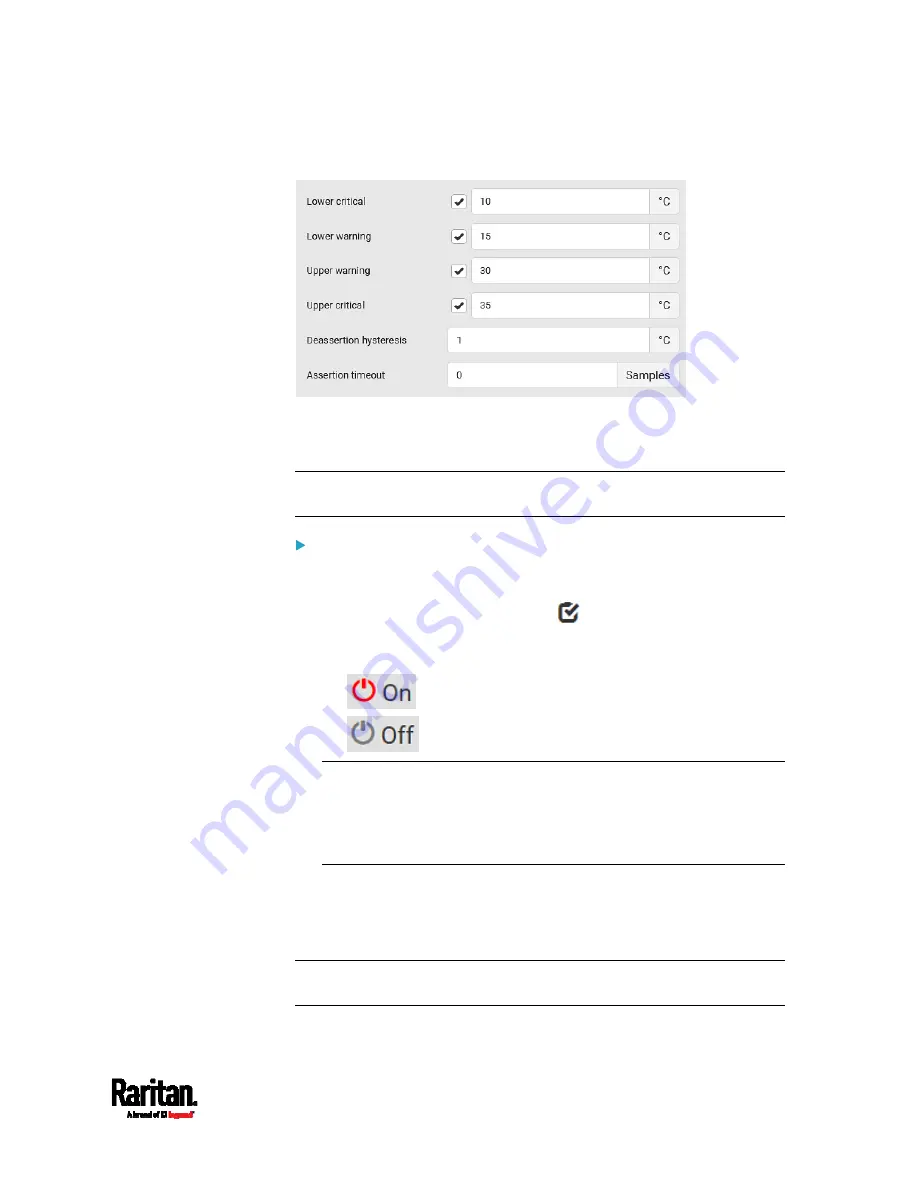
Type a new value in the accompanying text box.
For concepts of thresholds, deassertion hysteresis and assertion
timeout, see
Sensor Threshold Settings
(on page 893).
4.
Click Save.
Tip: To customize the threshold settings on a per-sensor basis, go to
Individual Sensor/Actuator Pages
(on page 247).
To turn on or off any actuator(s):
1.
Select one or multiple actuators which are
in the same status - on or
off.
2.
To select multiple actuators, click
to make checkboxes appear
and then select desired actuators.
3.
Click the desired button.
: Turn ON.
: Turn OFF.
Note: Per default you can turn on as many dry contact actuators as
you want, but only one "powered dry contact" actuator can be turned
on at the same time. To change this limitation of "powered dry
contact" actuators, modify the active powered dry contact setting.
See
Peripherals
(on page 231).
4.
Confirm the operation when prompted.
If you select a DX2-DH2C2 door handle lock, then the Open and Close
buttons appear. For detailed operations, see
Door Handle Status and
Control
(on page 497).
Tip: If intending to control the actuator via the front panel, see
Front
Panel Settings
(on page 437).
Summary of Contents for Raritan PX3-3000 Series
Page 5: ......
Page 90: ...Chapter 4 Connecting External Equipment Optional 69 ...
Page 424: ...Chapter 6 Using the Web Interface 403 ...
Page 447: ...Chapter 6 Using the Web Interface 426 ...
Page 448: ...Chapter 6 Using the Web Interface 427 Continued ...
Page 885: ...Appendix K RADIUS Configuration Illustration 864 Note If your PX3 uses PAP then select PAP ...
Page 890: ...Appendix K RADIUS Configuration Illustration 869 14 The new attribute is added Click OK ...
Page 891: ...Appendix K RADIUS Configuration Illustration 870 15 Click Next to continue ...
Page 921: ...Appendix L Additional PX3 Information 900 ...


