Chapter 6: Using the Web Interface
331
5.
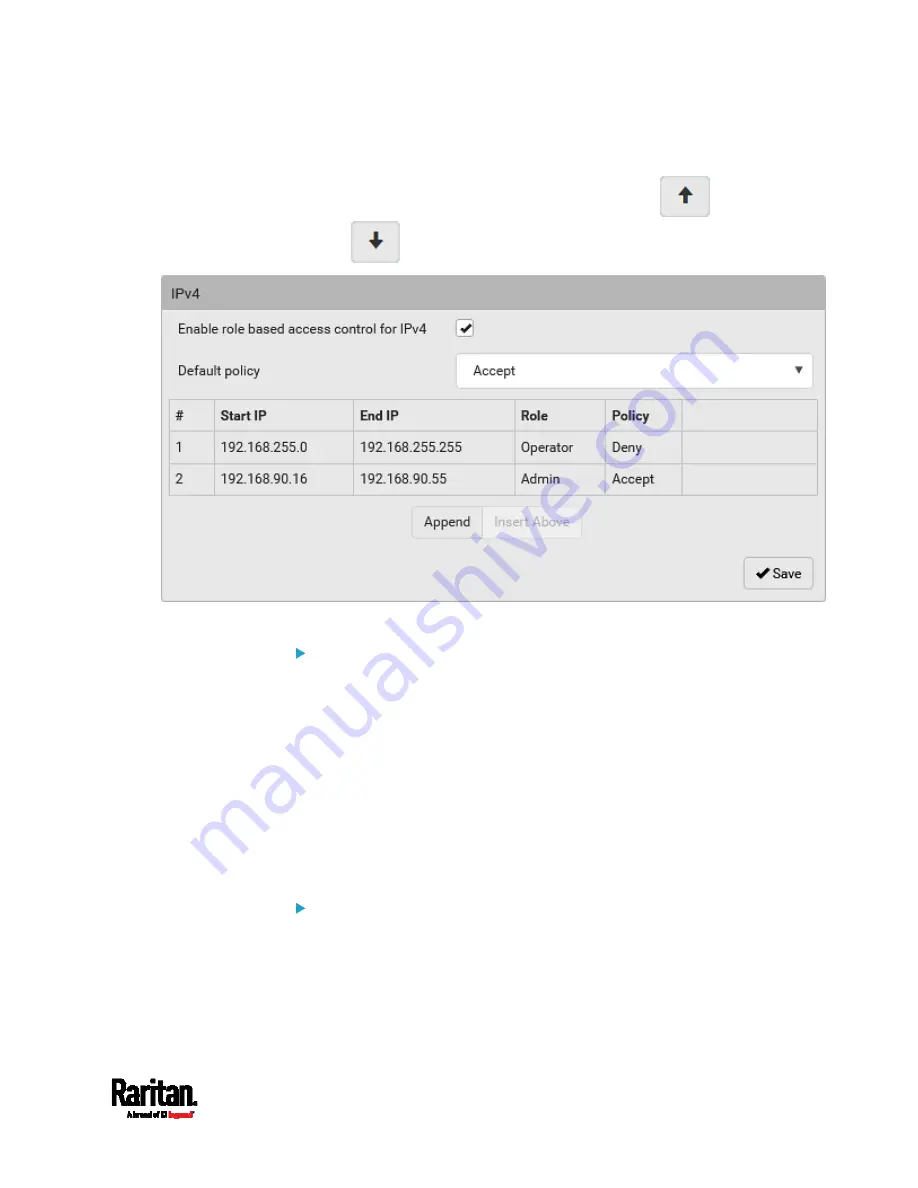
When finished, the rules are listed on this page.
You can select any existing rule and then click
or
to change its priority.
6.
Click Save. The rules are applied.
To configure IPv6 access control rules:
1.
On the same page, select the 'Enable role based access control for
IPv6' checkbox to enable IPv6 access control rules.
2.
Follow the same procedure as the above IPv4 rule setup to create
IPv6 rules.
3.
Make sure you click the Save button in the IPv6 section, or the
changes made to IPv6 rules are not saved.
Editing or Deleting Role Based Access Control Rules
You can modify existing rules to update their roles/IP addresses, or
delete them when they are no longer needed.
To modify a role-based access control rule:
1.
Choose Device Settings > Security > Role Based Access Control.
2.
Go to the IPv4 or IPv6 section.
3.
Select the desired rule in the list.
Ensure the IPv4 or IPv6 checkbox has been selected, or you may
not edit or delete any rule.
Summary of Contents for Raritan PX3-3000 Series
Page 5: ......
Page 90: ...Chapter 4 Connecting External Equipment Optional 69 ...
Page 424: ...Chapter 6 Using the Web Interface 403 ...
Page 447: ...Chapter 6 Using the Web Interface 426 ...
Page 448: ...Chapter 6 Using the Web Interface 427 Continued ...
Page 885: ...Appendix K RADIUS Configuration Illustration 864 Note If your PX3 uses PAP then select PAP ...
Page 890: ...Appendix K RADIUS Configuration Illustration 869 14 The new attribute is added Click OK ...
Page 891: ...Appendix K RADIUS Configuration Illustration 870 15 Click Next to continue ...
Page 921: ...Appendix L Additional PX3 Information 900 ...


