Appendix K: RADIUS Configuration Illustration
881
6.
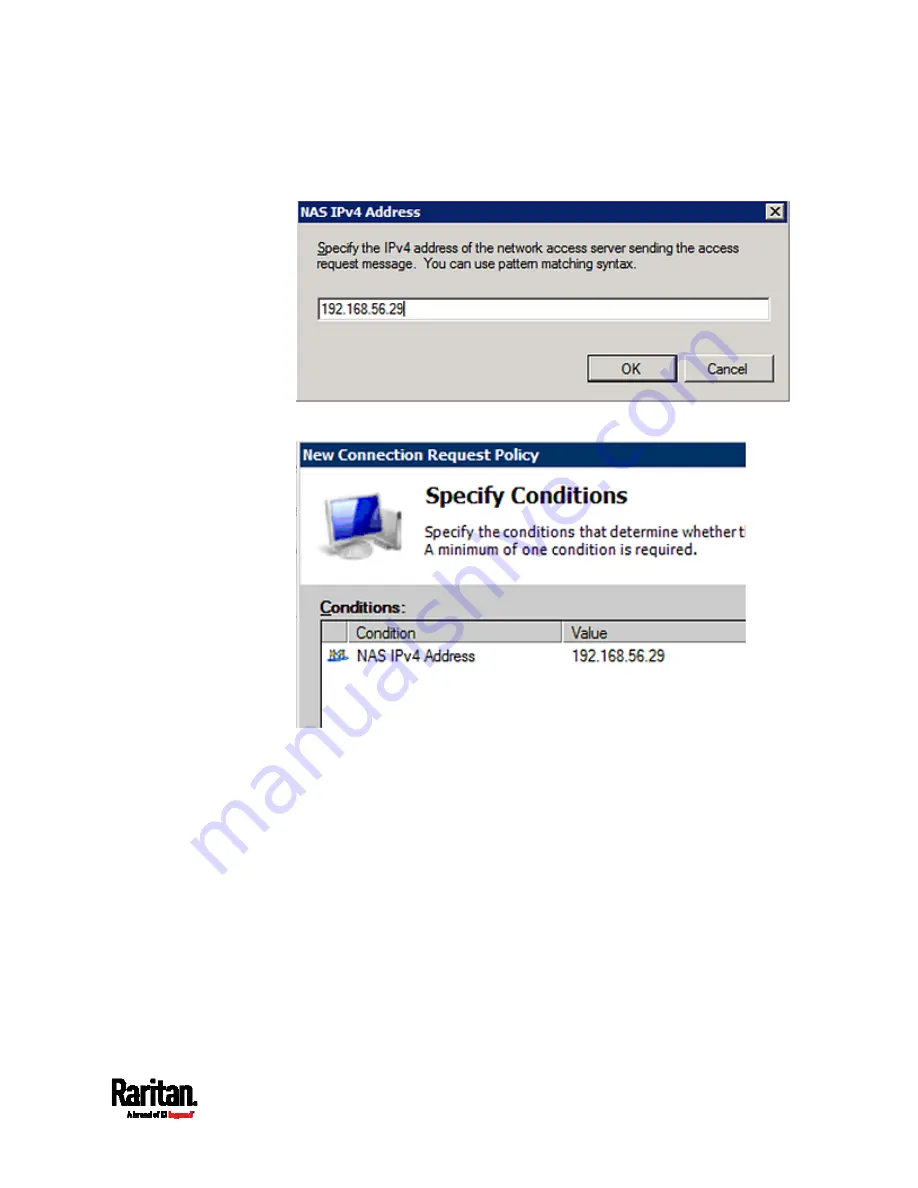
The NAS IPv4 Address dialog appears. Type the PX3 IP address --
192.168.56.29, and click OK.
7.
Click Next in the New Connection Request Policy dialog.
8.
Select "Authenticate requests on this server" because a local NPS
server is used in this example. Then click Next.
Summary of Contents for Raritan PX3-3000 Series
Page 5: ......
Page 90: ...Chapter 4 Connecting External Equipment Optional 69 ...
Page 424: ...Chapter 6 Using the Web Interface 403 ...
Page 447: ...Chapter 6 Using the Web Interface 426 ...
Page 448: ...Chapter 6 Using the Web Interface 427 Continued ...
Page 885: ...Appendix K RADIUS Configuration Illustration 864 Note If your PX3 uses PAP then select PAP ...
Page 890: ...Appendix K RADIUS Configuration Illustration 869 14 The new attribute is added Click OK ...
Page 891: ...Appendix K RADIUS Configuration Illustration 870 15 Click Next to continue ...
Page 921: ...Appendix L Additional PX3 Information 900 ...


