Chapter 6: Using the Web Interface
210
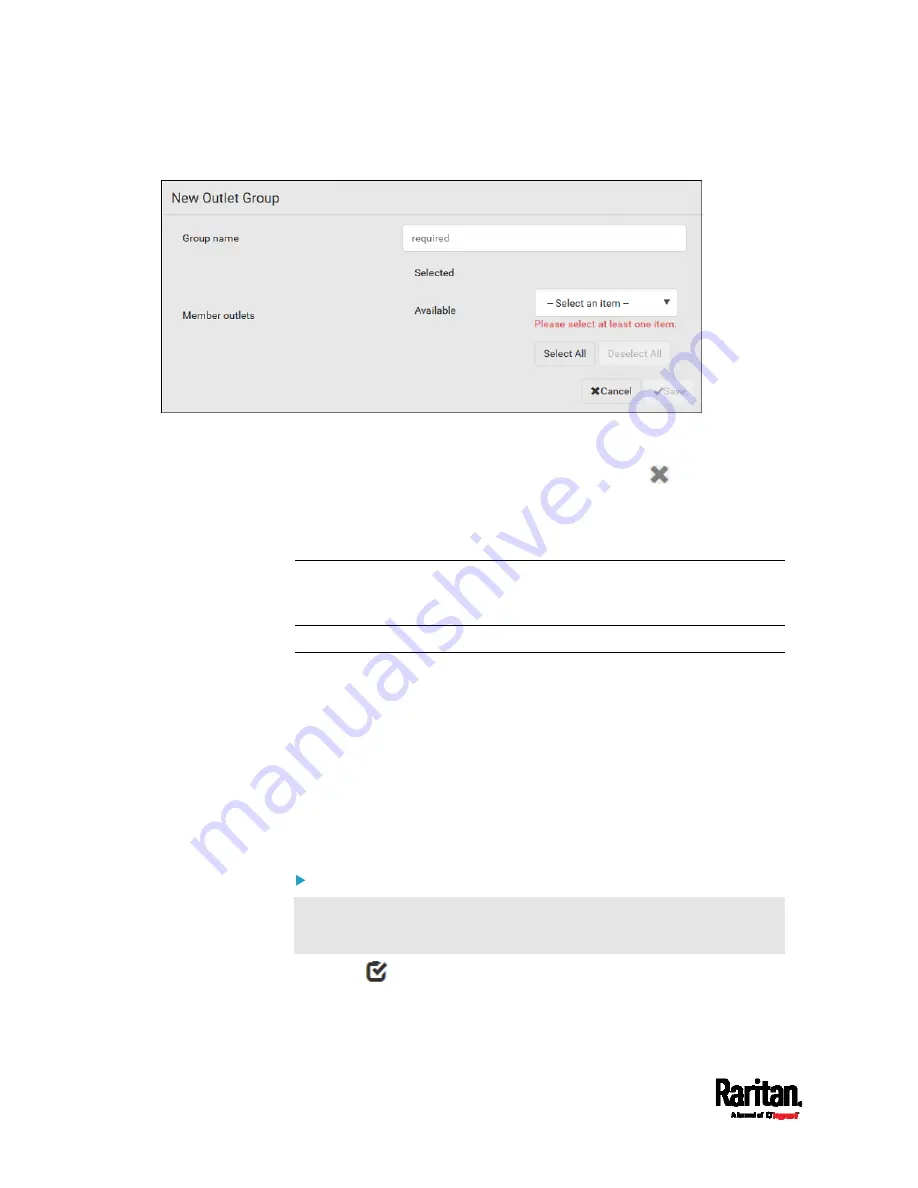
2.
Type the group name.
3.
Select the outlets you want in the Available field.
To select all outlets of the PDU, click Select All.
4.
To delete any selected outlet(s), click an outlet's
in the Selected
field.
To remove all selected outlets, click Deselect All.
5.
Click Save.
Tip: PX3 allows you to assign the same name to diverse outlet groups. If
this really occurs, you still can identify different groups through their
unique index numbers.
Outlet Group Power Control
You must have either permission below to power control any outlet
groups.
Administrator Privileges
Switch Outlet Group
You can switch one or multiple outlet groups at a time on the Outlet
Groups page.
To switch one single outlet group only, there are two methods -- either
the Outlet Groups page or individual group page.
To switch one or multiple groups on the Outlet Groups page:
This method allows you to switch more than one outlet group
simultaneously.
1.
Click
to make checkboxes appear in front of outlet groups.
Summary of Contents for Raritan PX3-3000 Series
Page 5: ......
Page 90: ...Chapter 4 Connecting External Equipment Optional 69 ...
Page 424: ...Chapter 6 Using the Web Interface 403 ...
Page 447: ...Chapter 6 Using the Web Interface 426 ...
Page 448: ...Chapter 6 Using the Web Interface 427 Continued ...
Page 885: ...Appendix K RADIUS Configuration Illustration 864 Note If your PX3 uses PAP then select PAP ...
Page 890: ...Appendix K RADIUS Configuration Illustration 869 14 The new attribute is added Click OK ...
Page 891: ...Appendix K RADIUS Configuration Illustration 870 15 Click Next to continue ...
Page 921: ...Appendix L Additional PX3 Information 900 ...