


Chapter 8: Using the Command Line Interface
580
5.
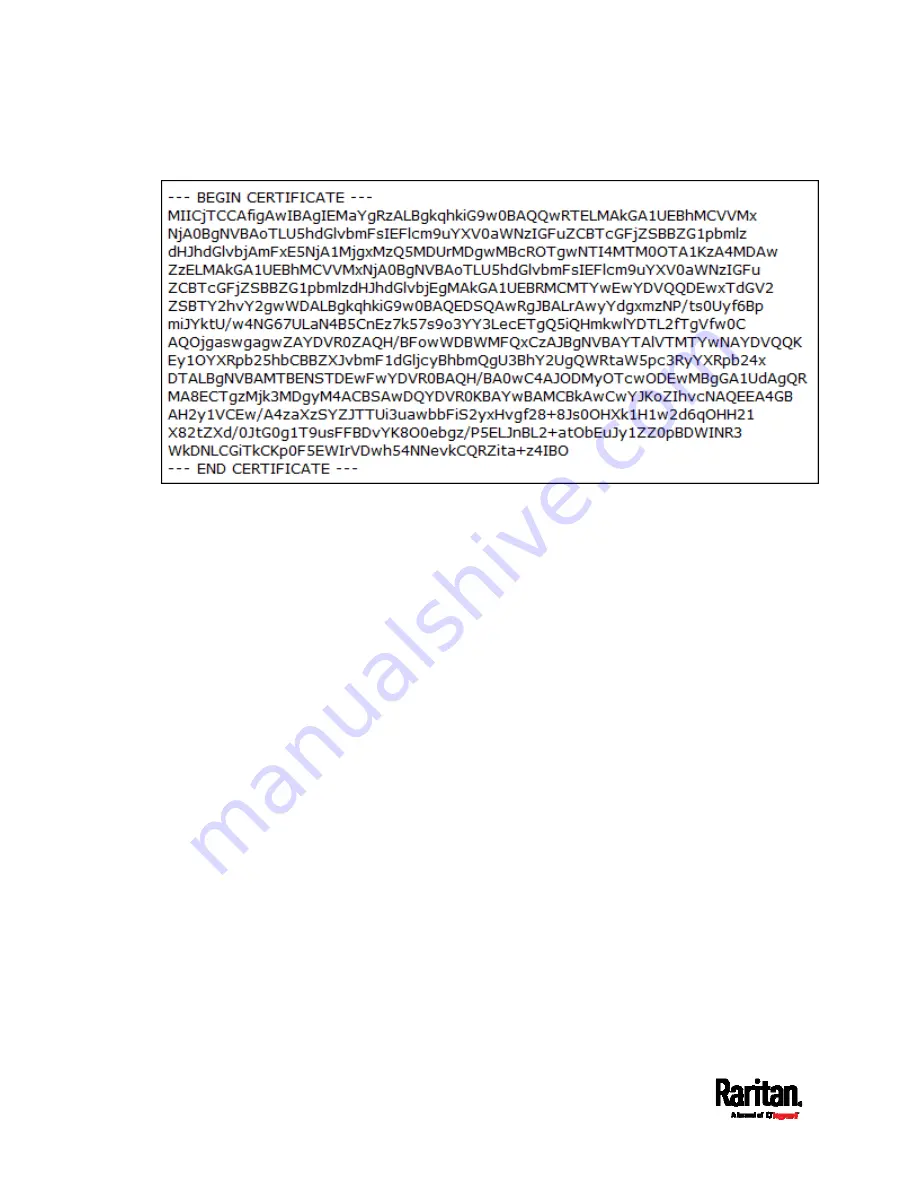
Select and copy the contents as illustrated below, excluding the
starting line containing "BEGIN CERTIFICATE" and the ending line
containing "END CERTIFICATE."
MIICjTCCAfigAwIBAgIEMaYgRzALBgkqhkiG9w0BAQQwRTELMAk
GA1UEBhMCVVMxNjA0BgNVBAoTLU5hdGlvbmFsIEFlcm9uYXV0aW
NzIGFuZCBTcGFjZSBBZG1pbmlzdHJhdGlvbjAmFxE5NjA1MjgxM
zQ5MDUrMDgwMBcROTgwNTI4MTM0OTA1KzA4MDAwZzELMAkGA1UE
BhMCVVMxNjA0BgNVBAoTLU5hdGlvbmFsIEFlcm9uYXV0aWNzIGF
uZCBTcGFjZSBBZG1pbmlzdHJhdGlvbjEgMAkGA1UEBRMCMTYwEw
YDVQQDEwxTdGV2ZSBTY2hvY2gwWDALBgkqhkiG9w0BAQEDSQAwR
gJBALrAwyYdgxmzNP/ts0Uyf6BpmiJYktU/w4NG67ULaN4B5CnE
z7k57s9o3YY3LecETgQ5iQHmkwlYDTL2fTgVfw0CAQOjgaswgag
wZAYDVR0ZAQH/BFowWDBWMFQxCzAJBgNVBAYTAlVTMTYwNAYDVQ
QKEy1OYXRpb25hbCBBZXJvbmF1dGljcyBhbmQgU3BhY2UgQWRta
W5pc3RyYXRpb24xDTALBgNVBAMTBENSTDEwFwYDVR0BAQH/BA0w
C4AJODMyOTcwODEwMBgGA1UdAgQRMA8ECTgzMjk3MDgyM4ACBSA
wDQYDVR0KBAYwBAMCBkAwCwYJKoZIhvcNAQEEA4GBAH2y1VCEw/
A4zaXzSYZJTTUi3uawbbFiS2y8Js0OHXk1H1w2d6qOH
H21X82tZXd/0JtG0g1T9usFFBDvYK8O0ebgz/P5atOb
EuJy1ZZ0pBDWINR3WkDNLCGiTkCKp0F5EWIrVDwh54NNevkCQRZ
ita+z4IBO
6.
Paste the contents in the terminal.
7.
Press Enter.
8.
Verify whether the system shows the following command prompt,
indicating the provided CA certificate is valid.
Summary of Contents for Raritan PX3-3000 Series
Page 5: ......
Page 90: ...Chapter 4 Connecting External Equipment Optional 69 ...
Page 424: ...Chapter 6 Using the Web Interface 403 ...
Page 447: ...Chapter 6 Using the Web Interface 426 ...
Page 448: ...Chapter 6 Using the Web Interface 427 Continued ...
Page 885: ...Appendix K RADIUS Configuration Illustration 864 Note If your PX3 uses PAP then select PAP ...
Page 890: ...Appendix K RADIUS Configuration Illustration 869 14 The new attribute is added Click OK ...
Page 891: ...Appendix K RADIUS Configuration Illustration 870 15 Click Next to continue ...
Page 921: ...Appendix L Additional PX3 Information 900 ...


