


Chapter 6: Using the Web Interface
256
Asset Strip
After connecting and detecting Raritan asset management strips (asset
strips), the PX3 shows 'Asset Strip' in place of 'Feature Port' in the menu.
Note: For connection instructions, see
Connecting Asset Management
Strips
(on page 71).
To open the Asset Strip page, click it in the
Menu
(on page 155). On this
page, you can configure the rack units of asset strips and asset tags. A
rack unit refers to a tag port on the asset strips. The "Change Asset Strip
Configuration" permission is required.
For the functionality of this icon
on the top-right corner, see
Feature
Port
(on page 253).
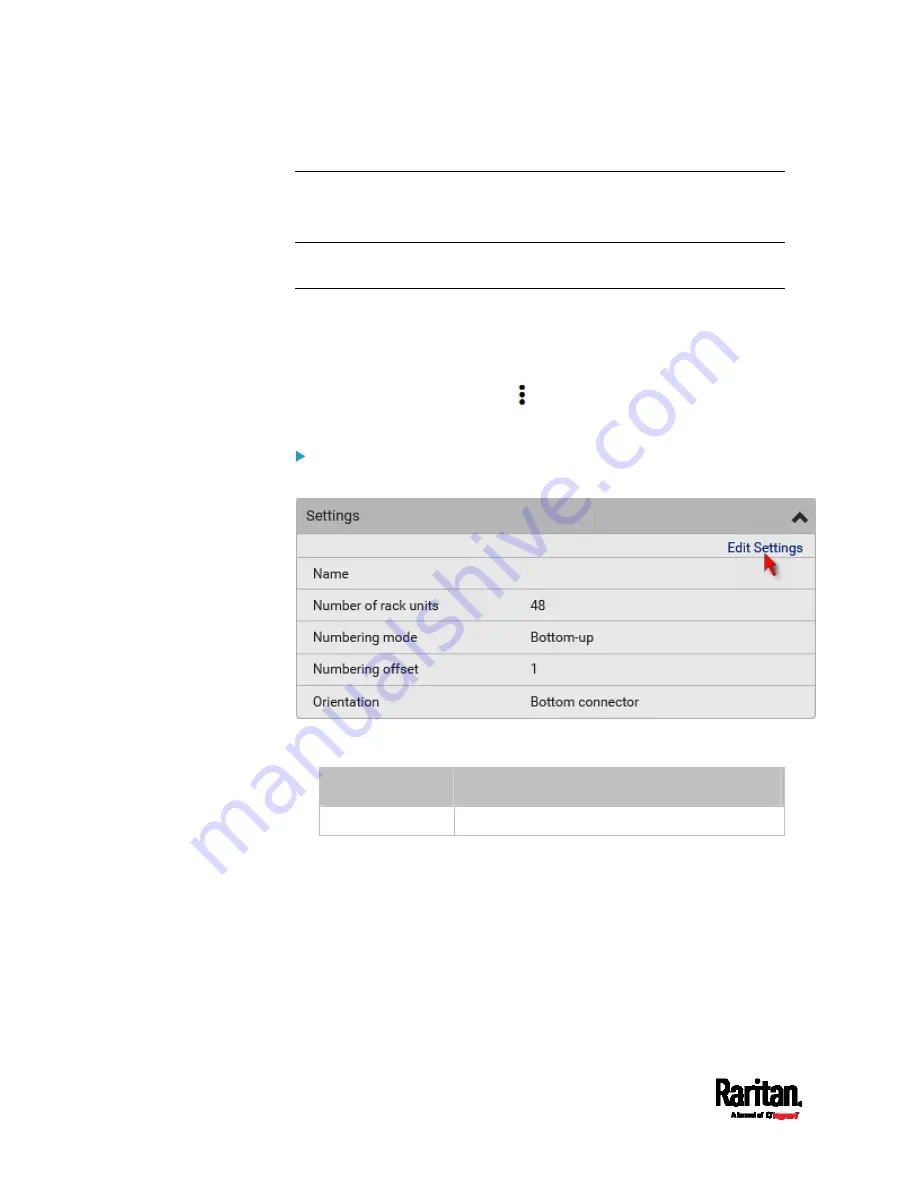
To configure asset strip and rack unit settings:
1.
Click Edit Settings.
2.
Make changes to the settings by directly typing a new value, or
clicking that field to select a different option.
Field
Description
Name
Name for this asset strip assembly.
Summary of Contents for Raritan PX3-3000 Series
Page 5: ......
Page 90: ...Chapter 4 Connecting External Equipment Optional 69 ...
Page 424: ...Chapter 6 Using the Web Interface 403 ...
Page 447: ...Chapter 6 Using the Web Interface 426 ...
Page 448: ...Chapter 6 Using the Web Interface 427 Continued ...
Page 885: ...Appendix K RADIUS Configuration Illustration 864 Note If your PX3 uses PAP then select PAP ...
Page 890: ...Appendix K RADIUS Configuration Illustration 869 14 The new attribute is added Click OK ...
Page 891: ...Appendix K RADIUS Configuration Illustration 870 15 Click Next to continue ...
Page 921: ...Appendix L Additional PX3 Information 900 ...


