Cleaning and Adjusting the Printer
69
Adjusting the Image Density
Adjust the image density when the print side of the page appears shaded or the
print image is patchy.
❒
Extreme settings may create output that appears dirty.
❒
Image density settings should be made from the application or the printer driv-
er whenever possible.
❒
Changing the image density setting can result in deterioration of color bal-
ance. We recommend you leave the image density at its factory default set-
ting.
A
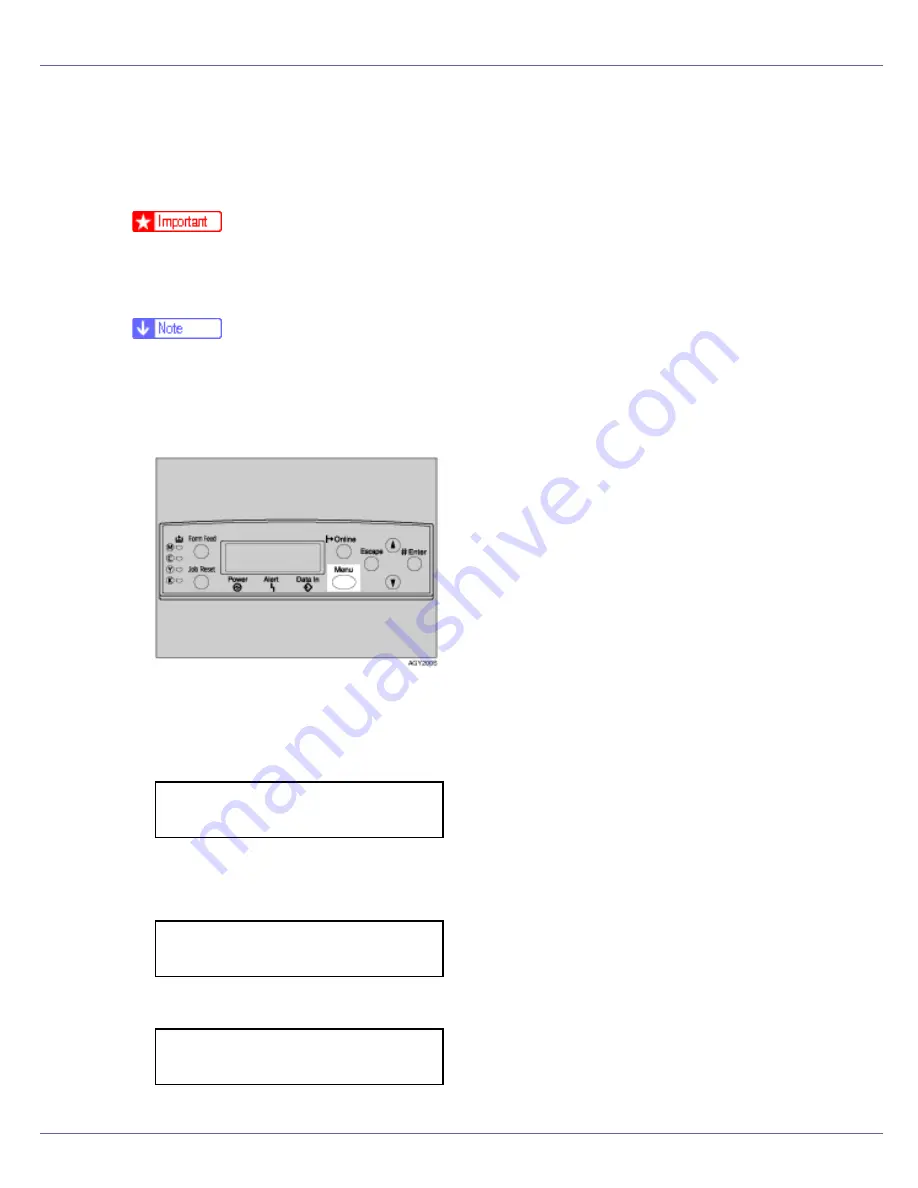
Press the
{
Menu
}
key.
The
[
Menu
]
screen appears.
B
Press the
{U}
or
{T}
key to display [
Maintenance
], and then press the
{
#
Enter
}
key.
C
Press the
{U}
or
{T}
key to display [
Image Density
], and then press the
{
#
Enter
}
key.
The following message appears on the display:
Menu:
Maintenance
Maintenance:
Image Density
Image Density:
Prt. Test Sheet
Summary of Contents for LP222cn
Page 66: ...Installing Options 54 For details about printing the configuration page see p 40 Test Printing...
Page 112: ...Configuration 100 For details about printing the configuration page see p 40 Test Printing...
Page 229: ...Other Print Operations 110 The initial screen appears...
Page 285: ...Monitoring and Configuring the Printer 166 E Click Apply...
Page 518: ...Removing Misfed Paper 98 F Close the front cover carefully...
Page 525: ...Removing Misfed Paper 105 C Remove any misfed paper D Close the front cover carefully...


