1.2.2 Moving The Cursor With The Arrow Keys
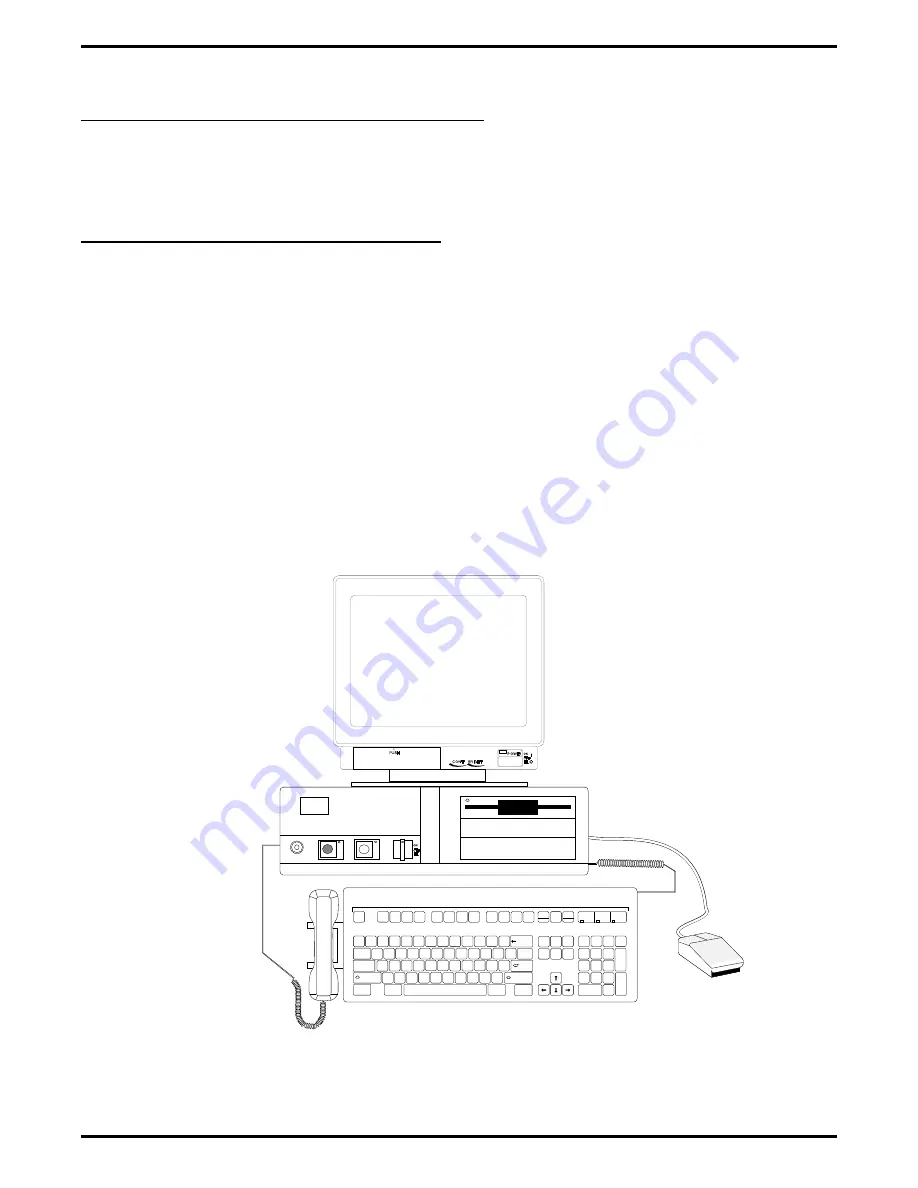
Your PC Attendant console is equipped with four arrow keys (up, down, right, and left), located between
the main letter keys and the number keypad. Use these arrow keys to move the cursor around within a
window or across the pull-down menu bar (activated by pressing the Escape key) and within the
pull-down menus in order to highlight selections or features to be activated.
1.2.3 Moving The Cursor With The Mouse
Your equipment may accommodate a mouse (not supplied), which you can use to position the cursor to
highlight or select a feature. When using the mouse to make screen selections, simply position the mouse
cursor (a colored or contrasting block that highlights a number, word, or feature on the screen) to the
desired selection and “click” the left mouse button to activate the selection.
Use the mouse to activate any of the pull-down menus from the menu bar appearing at the top of the main
screen Intercom window: simply position the cursor on the title of the menu you’d like to access and click
the left mouse button. Additionally, you can click outside any of the pull-down menus or pop-up windows
to return to the main screen.
You may also use the mouse to initiate intercom calls quickly. In the Intercom window, a double click on
an intercom number will cause you to dial that station (also known as a direct station select [DSS] call).
Functionally, the right mouse button is identical to the Release key, so you may use the button to
disconnect a current call from the PC Attendant station or to complete a function such as a transfer or
unattended conference (described in Chapter Two).
Total Control PC Attendant
Esc
Help
Mute
Headset
I.D.
Split
Park
Both
Retrieve
Tracker
Serial
Conf
Overflow
Page
Line
TAP
Intercom
N
J
I
*
8
B
H
U
&
7
V
G
Y
^
6
C
F
T
%
5
X
D
R
$
4
Z
S
E
#
3
A
W
@
2
Q
!
1
Silent
M
K
O
(
9
<
L
P
)
0
,
.
>
:
:
+
=
?
/
"
'
_
-
Pick
Message
Print
Screen
Pause
Scroll
Lock
Page
Down
Page
Up
Home
Insert
Delete End
Hold
A
n
s
w
e
r
Num
Lock
#
*
SysReq
Volume
Down
Volume
Up
Ctrl
Shift
Tab
Shift
Caps Lock
Enter
Backspace
Ctrl
Alt
Alt
Break
Q Z
G H I
P R S
O P E R ATO R
A B C
J K L
T U V
D E F
M N O
W X Y
Transfer
R
e
l
e
a
s
e
Num
Caps
Scroll
Lock
Lock
Lock
1
4
7
0
2
5
8
3
6
9
Next
Screen
2nd
Function
s
PUSH
POWER ON
ON
OFF
OFF
CONT
BRIGHT
COMDIAL
*
cover1.cdr
PC Attendant's Console User's Guide
GCA 70-230
Introducing PC Attendant
3
Содержание DXP Plus Series
Страница 1: ...Digital Communications System R ...
Страница 363: ...Automatic Call Distributor Technical Manual R QuickQ DXP ...
Страница 424: ...Automatic Call Distributor System Manager s Guide R QuickQ DXP ...
Страница 500: ...Wrap up Time 1 6 Wrapping Up A Call 4 3 Z Zoom Box A 2 GCA70 271 Index I 3 ...
Страница 628: ...Interconnecting The VMI X Installing And Programming For ExecuMail IMI89 206 Installing And Programming For ExecuMail 5 ...
Страница 677: ...Connecting The Equipment Installing And Programming The OPX X IMI89 209 Installing The OPX X 7 ...
Страница 728: ...DP I I I I and FX Series Digital Communications Systems Understanding The Visual Man Machine Interface COMDlA ...
Страница 1112: ...9 08 8 90 1 13 4 78 3 94 UNIS029 TAB003 PLS page 6 GCA40 130 DXP Plus General Description 11B Telephone Features ...


