Automation Tab
Revised 2017-08-31
DNP3
Drawing No. LP0997-C
- 214 -
Sixnet
®
Series SN/RAM
®
6000 & RAM 9000 Software Manual
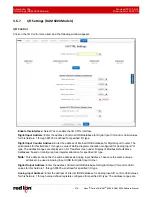
Binary Objects
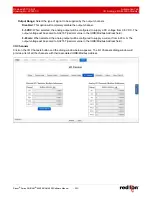
1: Binary Input:
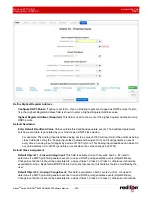
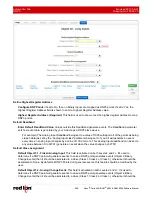
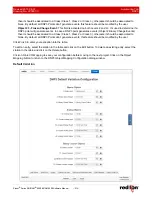
Combo Box that shows the different choices for Object 1 (Binary Input) that the user can
select as a default variation.
2: Binary Input Change:
Combo Box that shows the different choices for Object 2 (Binary Input Change
Events) that the user can select as a default variation.
10: Binary Output Status:
Combo Box that shows the different choices for Object 10 (Binary Output) that the
user can select as a default variation.
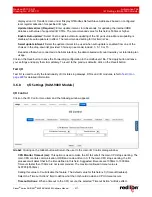
Analog Objects
30: Analog Input:
Combo Box that shows the different choices for Object 30 (Analog Input) that the user can
select as a default variation.
31: Frozen Analog Input:
Combo Box that shows the different choices for Object 31 (Frozen Analog Input)
that the user can select as a default variation (only on Level 2+).
32: Analog Change Event:
Combo Box that shows the different choices for Object 32 (Analog Input Change
Events) that the user can select as a default variation.
33: Frozen Analog Event:
Combo Box that shows the different choices for Object 33 (Frozen Analog Input
Change Event) that the user can select as a default variation (only on Level 2+).
40: Analog Output Status:
Combo Box that shows the different choices for Object 40 (Analog Output) that the
user can select as a default variation.
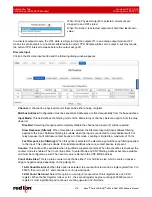
Binary Counter Objects
20: Binary Counter:
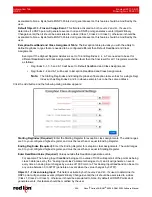
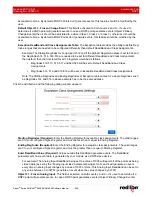
Combo Box that shows the different choices for Object 20 (Binary Counters) that the user
can select as a default variation.
21: Frozen Counter:
Combo Box that shows the different choices for Object 21 (Frozen Binary Counters) that
the user can select as a default variation.
22: Binary Counter Change:
Combo Box that shows the different choices for Object 22 (Binary Counters
Change Events) that the user can select as a default variation.
23: Frozen Counter Change:
Combo Box that shows the different choices for Object 23 (Frozen Binary
Counters Change Event) that the user can select as a default variation (only on Level 2+).
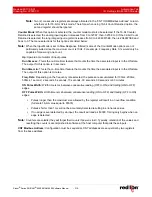
Click on the
Save
button to save the Forwarding configuration in the modbus.xml file. The
Apply
button will save
your settings and apply them immediately.

