Revised 2017-08-31
Network Tab
Drawing No. LP0997-C
Interfaces
Sixnet
®
Series SN/RAM
®
6000 & RAM 9000 Software Manual
- 65 -
ensure that there is no conflict with any pre-existing devices on that subnet which may have been already
configured to use statically assigned IP addresses.
Ending Address
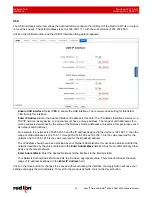
: Enter the ending IP address of a range you want the DHCP Server to provide for clients.
The recommended setting is a valid address for the subnet for which the interface is configured, beyond that
chosen for the starting value of the range. Use care to ensure that there is no conflict with any pre-existing
devices on that subnet which may have been already configured to use statically assigned IP addresses.
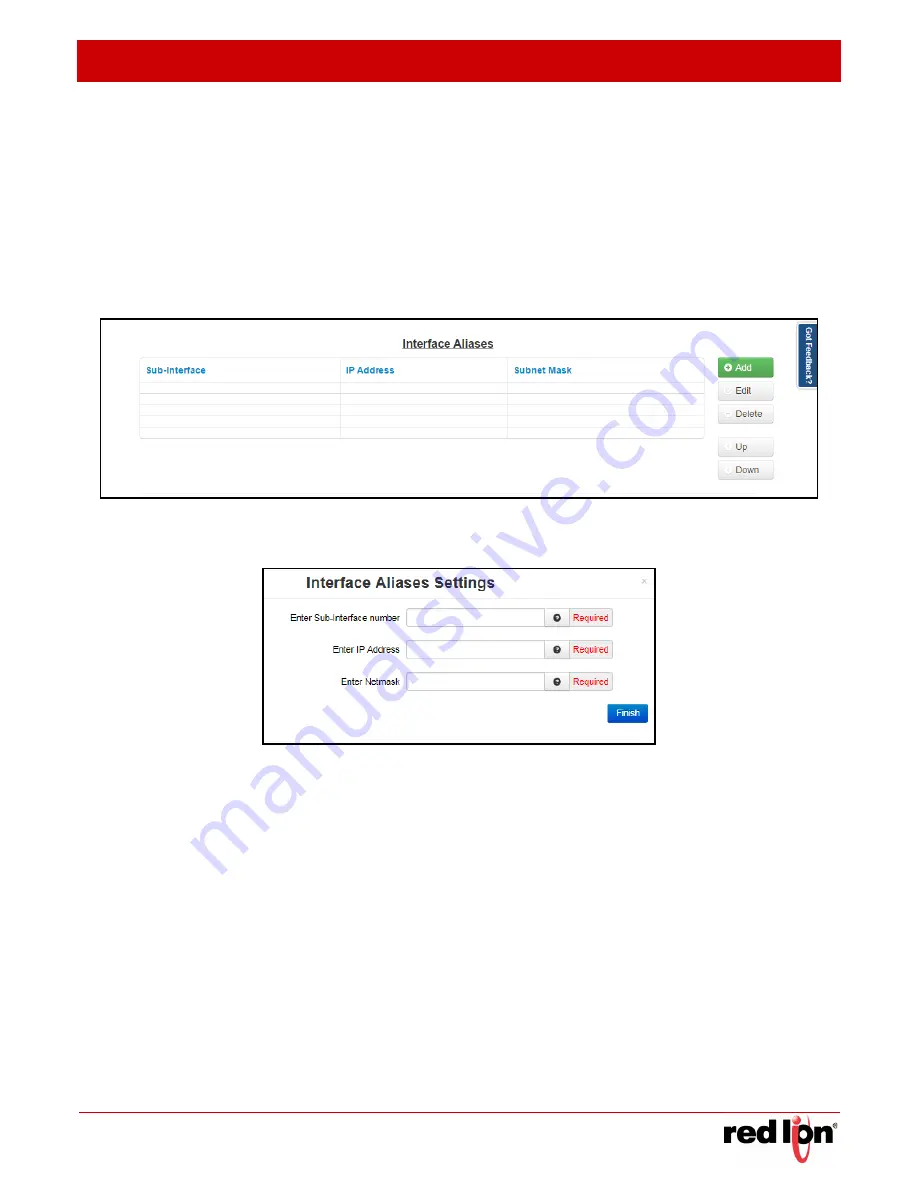
Interface Aliases:
Sub-interfacing is essentially the segmenting of a single wire, or Ethernet port, into multiple IP
networks. Instead of subnetting and routing, you can create a sub-interface and then set it up as you would a
standard Ethernet interface.
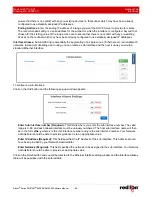
To configure a sub-interface:
Click on the
Add
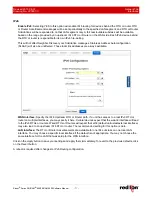
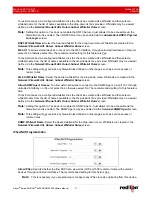
button and the following pop-up window appears:
Enter Sub interface number (Required):
This field is where you enter the sub interface number. The valid
range is 0-99, and each aliased interface must be uniquely numbered. The final sub interface name will then
be in the form
ethx:y
where
x
is the root interface number and
y
is the sub interface number. Your Network
Administrator should be able to provide guidance as to an appropriate value.
Enter IP Address (Required):
This field specifies the IP Address of the sub interface. This address should
have been provided by your Network Administrator.
Enter Netmask (Required):
This field specified the netmask to be assigned to the sub interface. You Network
Administrator should be able to provide an appropriate value.
Click on the
Finish
button and you will be directed to the Ethernet Interface dialog window and the Interface Aliases
table will be populated with the entered data.


