Automation Tab
Revised 2017-08-31
DNP3
Drawing No. LP0997-C
- 200 -
Sixnet
®
Series SN/RAM
®
6000 & RAM 9000 Software Manual
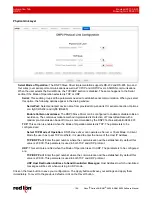
Example:
If the Highest Register Address is set to 10 and Reg/Index 2, 4, 6-7 are needed to be set for
different class assignments than default, then the final result for all 10 registers would be as follows:
•
Reg/Index 0-1, 3, 5 and 8-10 will be set to Default Class Assignments.
•
Reg/Index 2, 4 and 6-7 will be set to Exception Class Assignments.
Note:
The order of table entry ranges must be entered from lowest Reg/Index to highest Reg/
Index, otherwise the Web UI will alert the end user for incorrect range entries. The starting
Reg/Index and Ending Reg/Index of Exception table entries for a single Reg/Index such as
Reg/Index 2 and 4 in above example has to be the same address. The maximum
suggested entries for the exception table are 10-15 entries.
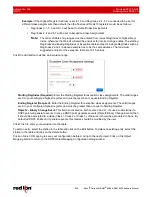
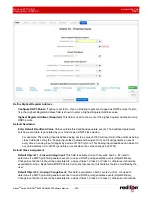
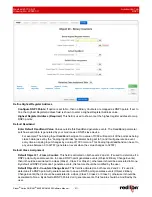
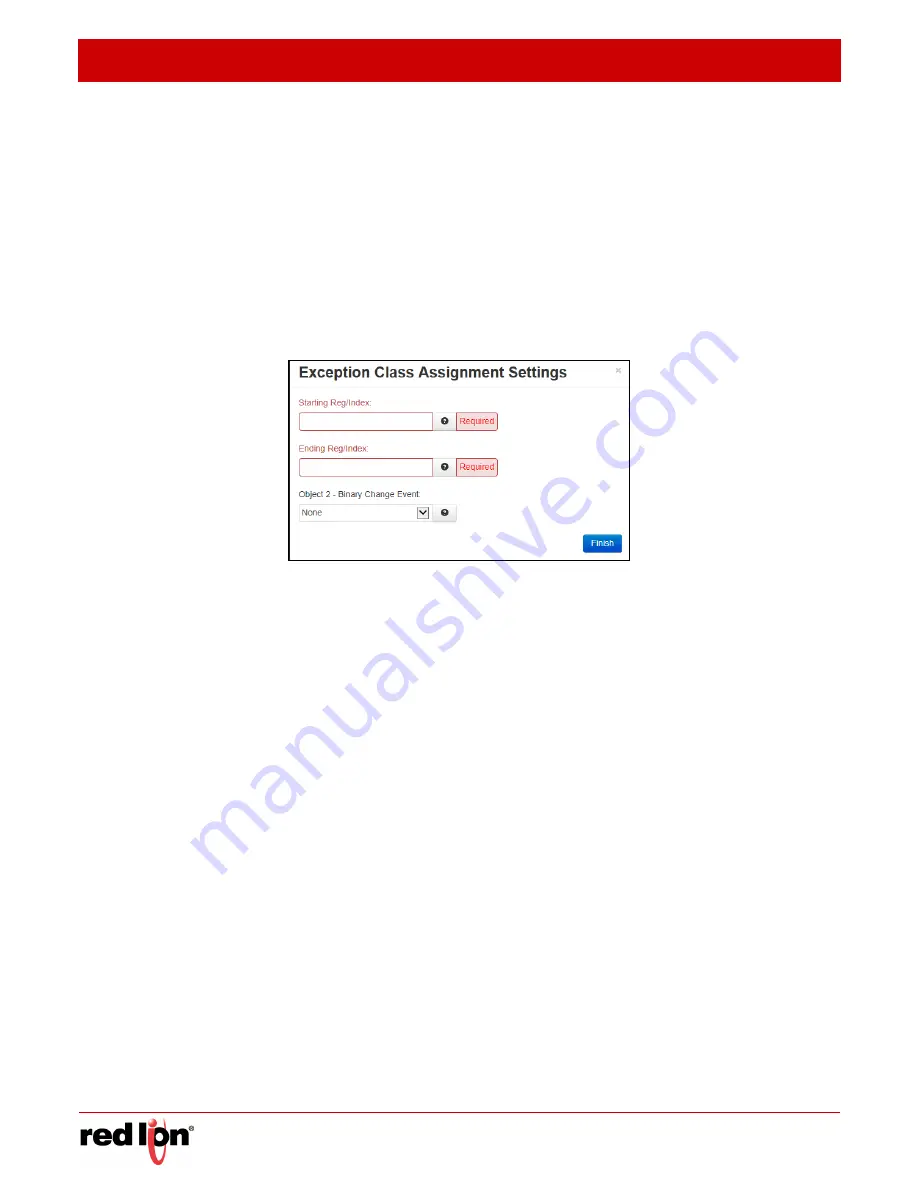
Click the
Add
button to define an Exclusion range.
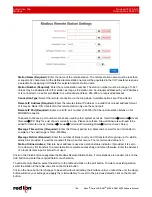
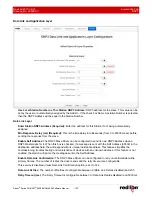
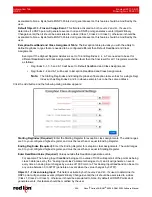
Starting Reg/Index (Required):
Enter the Starting Register for exception class assignments. The valid ranges
are 0 to your configured highest register, and must be less than or equal to Ending Register.
Ending Register (Required):
Enter the Ending Register for exception class assignments. The valid ranges
are 0 to your configured highest register, and must be greater than or equal to Starting Register.
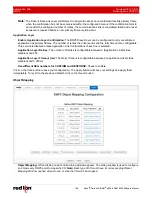
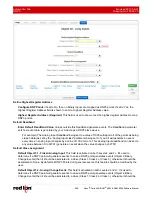
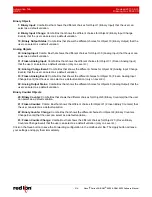
Object 2 - Binary Change Event:
This field is activated on both Levels 2 and 2+. It’s used to determine if a
DNP3 point will generate events. In case a DNP3 point generates events (Object2 Binary Change Events) then
it should be associated to a class (Class 1, Class 2 or Class 3), otherwise it should be associated to None. By
default all DNP3 Points don’t generate events, this feature should be modified by the user.
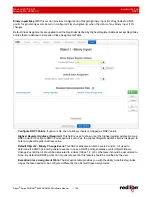
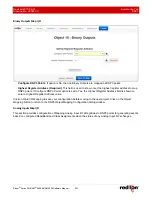
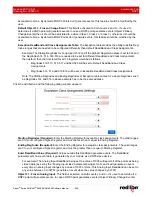
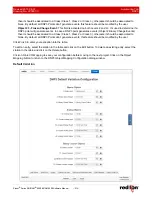
Click
Finish
to enter your exclusion into the table.
To edit an entry, select the station in the table and click on the
Edit
button. To delete an existing entry, select the
station in the table and click on the
Delete
button.
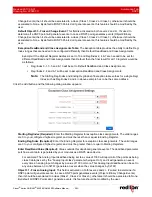
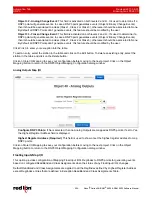
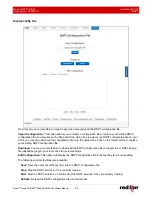
Click on
Store I/O Mapping
to save your configuration before moving to the next project. Click on the
Object
Mapping
button to return to the DNP3 Object Mapping Configuration dialog window.

