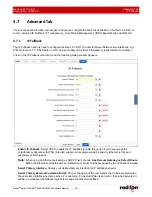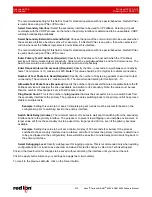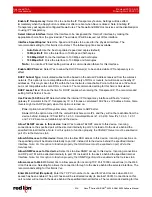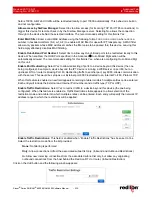
Advanced Tab
Revised 2017-08-31
IP Transparency
Drawing No. LP0997-C
- 234 -
Sixnet
®
Series SN/RAM
®
6000 & RAM 9000 Software Manual
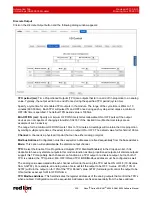
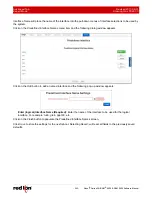
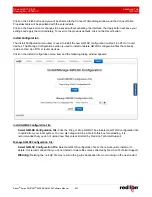
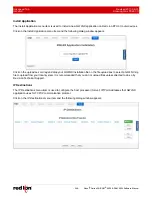
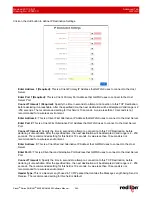
Enable IP Transparency:
Select Yes to enable the IP Transparency feature. Settings will take effect
immediately when the Apply button is clicked or after a reboot when Save is clicked. Note: Enabling IP
Transparency will negate all configured firewall rules. The firewall and DMZ Host services will be disabled prior
to using IP Transparency.
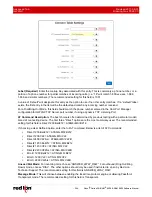
Select Internal Interface:
Select the interface to be designated the “internal” interface by making the
appropriate choice from the provided list. The wireless IP will be issued out of this interface.
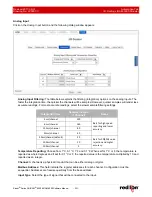
Interface Speed/Duplex:
Select the Speed and Duplex to be used for the physical interface. The
recommended setting for this field is
Auto-Detect
. The following options are available:
•
Auto Detect:
Use the ‘best negotiated’ speed and duplex (default)
•
10 Mbps/Half:
Force the interface to 10 Mbps and half-duplex
•
100 Mbps/Half:
Force the interface to 100 Mbps and half-duplex
•
100 Mbps/Full:
Force the interface to 100 Mbps and full-duplex
Note:
An incorrect ‘forced’ setting will result in communication failure for this interface.
Enable DHCP Server:
Select Yes to allow the DHCP Server(s) to be enabled while IP Transparency is in
effect.
DHCP Subnet Type:
A calculated subnet will be based on the actual IP Address received from the wireless
network. This option is more compatible with a wide variety of RTUs or routers, but will mask out nearby IP
addresses. This may make other IP’s within the host network unreachable. Point-to-Point uses a /32 subnet,
but is not compatible with some RTUs or routers. The recommended setting for this field is
Calculated
.
DHCP Lease Time:
Choose the time for DHCP Leases when issuing the Transparent IP. The recommended
setting for this field is 4 hours.
Use Private 169.254.x.x IP:
Select whether the internal IP Transparency interface will host a “dummy”
gateway IP simulator to the IP Transparency IP, or if it uses a calculated 169.254.x.x IP Address. Some Cisco
routers might not ARP properly when this option is turned on.
Pros:
Option turned Off may allow some Cisco routers to ARP better.
Cons:
With the option turned Off, the unit will black hole some IPs, and they will not be reachable from the
device behind. Example: IP from ISP is 1.2.3.3. Calculated Mask is 1.2.3.2/30. Now IPs 1.2.3.0, 1.2.3.1
and 1.2.3.2 become unroutable beyond the device.
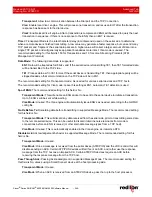
Allow TELNET access to this device:
Select Yes to allow TELNET access to this device. Incoming
connections on the specified port will be directed internally to port 23, instead of to the device behind the
specified Internal Interface.
Note: For this option to function properly, the TELNET Server must be enabled on
port 23 via the Services tab.
Allow SSH access to this device:
Select Yes to allow SSH access to this device. Incoming connections on
the specified port will be directed internally to port 22, instead of to the device behind the specified Internal
Interface.
Note: For this option to function properly, the SSH Server must be enabled on port 22 via the
Services tab.
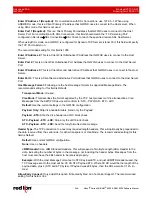
Allow SNMP access to this device:
Select Yes to allow SNMP access to this device. Incoming connections
on UDP port 161 will be directed internally to port 161 instead of to the device behind the specified Internal
Interface.
Note: For this option to function properly, the SNMP Agent must be enabled via the Services tab.
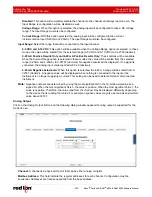
Allow access to Web UI:
Select Yes to allow access (for incoming TCP Port 10000 connections) to the Web
UI on this device. Selecting No allows the connection through to the device behind the selected interface. The
recommended setting for this field is
Yes
.
Enter Web UI Port (Required):
Enter the TCP Port number to be used for Web UI access when Web UI
access has been enabled. The port chosen will be redirected locally (to internal 10000). Connections on this
port number will not reach the device behind the specified Internal Interface. The recommended setting for this

