30
Transmitter buttons and rotary control
Transmitter control switches
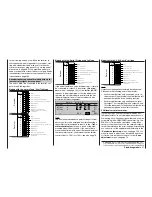
Sometimes it is desirable to switch a function on or
off at a particular position of another transmitter con-
trol, e. g. at a defi ned position of one of the dual-axis
sticks. Typical examples are switching a stopwatch
on and off, extending spoilers automatically, and
many others.
The
mx
-24s software includes a total of eight soft-
ware “switches” of this type, termed “G1 … G8”. All
you have to do is defi ne the switching point on the
travel of the transmitter control; this just requires
pushing a button. The direction of switching can be
determined in the software by operating the associa-
ted transmitter control at the stage when the control
switch is assigned.
In the »
Control switches
« menu, pages 78 and 80,
you will fi nd that two frequently needed control swit-
ches are already pre-programmed: both of them on
the throttle stick (“Control 1”) with a switching point at
-75% (G1) and +75% travel (G2).
Naturally, transmitter control switches can also be
combined in order to solve more complex problems;
they can also be used in conjunction with the physi-
cal switches which have already been described.
A series of instructive examples makes it child’s play
to program these functions: please refer to the pro-
gramming examples starting on pages 94, 170, ...
Fixed switches FXI and FX
This type of switch turns a function on permanently
– e. g. a timer (closed fi xed switch) or off permanent-
ly (open fi xed switch). These two fi xed switches are
part of a range of “expanded switches”, to which the
logical switches also belong. They can be program-
med in any of the menus in which the following win-
dow is superimposed when an assignment is made
(see page 32 for more details):
Move desired switch
to ON position
(ext. switch: ENTER)
Operating buttons
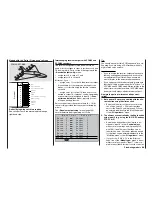
The transmitter is programmed using just four but-
tons situated to the left of the screen, in conjunction
with the crucial element: the “3-D rotary control” to the
right of the screen, the functions of which are descri-
bed on the following page.
Operating buttons:
•
ENTER
The fi rst time you press the
ENTER
button you
move from the basic screen display to the multi-
function menus. You also press
ENTER
to call up
a selected menu.
•
ESC
= ESCAPE
Pressing
the
ESC
button takes you one step back
at the function select stage, and continues to re-
turn you through the system until you reach the
basic display.
•
CLR
= CLEAR
At the programming stage, pressing
CLEAR
re-
sets an altered parameter to the default value.
CLEAR
is also used to leaf backwards through the
pages within the Help system.
•
HLP
= HELP
At any point in the programming process you can
press this button to call up a brief Help text which
informs you how to use the individual menu in
which you are currently located. Within the Help
text you can leaf forwards through the screen pa-
ges by pressing the
HELP
button again, and leaf
through backwards using the
CLEAR
button.
Basic operations
Button pad, hotkeys
for fast acccess
, functions of the rotary control
ENTER
,
ESC
,
CLEAR
,
HELP
, contrast adjustment, button pad lock
Hotkeys, functions of the rotary control
The basic method of using the rotary control has al-
ready been described on page 20. Here we show an
example of using the rotary control in a practical ap-
plication.
First switch the transmitter on (the method of selec-
ting a channel and using the scanner have already
been described in the section starting on page 24).
Now just press the
ENTER
button, so that the RF mo-
dule remains switched off. You are now at the basic
screen display.
Note:
If the two digital buttons CONTROL 5 and / or 6 have
not already been assigned to other purposes, e. g. in
the case of a brand-new transmitter or a newly initia-
lised model memory, these buttons have exactly the
same effect as turning the rotary control.
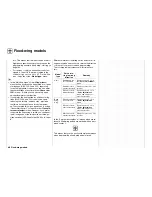
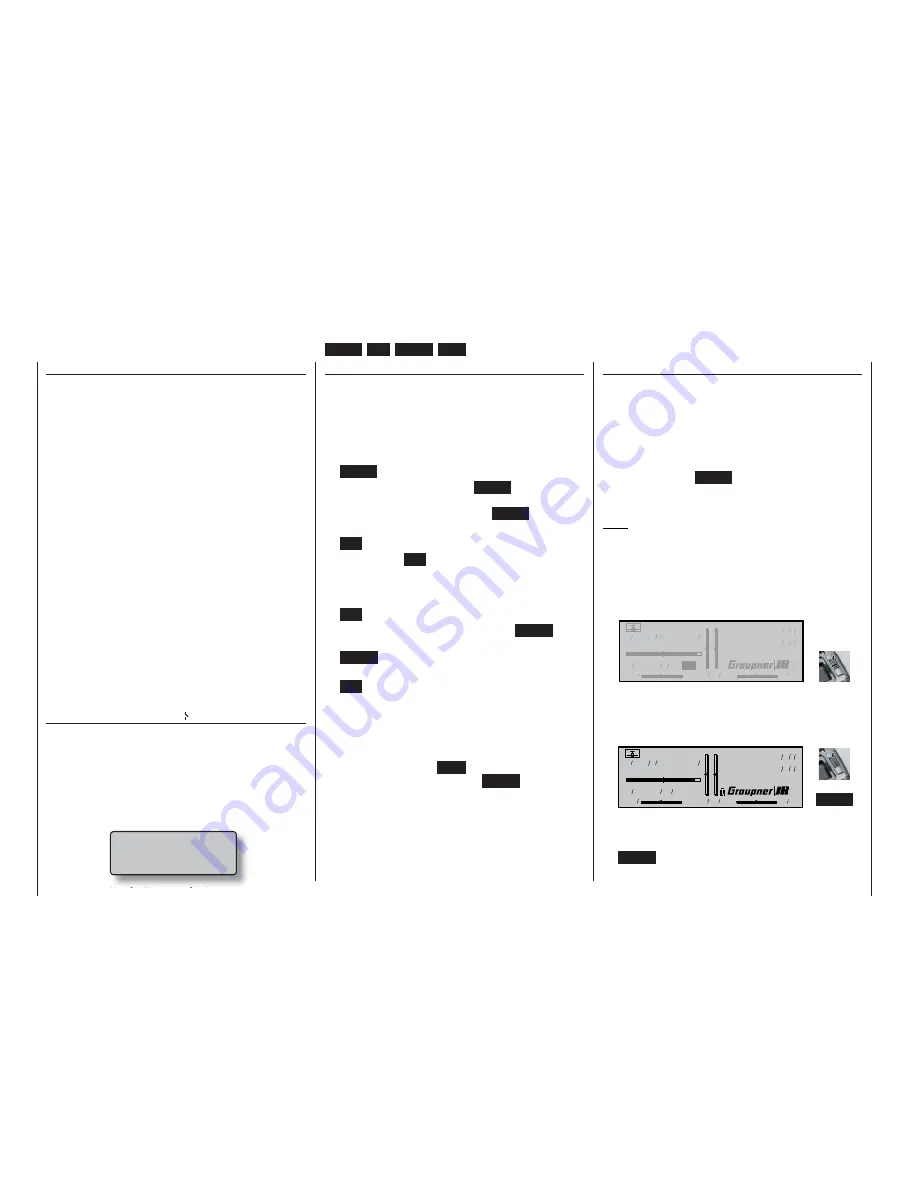
• Adjusting screen contrast
Model name
#01 0:00h SPCM20
H-J.Sandbrunner
10.9V
0:05h
C65
0 0 0
0
Stop watch
Flight tim
0 00
0 00
:
:
Press and
Press and
rotate
rotate
You can adjust the screen display to suit the am-
bient conditions by pressing and turning the rota-
ry control.
• Switching the button pad lock on and off
Model name
#01 0:05h SPCM20
H-J.Sandbrunner
10.9V
0:30h C65
0 0 0
0
Stop watch
Flight tim
0 00
0 00
:
:
+
CLEAR
A key symbol to the left of the
GRAUPNER/JR
logo indicates that the button pad is locked. You
can unlock or lock the button pad by pressing the
CLEAR
button whilst holding the rotary control
pressed in.
Summary of Contents for mx-24s
Page 1: ...1...
Page 19: ...19 For your notes...
Page 35: ...35 For your notes...
Page 41: ...41 41 For your notes...
Page 57: ...57 For your notes...
Page 63: ...63 63 For your notes...
Page 69: ...69 69 For your notes...
Page 85: ...85 85 For your notes...
Page 99: ...99 For your notes...
Page 143: ...143 For your notes...
Page 191: ...191 For your notes...
Page 212: ...212 212 For your notes...
Page 213: ...213 213 For your notes...
Page 214: ...214 For your notes...
Page 216: ...216...


