160
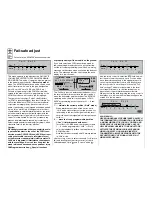
First steps in programming a new model
Example: fi xed-wing model aircraft with two ailerons and (initially) no motor
The fi rst time you use
a new transmitter you should
move to the ...
»General basic settings« menu (page 154)
... and defi ne a number of basic settings. These serve
various purposes:
The owner’s name which you enter in this menu ap-
pears in the basic screen display, while the options
marked “Preset” – “
Stick mode
”, “
Modulation
” and
“
min. pitch
” – really are just presets: the settings
you enter here are adopted as the defaults when you
open a new model memory, but they are only a sug-
gestion, and you can still change them at any time.
The setting in the “
Display light
” line determines how
long the screen illumination remains on when you
switch the transmitter on, and also after you press a
button or operate the rotary control.
Select “yes” or “no” in the “
Power-on beep
” line to de-
termine whether the transmitter is to emit the “
mx
-24s
identifi cation melody” whenever you switch the unit on.
Programming examples: Fixed-wing model
In the “
Battery warning
” line you can determine the
voltage at which the battery warning is triggered. Ple-
ase don’t be tempted to set a very low value here, as
you need plenty of time to land your model safely if
the battery warning is triggered.
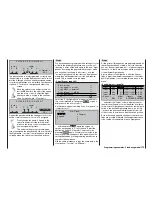
In the ten lines marked “
Own phase name
” you can
create your “own” valid phase names which will be
available in all model memories, in case you don’t
think any of the preset phase names are appropria-
te. These names are entered by switching to the se-
cond screen page and selecting the appropriate let-
ters from a character list, as described for entering
the Owner’s name.
Press
ESC
to leave this menu and return towards the
multi-function list after completing your “general set-
tings”.
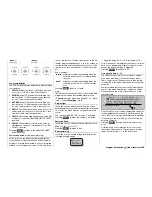
When setting up a new model you should use the ro-
tary control to move to the ...
»Model select« menu (page 59)
02
03
04
05
01
06
free
0:00
free
free
free
free
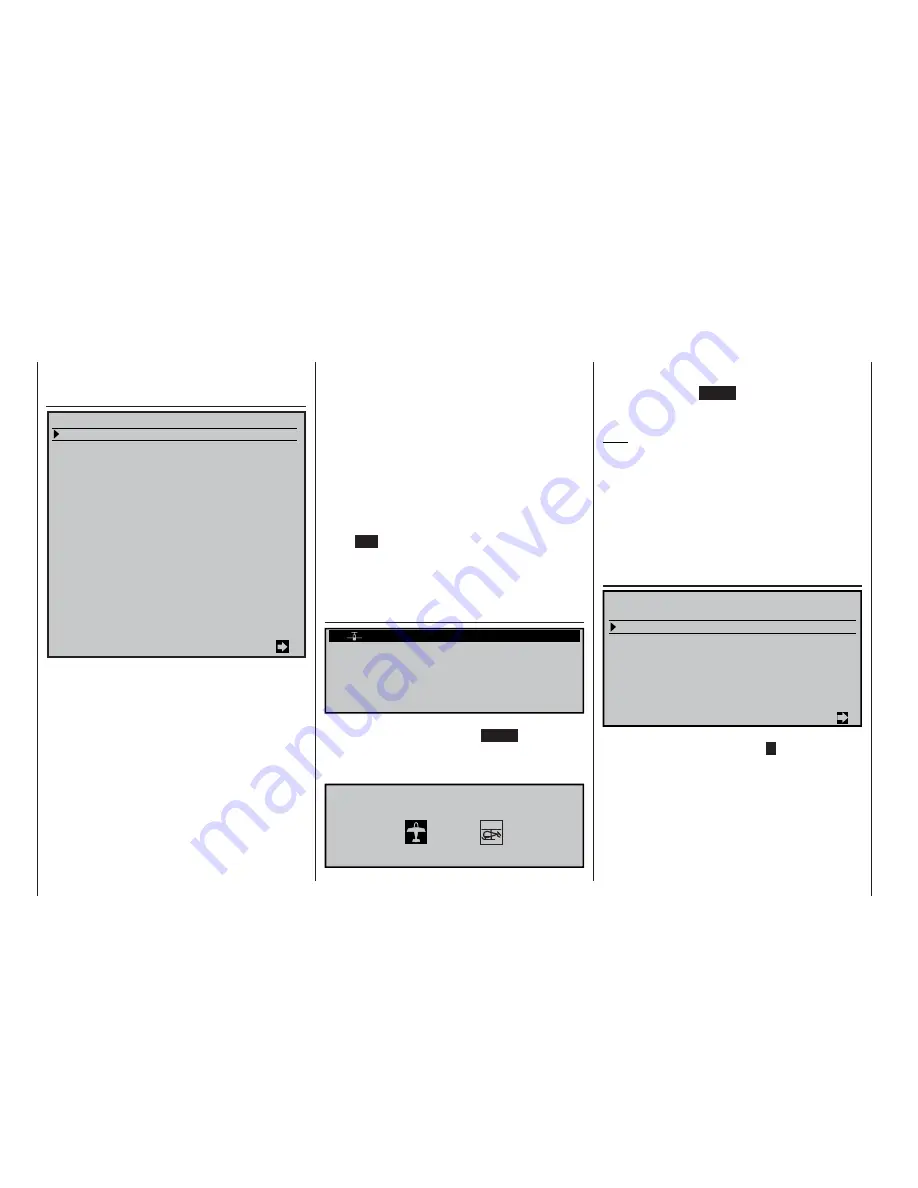
... where you select a free model memory, and con-
fi rm your choice by pressing the
ENTER
button, or gi-
ving the rotary control a brief press. You are now re-
quested to select the type of model to be program-
med:
Select model type (free model memory)
In this example we are setting up a fi xed-wing mo-
del, so we confi rm the (highlighted) fi xed-wing model
symbol by pressing
ENTER
, or with a brief press on
the rotary control. The screen now reverts to the basic
display.
Note:
Once you have called up the “Model select” option
it is not possible to interrupt the process, i. e. you
must choose one or the other model type, even if you
switch the transmitter off in the meantime! However, if
you make a mistake you can always correct it simply
by erasing the model memory.
Now that you have overcome this fi rst hurdle, you can
start on the actual transmitter settings to suit the mo-
del in the …
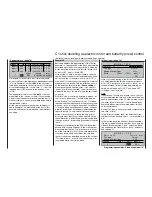
»Base setup model« menu (page 64)
Info
Modulation
<
>
<
>
SPCM20
Graubele
still in test
Auto trim
1
6
BASIC SETTINGS, MODEL
Model name
Stick mode
Volume
Auto timer reset
Power on warning
yes
At this point you can enter the “
Model name
” by mo-
ving to the character table via the
symbol. If you
wish, you can also enter a brief item of “information”
in the next line using the same method. At this stage
you should check the settings for “
Stick mode
” and
“
Modulation
” which were adopted from the »
Basic
settings
« menu when the model memory was initia-
lised, and change them if necessary.
Initially the “
Volume
” option only affects the alarm ti-
mer in the »
Timers (general)
« menu, which is of no
interest to us at the moment. In the “
Auto timer re-
GENERAL BASIC SETTINGS
Owners name
Pre-set stick mode
Pre-set modulation
Power-on beep
Battery warning
Own phase name
Pre-set min. pitch
4
SPCM20
yes
9.3V
forwrd
Display light
60s
<
1 <
>
2 <
>
3 <
>
4 <
>
5 <
>
6 <
>
7 <
>
8 <
>
9 <
>
10 <
>
>
Own phase name
Own phase name
Own phase name
Own phase name
Own phase name
Own phase name
Own phase name
Own phase name
Own phase name
H-J Sandbrunner
Summary of Contents for mx-24s
Page 1: ...1...
Page 19: ...19 For your notes...
Page 35: ...35 For your notes...
Page 41: ...41 41 For your notes...
Page 57: ...57 For your notes...
Page 63: ...63 63 For your notes...
Page 69: ...69 69 For your notes...
Page 85: ...85 85 For your notes...
Page 99: ...99 For your notes...
Page 143: ...143 For your notes...
Page 191: ...191 For your notes...
Page 212: ...212 212 For your notes...
Page 213: ...213 213 For your notes...
Page 214: ...214 For your notes...
Page 216: ...216...


