32
Assigning transmitter controls and switches
The
mx
-24s offers maximum fl exibility in terms of as-
signing the standard transmitter controls to particular
functions.
Since the method of assigning transmitter controls
and switches is the same in all the relevant menus,
we shall explain the basic programming at this point,
so that you can concentrate on the specialised con-
tent when reading the detailed descriptions of the in-
dividual menus.
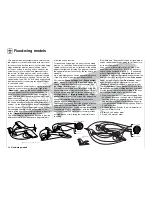
In the »Control adjust« menu …
… (see pages 78 / 80) you can assign Control 1, and
any other transmitter controls designated “CTRL”, or
switches designated “SW”, to the transmitter inputs 5
… 12 in order to control servos. The screen displays
the following window:
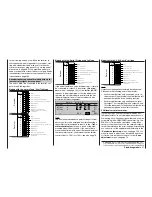
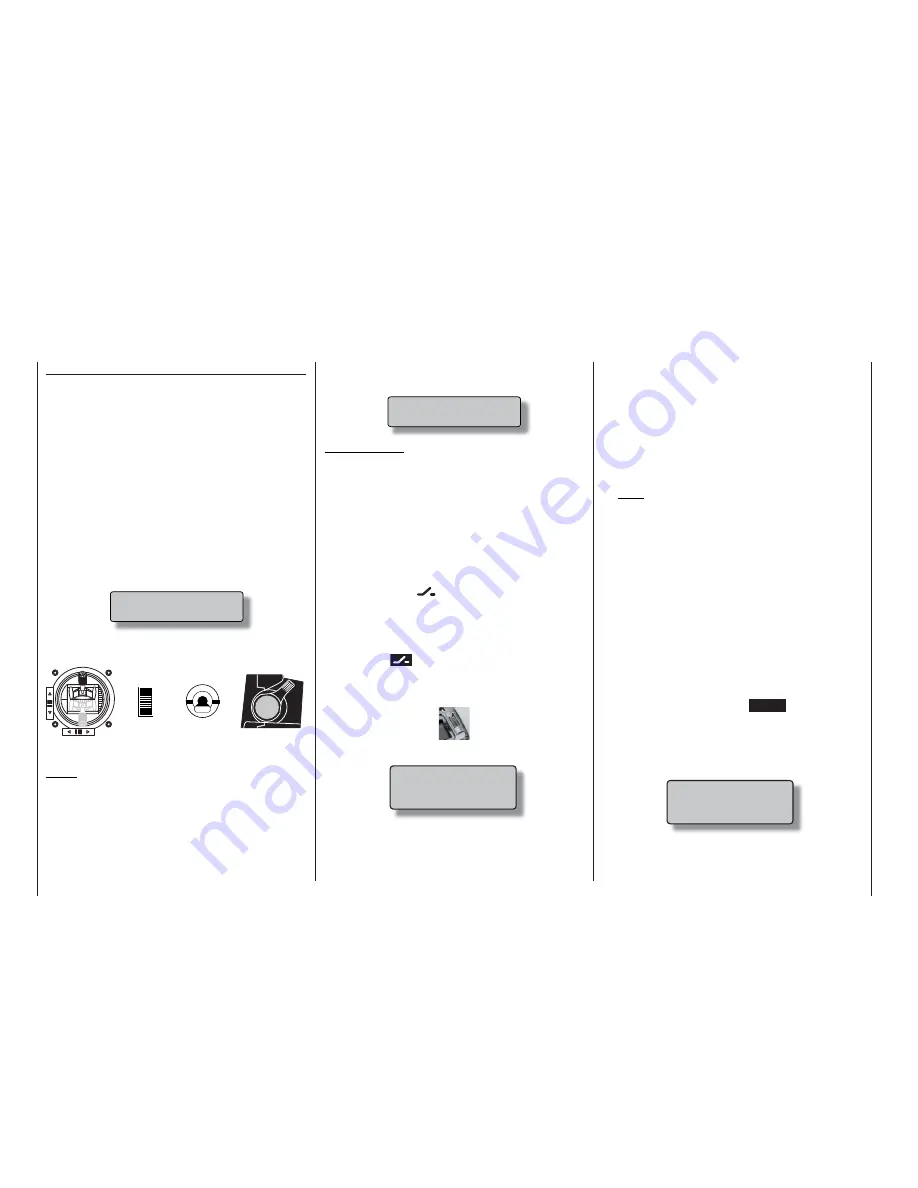
Now just operate one of the following transmitter con-
trols (CTRL) or switches (SW):
Notes:
The software only detects the two INC / DEC buttons
5 + 6 after a few “beeps”. This means that you must
hold them pressed in the up or down direction until
the assignment is displayed on-screen. If there is in-
suffi cient travel for this, simply move the control in the
opposite direction.
Assigning transmitter controls, switches and control switches
Basic procedure, meaning of the fi xed switches “FX”
In the »Control switch« menu …
… (see page 94) this message is superimposed:
Important note:
If you wish to assign the transmitter controls (es-
pecially CONTROL 5 + 6), it is ESSENTIAL to as-
sign them to one of the inputs 5 to 12 beforehand;
this is carried out in the »Control adjust« menu.
In addition to the transmitter controls mentioned abo-
ve (see left column), you can also select one of the
four dual-axis stick functions simply by moving the
stick physically forward or back, or to right or left.
Assigning switches
The switch symbol
appears in the bottom line of
the screen at all points in the programming procedure
where switches can be assigned.
If you move to this fi eld using the rotary control, the
switch symbol fi eld changes to highlighted (black
background):
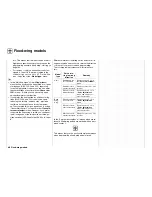
This is how you assign one of the switches:
1. Brief press on the rotary control
2. The following fi eld appears on the screen:
Now simply select the
switch
you wish to use and
move it to the “ON” position, following the instruc-
tions in the window; this completes the assignment
process, and the switch appears on the screen for
the relevant menu. A switch symbol adjacent to
the switch number shows the current status of the
associated switch.
The three-position switches designated CTRL 7
and 8 and also SW 5 / 6 and 9 / 10 can be used
purely as switches as well as for the purpose of
transmitter controls, which means that a total of
ten switches (“SW 1 … 10”) is available to you for
any purpose.
Note:
The position to which you eventually move the
switch (in order to assign it) is accepted by the
transmitter as the ON position. For this reason you
should move the external switch to your
intended
OFF
position before you activate the switch sym-
bol.
3. Changing the direction of switching
If the switch turns out to work in the wrong direc-
tion, you can correct it as follows: move the switch
to the desired OFF position, select the switch sym-
bol once more, and assign the switch again, this
time with the direction of switching you prefer.
4. Erasing switches
First activate the switch symbol as described un-
der Point 2, then press the
CLEAR
button.
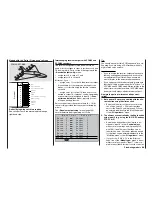
Assigning from the “Expanded switches” list
In various menus it is possible to assign the switches
designated “SW”. These menus are defi ned by the
appearance of the following superimposed window …
In these menus it is also possible to assign any of the
so-called “expanded switches”.
This is accomplished by following the instructions in
Switch assignment
Move desired switch
or control adj.
Move desired switch
to ON position
(ext. switch: ENTER)
Move desired
control adj.
CTRL
5 + 6
CTRL 7 + 8
or SW 1 ... 10
CTRL
9 + 10
Throttle stick
C1
Move desired switch
to ON position
(ext. switch: ENTER)
Summary of Contents for mx-24s
Page 1: ...1...
Page 19: ...19 For your notes...
Page 35: ...35 For your notes...
Page 41: ...41 41 For your notes...
Page 57: ...57 For your notes...
Page 63: ...63 63 For your notes...
Page 69: ...69 69 For your notes...
Page 85: ...85 85 For your notes...
Page 99: ...99 For your notes...
Page 143: ...143 For your notes...
Page 191: ...191 For your notes...
Page 212: ...212 212 For your notes...
Page 213: ...213 213 For your notes...
Page 214: ...214 For your notes...
Page 216: ...216...


