


5-121
SRW-5000/5500
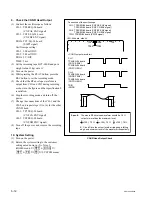
BVTT3
x
6
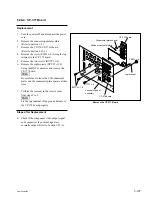
CN1
LED-386 board
SWC-43 board
BVTT3
x
6
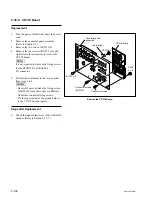
LED-386 board
CN1
CN1
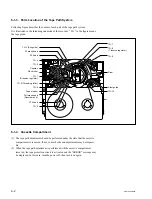
Remove the LED-386 Board
Remove the SWC-43 Board
5-30-15. LED-386 Board
Replacement
1.
Turn the power off and disconnect the power
cord.
2.
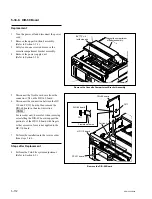
Remove the front panel assembly.
(Refer to Section 1-3-3.)
3.
Disconnect the harness from the connector
CN1 on the LED-386 board.
4.
Remove the two screws and remove the
LED-386 board.
5.
Perform the installation in the reverse order
from steps 2 to 4.
Steps after Replacement
6.
Confirm that the corresponding format lamp
indicator will light up when the cassette tape
recorded in each format is inserted.
5-30-16. SWC-43 Board
Replacement
1.
Turn the power off and disconnect the power
cord.
2.
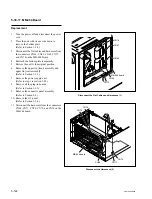
Remove the front panel assembly.
(Refer to Section 1-3-3.)
3.
Disconnect the harness from the connector
CN1 on the LED-386 board.
4.
Remove the two screws and remove the
SWC-43 board.
5.
Disconnect the harness from the connector
CN1 on the SWC-43 board.
6.
Perform the installation in the reverse order
from steps 2 to 5.
Steps after Replacement
7.
Check that the switches and indicators
function normally.