båÖäáëÜ
59 38 399 D3352
D3352.076.01.13.02
07.2008
6 – 35
Tab 6
6.12 Replacing the motor-driven diaphragm (for XG
Plus
/ XG 5)
6.12
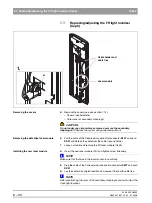
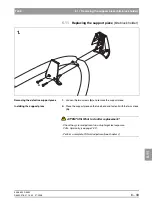
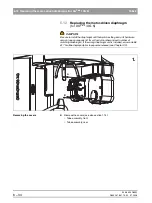
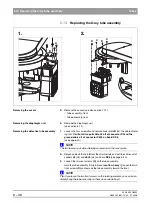
Removing the defective diaphragm unit
z
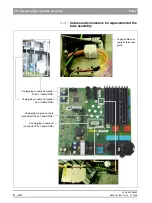
Pull cables
L11
and
L12
off of connectors
X501
(L11) and
X101
(L12) on
board
DX61
(see page 6-36).
z
TSA operation only:
Pull cables off of connectors
X203
,
X303
,
X304
,
X405
and
X406
on board
DX61.
1.
Loosen the upper screw
(A)
and the two lower screws
(B)
and remove the
diaphragm unit.
NOTE
i
If the two lower screws are not accessible, push the lower slider
(B)
upward
manually. If the slider is in such an unfavorable position that it cannot be
pushed upward, then:
– Remove board
DX61
,
– Loosen the 4 screws on motor
C
and raise it together with the spindle.
Installing the new diaphragm unit
z
Start by fastening the new diaphragm unit to the unit with screw
A
.
z
Then screw in the two lower screws
(B)
and carefully tighten
them
securely
(to a torque of 80 Ncm);
Caution! Aluminum housing
.
z
Plug cables
L11
and
L12
onto connectors
X501
(L11) and
X101
(L12) on
board
DX61
(see "Cables and connectors for replacement of the mo-
tor-driven diaphragm unit" on page 6-36).
z
For TSA operation:
Plug cables back onto connectors
X203
(motor cable L20),
X303
(light
barrier cable L21),
X304
(light barrier cable L21),
X405
(laser light localiz-
er 1 TSA) and
X406
(laser light localizer 2 TSA) on board
DX61
(see "Ca-
bles and connectors for replacement of the motor-driven diaphragm unit"
on page 6-36).
Attaching the covers
z
Reattach the covers.
ATTENTION: What to do after replacement?
– Since board DX61 is always replaced along with the diaphragm unit,
also
be sure to observe the “Measures following replacement of boards“
(see section 6.20.1).
– Perform a complete unit adjustment (see chapter 4).
– Take diaphragm test exposures for possible later evaluation by an expert.
B
DX61
C
DX61
Summary of Contents for ORTHOPHOS XG 3 DS
Page 4: ......
Page 9: ...ORTHOPHOS XG 1General information...
Page 12: ...59 38 399 D3352 1 4 D3352 076 01 13 02 07 2008 Tab1...
Page 59: ...ORTHOPHOS XG 2 Messages...
Page 124: ...59 38 399 D3352 2 66 D3352 076 01 13 02 07 2008 2 6 List of available service routines Tab 2...
Page 125: ...ORTHOPHOS XG 3 Troubleshooting...
Page 153: ...ORTHOPHOS XG 4 Adjustment...
Page 269: ...ORTHOPHOS XG 5 Service routines...
Page 433: ...ORTHOPHOS XG 6 Repair...
Page 436: ...59 38 399 D3352 6 4 D3352 076 01 13 02 07 2008 Tab6...
Page 530: ...59 38 399 D3352 6 98 D3352 076 01 13 02 07 2008 6 21 Replacing cables Tabs 6...
Page 531: ...ORTHOPHOS XG 7 Maintenance...
Page 577: ...b 59 38 399 D3352 D3352 076 01 13 02 07 2008...


