båÖäáëÜ
59 38 399 D3352
D3352.076.01.13.02
07.2008
5 – 131
Tab 5
5.18 Service routine S033 (not for XG 3 / 3 PPE)
5.18
S033.10: Test of CEPH image path without SIDEXIS
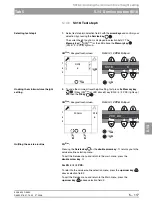
Selecting the synchronized readout
sequence
2.
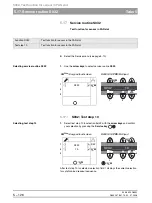
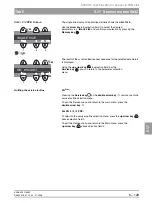
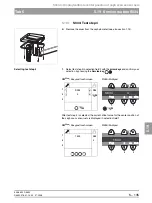
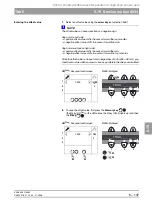
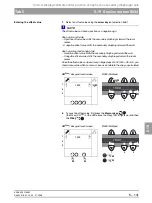
Select the mode of the desired synchronized readout sequence using the
arrow keys
of selection field 1.
HSIC4x4
= Sensor in CEPH mode with synchronized readout
sequence 4x4 clocked out without CEPH scan
HSIC4x4M = Sensor in CEPH mode with synchronized readout
sequence 4x4 clocked out with CEPH scan
After the mode for the synchronized readout sequence has been selected, the
Test key
(XG
Plus
) or the LED above the
Test key
(XG 5) lights up.
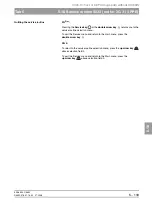
NOTE
i
If the R key (XG
Plus
) or the LED above the R key (XG 5) initially lights up, the
sensor holder must be moved to the corresponding position first. To do this,
press the
R key
.
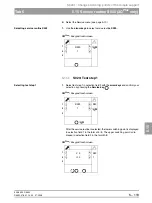
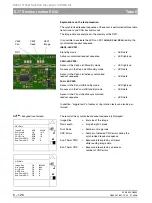
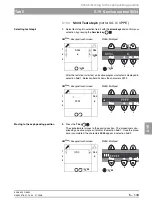
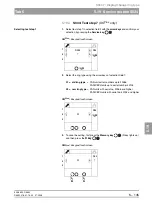
Starting the synchronized readout
sequence
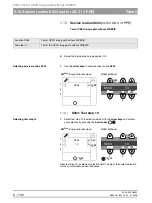
3.
Start the synchronized readout sequence with the
Test key
.
1
2
3
+
-
HSC4x4
n
(
1
2
3
HSIC4X4_________
XG
Plus
:
Easypad touchscreen
XG 5:
Multipad
(
n
(
n
T
10
T
T
R
R
T
T
1
2
3
Take Image...
n
(
1
2
3
TAKE_IMAGE_____
XG
Plus
:
Easypad touchscreen
XG 5:
Multipad
10
S33
Summary of Contents for ORTHOPHOS XG 3 DS
Page 4: ......
Page 9: ...ORTHOPHOS XG 1General information...
Page 12: ...59 38 399 D3352 1 4 D3352 076 01 13 02 07 2008 Tab1...
Page 59: ...ORTHOPHOS XG 2 Messages...
Page 124: ...59 38 399 D3352 2 66 D3352 076 01 13 02 07 2008 2 6 List of available service routines Tab 2...
Page 125: ...ORTHOPHOS XG 3 Troubleshooting...
Page 153: ...ORTHOPHOS XG 4 Adjustment...
Page 269: ...ORTHOPHOS XG 5 Service routines...
Page 433: ...ORTHOPHOS XG 6 Repair...
Page 436: ...59 38 399 D3352 6 4 D3352 076 01 13 02 07 2008 Tab6...
Page 530: ...59 38 399 D3352 6 98 D3352 076 01 13 02 07 2008 6 21 Replacing cables Tabs 6...
Page 531: ...ORTHOPHOS XG 7 Maintenance...
Page 577: ...b 59 38 399 D3352 D3352 076 01 13 02 07 2008...

