59 38 399 D3352
5 – 96
D3352.076.01.13.02
07.2008
5.13 Service routine S017
Tabs 5
S017.12: Enabling/disabling the preview image
5.13.10
S017: Test step 12
(XG
Plus
only)
z
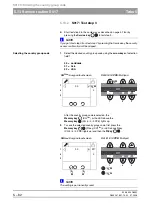
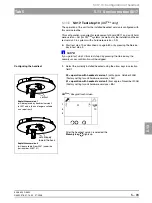
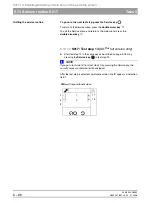
Start test step 12 in the same way as described on page 5-78 or by
pressing the
Service key
in test step 11.
NOTE
i
If you go to test step 12 from test step 11 by pressing the Service key, the
security access confirmation will be skipped.
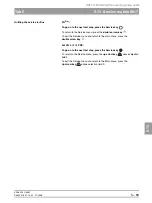
Enabling/disabling the preview image
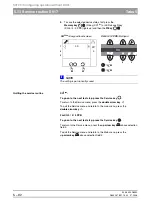
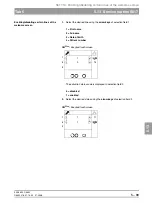
1.
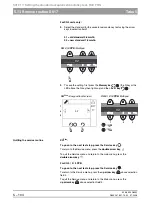
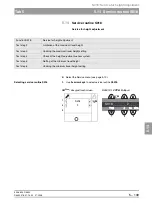
Select the code for displaying the preview image using the
arrow keys
of
selection field 1.
00 = Preview image disabled
01 = Preview image enabled
After the code is selected, the
Memory key
lights up.
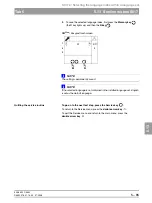
2.
To save the selection, first press the
Memory key
(the R key lights up)
and then the
R key
.
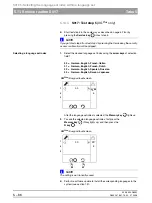
Quitting the service routine
To go on to the next test step, press the Service key
.
To return to the Service menu, press the
double arrow key
.
To quit the Service menu and return to the main menu, press the
double arrow key
.
1
2
3
+
-
01
XG
Plus
:
Easypad touchscreen
(
n
R
12
R
1
2
3
+
-
01
XG
Plus
:
Easypad touchscreen
R
)
n
)
o
12
S17
Summary of Contents for ORTHOPHOS XG 3 DS
Page 4: ......
Page 9: ...ORTHOPHOS XG 1General information...
Page 12: ...59 38 399 D3352 1 4 D3352 076 01 13 02 07 2008 Tab1...
Page 59: ...ORTHOPHOS XG 2 Messages...
Page 124: ...59 38 399 D3352 2 66 D3352 076 01 13 02 07 2008 2 6 List of available service routines Tab 2...
Page 125: ...ORTHOPHOS XG 3 Troubleshooting...
Page 153: ...ORTHOPHOS XG 4 Adjustment...
Page 269: ...ORTHOPHOS XG 5 Service routines...
Page 433: ...ORTHOPHOS XG 6 Repair...
Page 436: ...59 38 399 D3352 6 4 D3352 076 01 13 02 07 2008 Tab6...
Page 530: ...59 38 399 D3352 6 98 D3352 076 01 13 02 07 2008 6 21 Replacing cables Tabs 6...
Page 531: ...ORTHOPHOS XG 7 Maintenance...
Page 577: ...b 59 38 399 D3352 D3352 076 01 13 02 07 2008...

