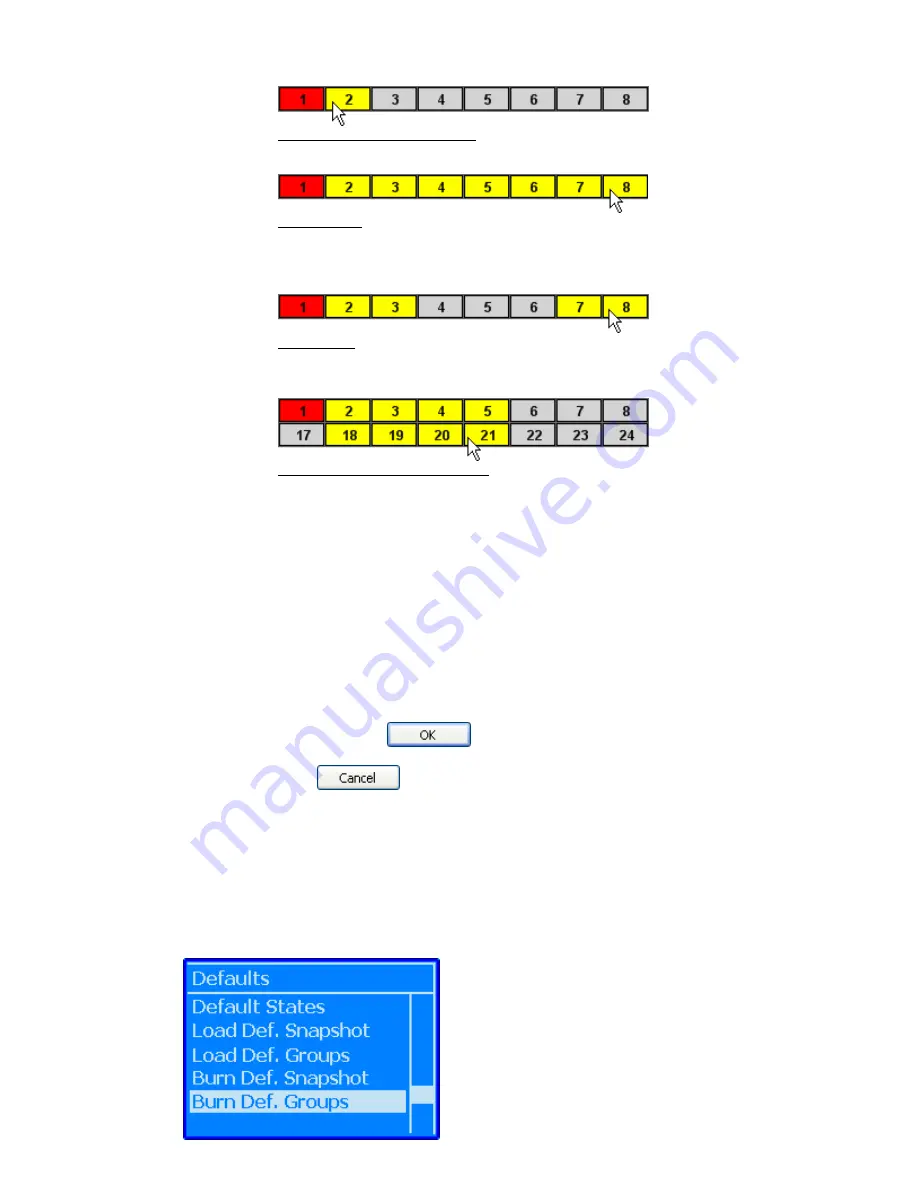
Group Members can then be selected using one of the following methods:
Click A Single Group Member: To select an individual Group Member(s)
Shift + Click: To select a range of consecutive Group Members
•
Click on the first Group Member to select it
•
Hold down the Shift key and click on the last Group Member in the series
•
All the channels between the first and last Group Members will be selected
Ctrl + Click: To select a group of non-consecutive Group Members
•
Hold down the Ctrl key
•
Click on the desired Group Members in any order
Drag + Click (Rubber-banding): To select a region of Group Members
•
Click within the first Group Member to be included
•
While holding down the left mouse button, drag the mouse over the region
of Group Members you wish to include in the selection
Clicking within the Grid will clear any previous selections, unless Shift + Click or
CTRL + Click methods are used. Group Members can be added or deleted to
previously selections using Shift + Click or CTRL + Click methods. Rubber-
banding can be used in combination with Shift + Click and Ctrl + Click methods.
IMPORTANT NOTE: Once a Group Master or Member is assigned to a group, it
cannot be assigned to another group.
25.7.5
OK and Cancel Buttons
Once all the sections, Group Type, Group Name, and Group Masters and Members have
been selected, click the
button to save the new or edited group.
Clicking the
button will close the Edit Group window without saving or
changing the group.
25.8
Default Groups
The current groups that were setup using the PC software can be “burned” to the ACM as the
Default Groups. The Default Groups will be included in all new mixes created on the ACM.
The Default Groups can be changed or cleared by setting up a new set of groups in the PC
software and then burning them to the ACM again.
To save the Default Groups, select “Burn Def. Groups”
from the Defaults menu and press the “Yes OK” button.


