


Instrument Functions
R&S
®
Cable Rider ZPH
79
User Manual 1321.0950.02 ─ 03
2. Select the "Config Overview" softkey.
3. Select one of the dialog boxes and change the settings as you like.
Note that the contents of the "Config Overview" dialog box are customized for each
operating mode of the R&S Cable Rider ZPH. Therefore, the order and number of dis-
played settings is different in each mode.
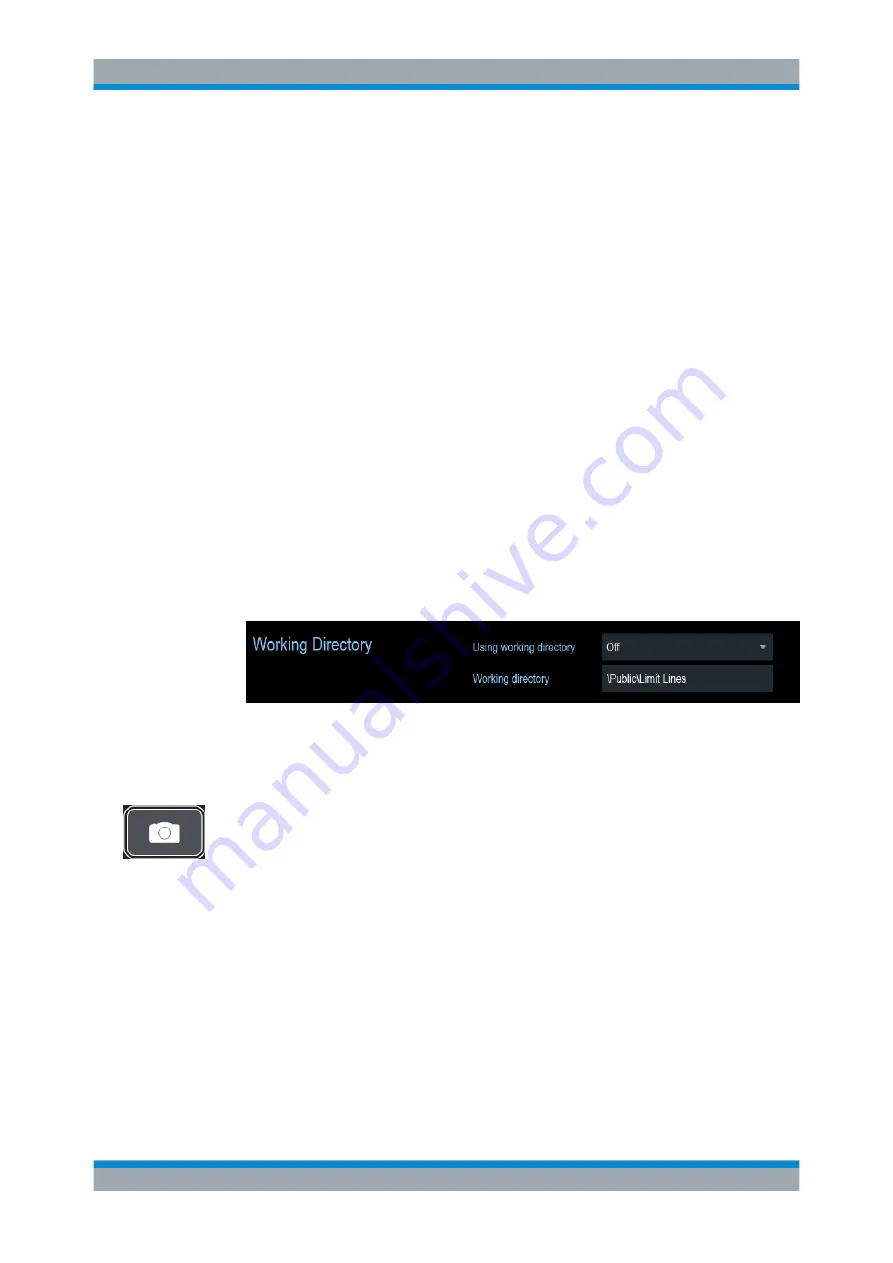
5.6 Working Directory
Using the "Working Directory", you can customize the folder directory to save the
screenshots and datasets captured during measurement.
1. Press the SETUP key.
2. Select the "User Preference" softkey.
3. In the "User Preferences" dialog box, select the "Using working directory" item.
4. Select "On" to activate the customize folder directory or "Off" to use the default
storage device in the R&S Cable Rider ZPH. See
5. Define the folder name in the "Working directory" item.
5.7 Taking Screenshots
You can take and store a screenshot of the current screen anytime with the screenshot
key.
► Press the screenshot key.
The R&S Cable Rider ZPH takes the screenshot.
If available, the R&S Cable Rider ZPH stores the screenshot on an external storage
device (USB flash drive or micro-SD card). If both are connected, the R&S Cable Rider
ZPH uses the USB flash drive.
If no external device is available, the R&S Cable Rider ZPH stores the screenshot in its
internal memory until the internal memory is full. In that case, you can transfer the
screenshots with the R&S InstrumentView software to your computer.
Taking Screenshots


