Setting Up: Your Network
58
b.
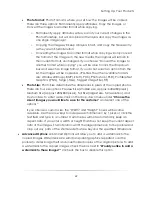
Margin Text
:
i.
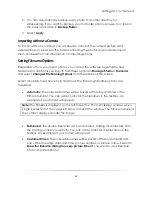
Select Control options for if and when to print margin text.
ii.
Enter text to appear on lines 1 and 2 at left, center, and right
justification.
iii.
Select
Insert Special Text
to enter pre-made text for customers,
dates, packages, and other information.
iv.
Select
Restore Default Text
to set the text to printer defaults.
6.
Select
OK
.
7.
Select a Page
Size.
8.
Select
Arrangements
for that page size: use
Quick Setup
to quickly add or delete
print sizes of one type. Select
OK
when finished.
9.
Select
OK
to save printer settings.
Setting Up a Raster Printer
A raster image printer will output each print as an image file on your computer. The
image file size and type can be specified for output. This is especially useful when you
want to modify the image size and output as another file type.
To add and set up a raster printer:
1.
Select
[Add Raster Printer]
. A window appears.
2.
Select the print size of this image printer.
3.
Select Options:
a.
Confirm or change the print size.
b.
Select
Enabled
to activate this image printer.
c.
Select
Copy Settings
to copy the settings from another raster printer.
d.
Select Orientation options.
e.
Select the Print Area and Bleed options.
f.
Select the Output Folder, output File Type, Filename Format, and the
filename and variable to start with.
Summary of Contents for Studio Solution
Page 1: ...User Guide ...
Page 366: ...Index 366 Zoom 296 ...


