Tutorial: Border Workshop
283
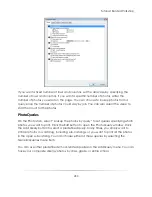
Enter the size of the area you want to fill, enter the number of rows and columns, and
select the orientation of the photos. If there are more photos than what you allow for,
the application overrides the size and row/column setting to fit all images on the page.
If you want space between the photos, select ―Spaced.‖ Choose how to handle
overlapping photos, and how you want to align the last row if it is not full.
Photo Labels
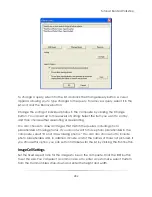
On the Labels tab, check the Show Labels checkbox if you want the composite to have
labels below each photo. Enter the label you want to appear, and click the Font button
to set the font attributes of the text. The label can be any text or any variable name
enclosed in percent signs (%). If you use a variable label, the application prompts you
to enter the variable value for each photo when the composite is generated. Choose
the position of the label in relation to the photo. If you want the label text to be white
on a black background, click the Invert checkbox.
You can label with predefined variables such as the date or copyright by clicking the
Insert Auto Text button and selecting a variable.
Composite Options
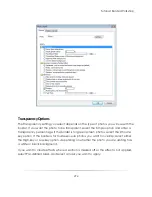
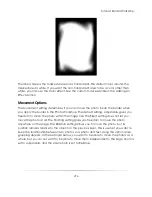
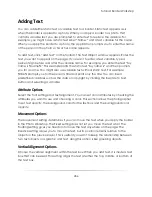
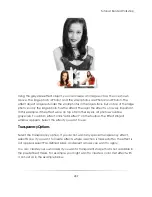
The Transparency setting you select depends on the type of photos you will use with the
border. If you want the photo to be transparent, select the Simple option and enter a
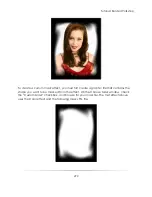
transparency percentage. If you want to create effects where a section is masked off
so the effect is not applied, select Pre-defined Mask, and select a mask you want to
apply. If the border is for green screen photos, select the Chroma key option.
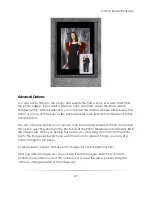
You can add a frame to the photo, and specify the frame color, size, and offset (from
the photo edges). If you want a photo to have a shadow, select the Draw a Drop
Shadow option. With this selection, you can have the shadow appear either below the
photo or on top of the photo so the photo appears inset. Specify the offsets and radius
of the shadow.
Composite Size and Position
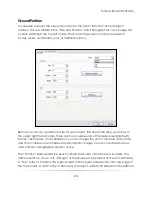
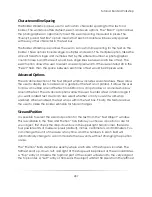
Before you choose a position for your object, first check the drop-down box in the
upper right hand corner, there are four possible units of measure: pixels (default),
inches, centimeters, and millimeters. You can change the unit of measure at any time,
and the numbers in each field will automatically change to accommodate the new
units, without changing the position or size.
Summary of Contents for Studio Solution
Page 1: ...User Guide ...
Page 366: ...Index 366 Zoom 296 ...


