Using: Border Workshop
224
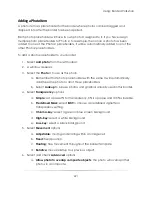
b.
Simple
: set a preset % for transparency. 0% is opaque and 100% is invisible.
c.
Drop out a specific color
: remove a color as a transparent area.
d.
Use image alpha channel (32
-bit targa or png)
5.
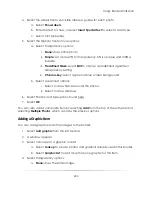
Select Movement options.
6.
Select Advanced options:
a.
Allow photo to overlap composite objects
b.
Display image on screen as guide but do not print
c.
Select to draw frames around the photos.
d.
Select to draw shadows.
7.
Select Position and Size options, found here.
You can also add a graphic by selecting
Add
from the top of the software and
selecting
Graphic
, which contains all of the previous options.
Adding Text
You can add text items to your border:
1.
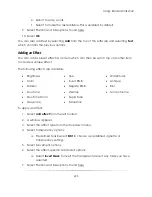
Select
add text
from the left toolbar.
2.
A window appears.
3.
Enter the text for the item.
a.
Select
Insert Special Text
to select a data type.
4.
Select
font properties
.
5.
Select
Color Attributes
.
6.
Select
Movement options
.
7.
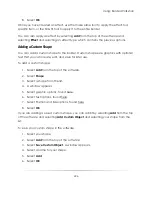
Select the alignment, character spacing, and line spacing.
8.
Select
Advanced options
:
a.
Select to Display text on screen as guide but do not print
b.
Select to draw an outline around the text.
c.
Select to draw shadows beneath or inside the text.
d.
Select Rotation
Summary of Contents for Studio Solution
Page 1: ...User Guide ...
Page 366: ...Index 366 Zoom 296 ...


