Using: Photo Library
132
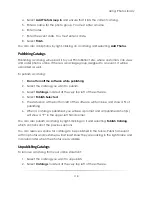
c.
Use the default catalog attributes.
d.
Use Custom attributes 1 – 4.
e.
Use a New custom setting you created (it will appear below Custom 1 –
4).
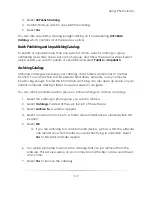
Editing Custom Attributes
To edit custom attributes, select
Attributes
from the very top center of the software and
select
Save Attributes to > Edit
. You can rename or delete your custom attribute
settings.
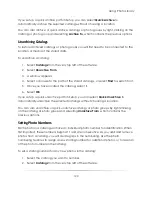
Orienting Photos
To quickly change the orientation of a photo, select any number of photos and select
the arrows on each side of
Orient
, located above the photo viewer. The left arrow
rotates clockwise and the right arrow rotates counter-clockwise.
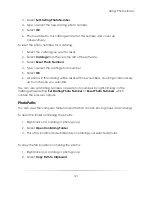
For other orientation options, select
Orient
from above the photo viewer and select an
option:
Vertical
: oriented as a portrait.
Horizontal
: oriented as a landscape.
Vertical Flipped
: oriented vertically but upside-down compared to the original.
Horizontal Flipped
: oriented horizontally but flipped sideways compared to the
original.
Rotate Clockwise
: rotate the photo 90° clockwise. Press
O
as a hotkey.
Rotate Counter-Clockwise
: rotate the photo 90° counter-clockwise. Press
SHIFT -
O
as a hotkey.
Flip
: flip the photo 180°.
Set Crop Orientation
: this determines how the image will be cropped to fit on the
photo. Select
Auto
to let the software decide on a per photo basis, or select
Vertical
or
Horizontal
.
Set Default Orientation
: this determines how photos are automatically oriented.
Select
No Default Orientation
to let the software decide on a per photo basis.
Summary of Contents for Studio Solution
Page 1: ...User Guide ...
Page 366: ...Index 366 Zoom 296 ...

