Setting Up: Your Products
66
7.
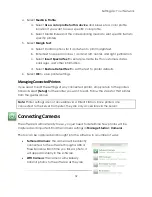
If you wish to add additional items to the package, click on another item and
select the number of prints. There is no limit to the number of items you may add.
Select
Clear Quantities
to reset the list and start over.
8.
When finished, select
OK
.
Editing a Product
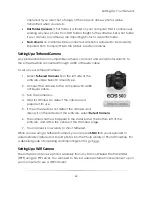
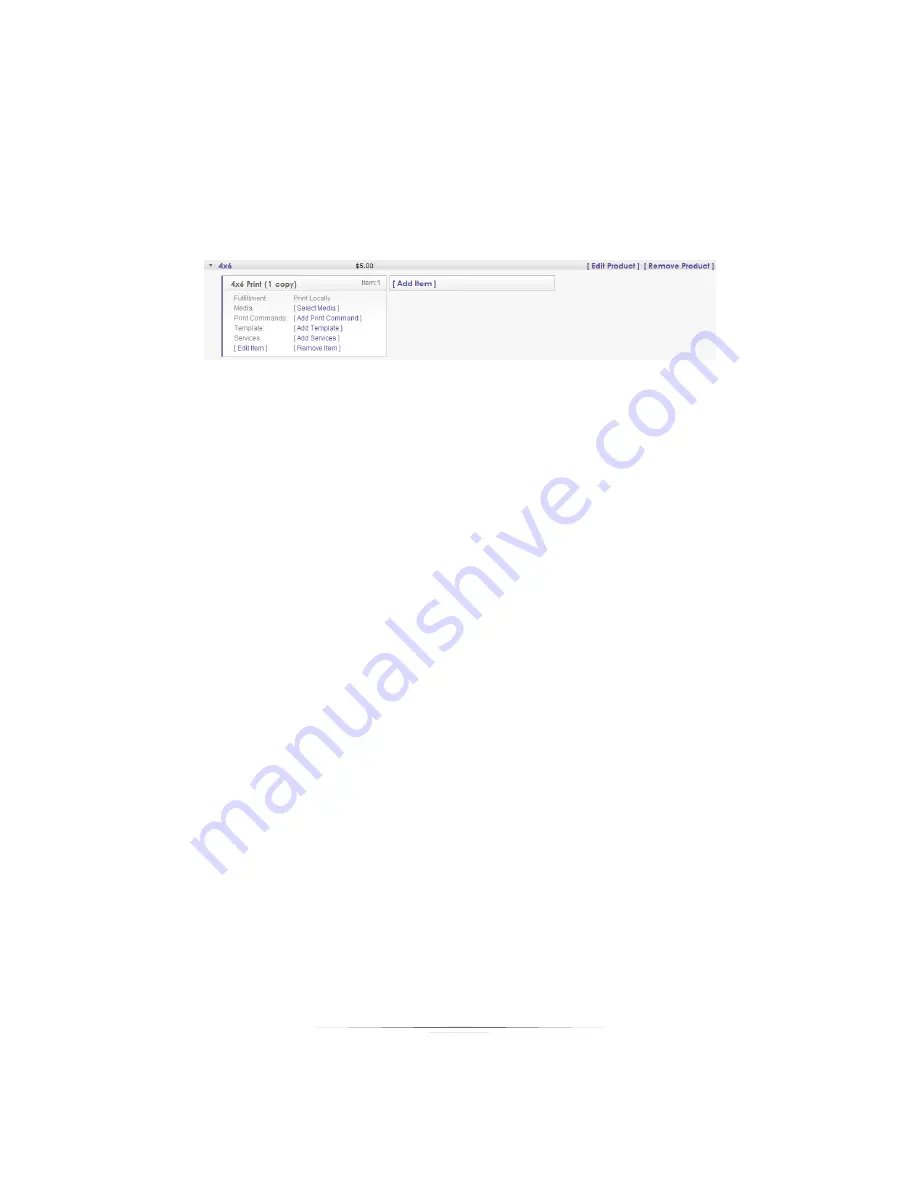
Once you have created a product, it will appear in your selected package with a list of
possible commands and preferences. Select [
Edit Item]
to change the product name,
price, size, fulfillment, or any of the options from the list below. Select
[Remove Item]
to
delete it.
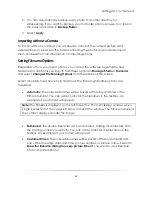
Click on any available link to quickly add or edit a product feature:
Fulfillment
: Select where the product will be printed (local or lab). This option can
only be changed by selecting
[Edit Item].
Media and Print Commands
: Select to add or edit the type of printing material or
special printing commands.
Template
: Select to assign a template with this product. Templates can be
graphics, layouts, overlays, or text.
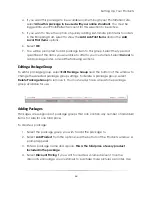
To associate a template with this product:
1.
Select
Always use a border for this package item
.
2.
Select
Choose
. A window appears.
3.
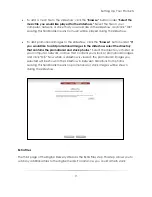
The top of the window includes all borders currently in the software, while
the bottom shows borders for sale from the online Template Marketplace.
Use the tabs and arrow keys to navigate and select a border, then select
OK.
4.
The Border Name and description field is automatically populated.
Summary of Contents for Studio Solution
Page 1: ...User Guide ...
Page 366: ...Index 366 Zoom 296 ...


