Using: Border Workshop
213
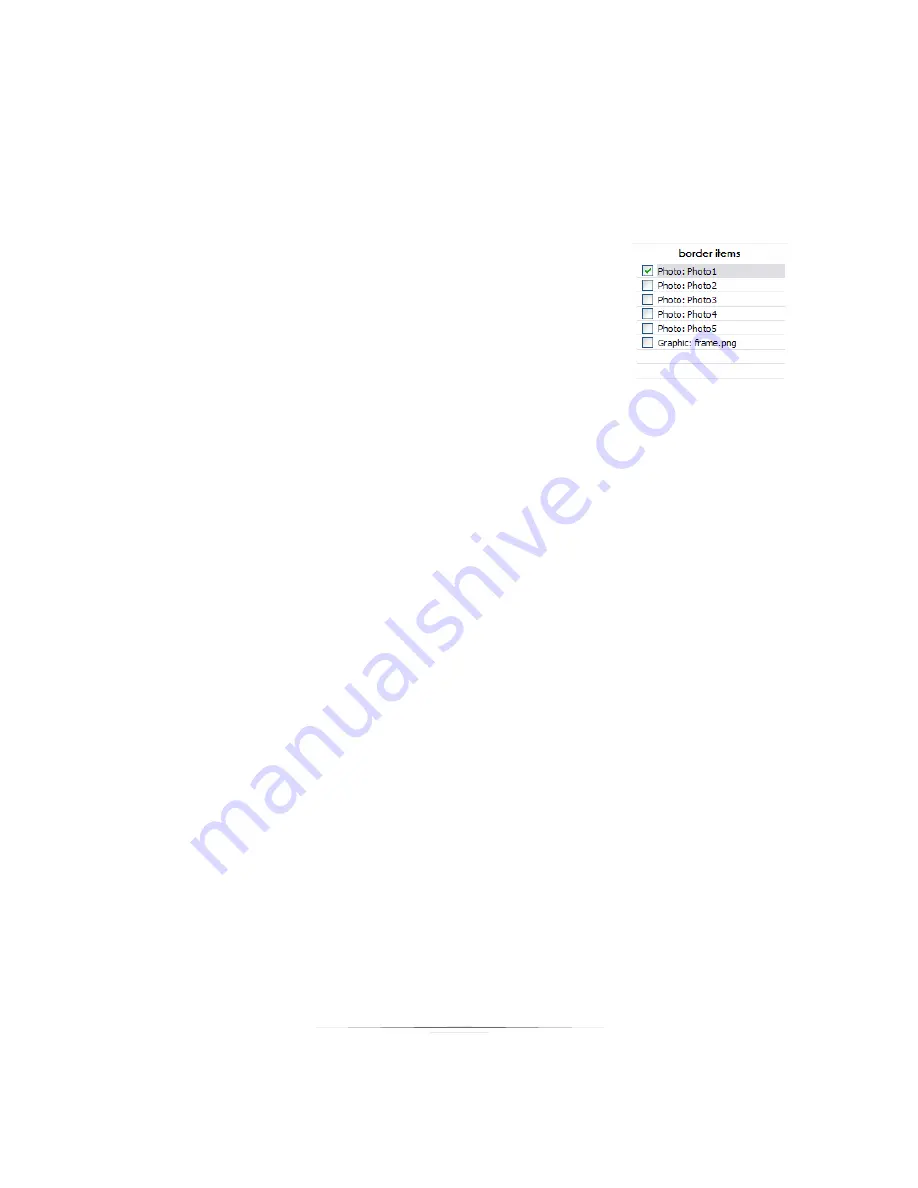
The top of the list is the background of the border. Items will always appear in the
border workspace beneath items listed below it in the border list.
The bottom of the list is the front of the border. Items will always appear in the border
workspace on top of items listed above it in the border list.
Selecting any item in the border items list will select it in
the workspace as well.
Right-clicking any item in the border item list will bring up
the same options as right-clicking the item in the border
workspace.
Double-clicking any item in the border item list will bring
up the item properties.
To rearrange items in the border items list:
1.
Select a border item in the list.
2.
Hold and drag the item to a new location in the list.
3.
The item will now appear in a different order in the workspace.
Viewing and Using the Grid
You can display a grid for aligning border items. To view the grid, select
Options
from
the top of the software and select and check
Show Grid
.
To edit grid options:
1.
Select
Options
from the top of the software.
2.
Select
Grid Options
, or press
CTRL – G
as a hotkey.
3.
Select
Display Grid
to show the grid.
4.
Select
Snap to Grid
to have items snap to grid lines when moved.
5.
Select the Grid Units: inches, pixels, cm, or mm.
6.
Select the size of your grid.
7.
Select
OK
.
Summary of Contents for Studio Solution
Page 1: ...User Guide ...
Page 366: ...Index 366 Zoom 296 ...

