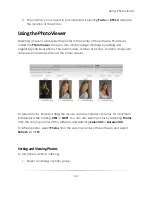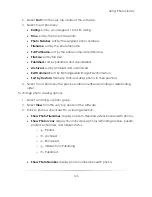
Using: Photo Library
118
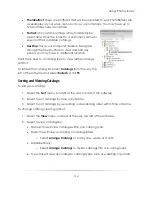
4.
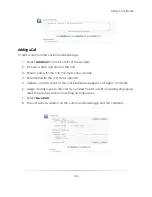
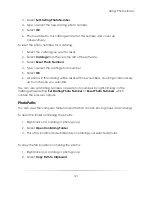
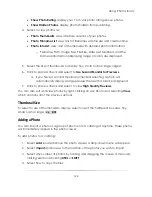
Select
Add Photo Group to
and ensure that it lists the correct catalog.
5.
Enter a name for the photo group. You must enter a name.
6.
Enter notes.
7.
Enter the event date. You must enter a date.
8.
Select
Finish
.
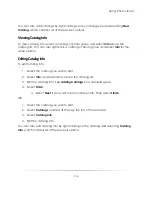
You can also add photos by right-clicking on a catalog and selecting
Add Photos
.
Publishing Catalogs
Publishing a catalog will upload it to your PhotoReflect site, where customers can view
and order photos online. If there is a package group assigned to an event, it will be
uploaded as well.
To publish a catalog:
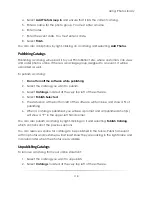
1.
Do not turn off the software while publishing
.
2.
Select the catalog you want to publish.
3.
Select
Catalogs
, located at the very top left of the software.
4.
Select
Publish Selected
.
5.
The status bar at the bottom left of the software will turn blue and show a % of
publishing.
6.
When a catalog is published, you will see a prompt and all published photo(s)
will show a ―P‖ in the upper-left hand corner.
You can also publish a catalog by right-clicking on it and selecting
Publish Catalog
,
which contains all of the previous options.
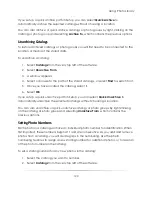
You can reserve a space for catalogs to be published in the future. Publish an event
with no photos and customers will at least know they are looking in the right place and
can return later when the photos are available.
Unpublishing Catalogs
To remove a catalog from your online storefront:
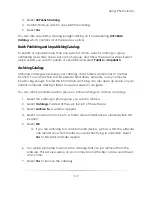
1.
Select the catalog you want to unpublish.
2.
Select
Catalogs
, located at the very top left of the software.
Summary of Contents for Studio Solution
Page 1: ...User Guide ...
Page 366: ...Index 366 Zoom 296 ...

