Tutorial: Border Workshop
284
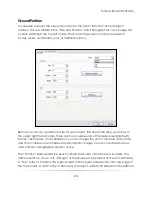
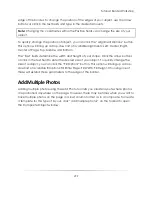
The ―Position‖ fields determine exactly where each side of the shape is located. The
farthest point up, down, left, and right of the shape will be placed at these coordinates.
A ―Top‖ entry of 0 means the topmost part of the object will extend to the very edge of
the top border. A ―Left‖ entry of 50 means the object will start 50 pixels from the leftmost
edge of the border. To change the position of the edges of your object, use the arrow
buttons or click in the text fields and type in the desired amounts.
Note:
Changing the coordinates within the Position fields can change the size of your
object.
To quickly change the position of object, you can click the ―Alignment Options‖ button.
This option will bring up a drop-down list of available alignments: Left, Center, Right,
Center of Page, Top, Middle, or Bottom.
Adding a Border Graphic
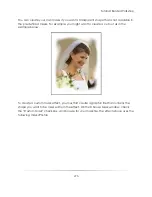
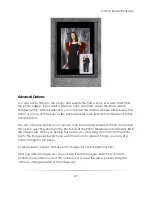
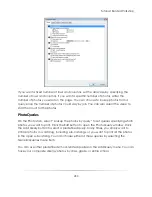
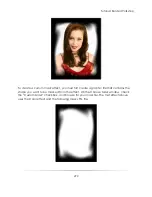
Most borders contain a graphic, whether it is a decorative border that surrounds the
photo or a simple logo in the corner of the page. You can add one or more graphics to
your border template by clicking ―add graphic‖ on the toolbar. The Graphic Object
window appears. Click the Browse button to select the graphic file you want to appear
on the page.
The Border Workshop can use several different types of files while making graphics. The
Workshop will convert these files to .PNG files automatically as the border is created.
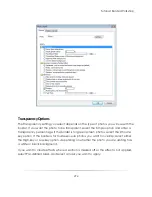
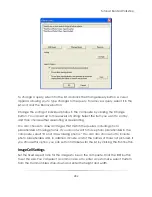
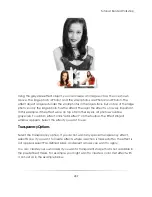
Transparency Options
If you want the graphic to appear as-is, leave the Transparency option on None. If you
want the graphic to be transparent, select the Simple option and enter a transparency
percentage. If you want to make a single color in the image transparent, select the
Drop Out a Specific Color option and choose the color you want to drop out. If your
graphic has an alpha channel you want to make transparent, select the Use Image
Alpha Channel option.
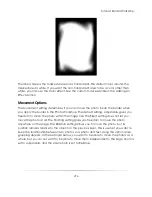
Movement Options
The Movement setting determines if you can move the graphic when you apply the
border in the Photo Workshop. The Fixed setting does not let you move the graphic at
all. The Floating setting gives you freedom to move the graphic anywhere on the page.
The Relative setting allows you to move the graphic, but its position remains relative to
Summary of Contents for Studio Solution
Page 1: ...User Guide ...
Page 366: ...Index 366 Zoom 296 ...


