Using: Photo Library
129
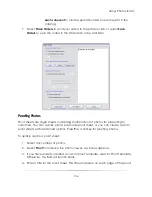
2.
Select
Copy Path to Clipboard
.
3.
The location is now saved in your clipboard. Selecting
Paste
or
CTRL-V
will paste
the location of the photos.
Viewing Photo Properties
To see the properties of a selected photo, select
Photos
from the very top center of the
software or right-click on a photo, and select
Properties
. A window with two tabs
appears.
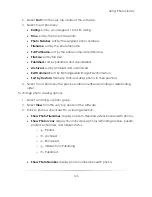
The following information is displayed on the properties tab:
Filename
Path
Image Size
File Size
Date Last
Modified
Orientation
Cached status
Archived status
Published status
Hidden status
Photographer’s
Notes
The Photo Data tab is used for setting queries. A query has a property and a value, and
is used to organize photos automatically when dealing with large groups. Keep reading
for a brief example.
Imagine you are creating composite photos for a soccer team where each player will
have a team photo and a player photo. Now imagine you are creating composites for
twenty different teams! You can simplify your search and creation process:
1.
Select
Add Data
.
2.
Set the
Property
to Team Name.
3.
Set the
Value
to Bumblebees and select
OK
.
4.
Select
OK
.
5.
When you are creating or using a border, you can assign a border to
automatically import photos with specific data, such as Team Name, or even
specific data such as Team Name = Bumblebees or Team Name = Sharks. This
one query will automatically import the composite photo each time the border is
applied, saving you precious time.
You can also view properties by right-clicking on a photo and selecting
Properties
.
Summary of Contents for Studio Solution
Page 1: ...User Guide ...
Page 366: ...Index 366 Zoom 296 ...


