Tutorial: Border Workshop
265
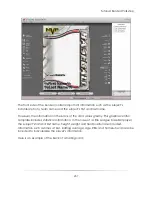
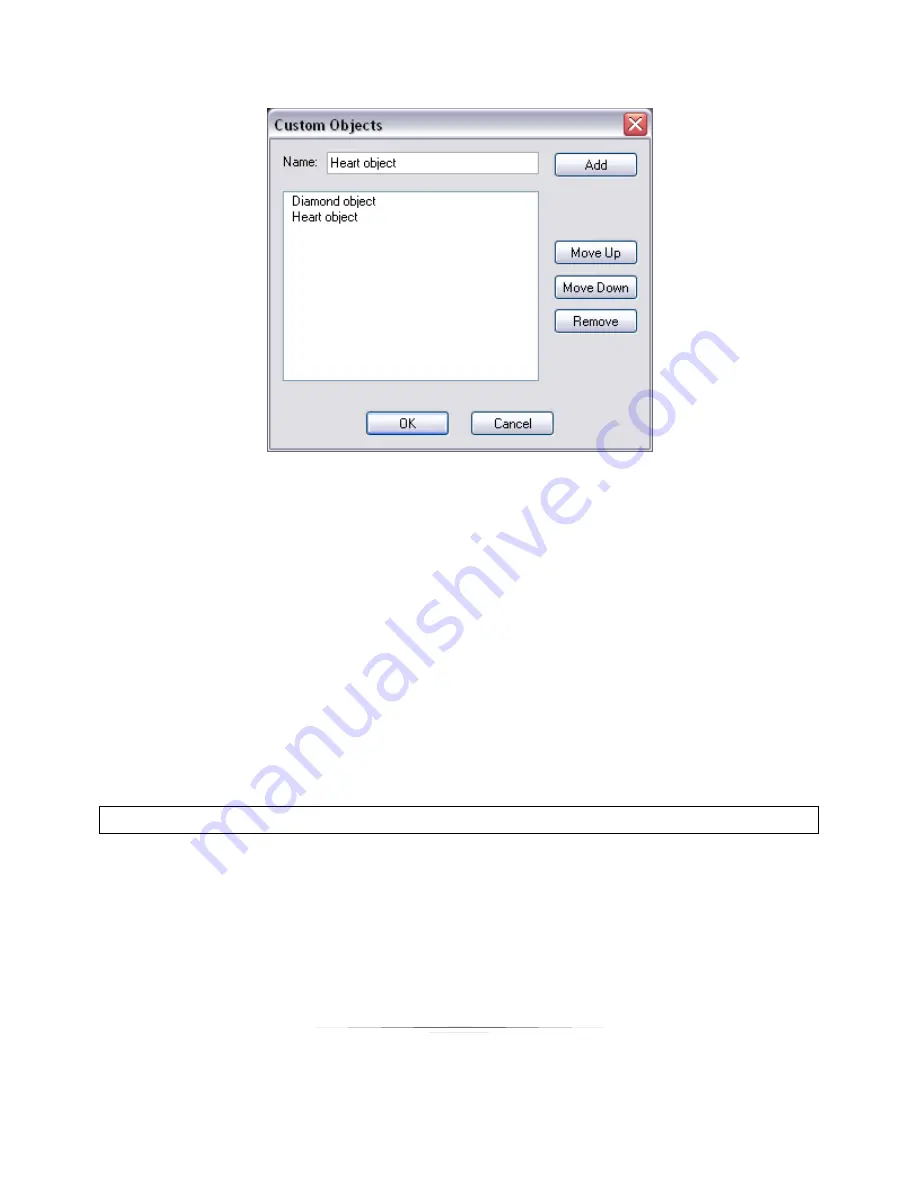
The Custom Objects window has two primary parts: a text field and the Custom Objects
list. Click on the text field and enter the name you wish to associate with your custom
object. It is recommended that you name it descriptively, so that you can recognize
what each custom object is. Once you have entered a name, you are ready to add it
to the list. Click the ―Add‖ button to add the custom object to the list.
The Custom Objects list is a list found throughout different parts of the program, under
the Borders options. Modifying the list here will also modify the Custom Objects list in the
Photo Workshop, as well as the Edit & Proofing page. The other options available are
―Move Up,‖ ―Move Down,‖ and ―Remove.‖ To move an object up or down in the
Custom Objects list, select it and choose the appropriate option. To remove the object
from the list entirely, select the object and click ―Remove.‖
Note:
Removing a custom object from the Custom Objects list will delete it entirely.
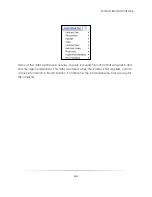
―Edit Custom Objects‖ will bring up the current list of Custom Objects, allowing you to
move them up or down in the list, or to remove them.
―Add Custom Object‖ will allow you to add a custom object from the Custom Objects
list into the border you are currently working on.
Summary of Contents for Studio Solution
Page 1: ...User Guide ...
Page 366: ...Index 366 Zoom 296 ...

