Tutorial: Border Workshop
268
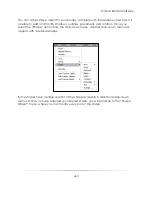
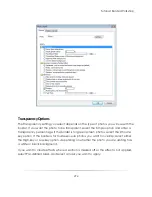
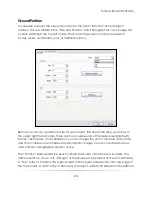
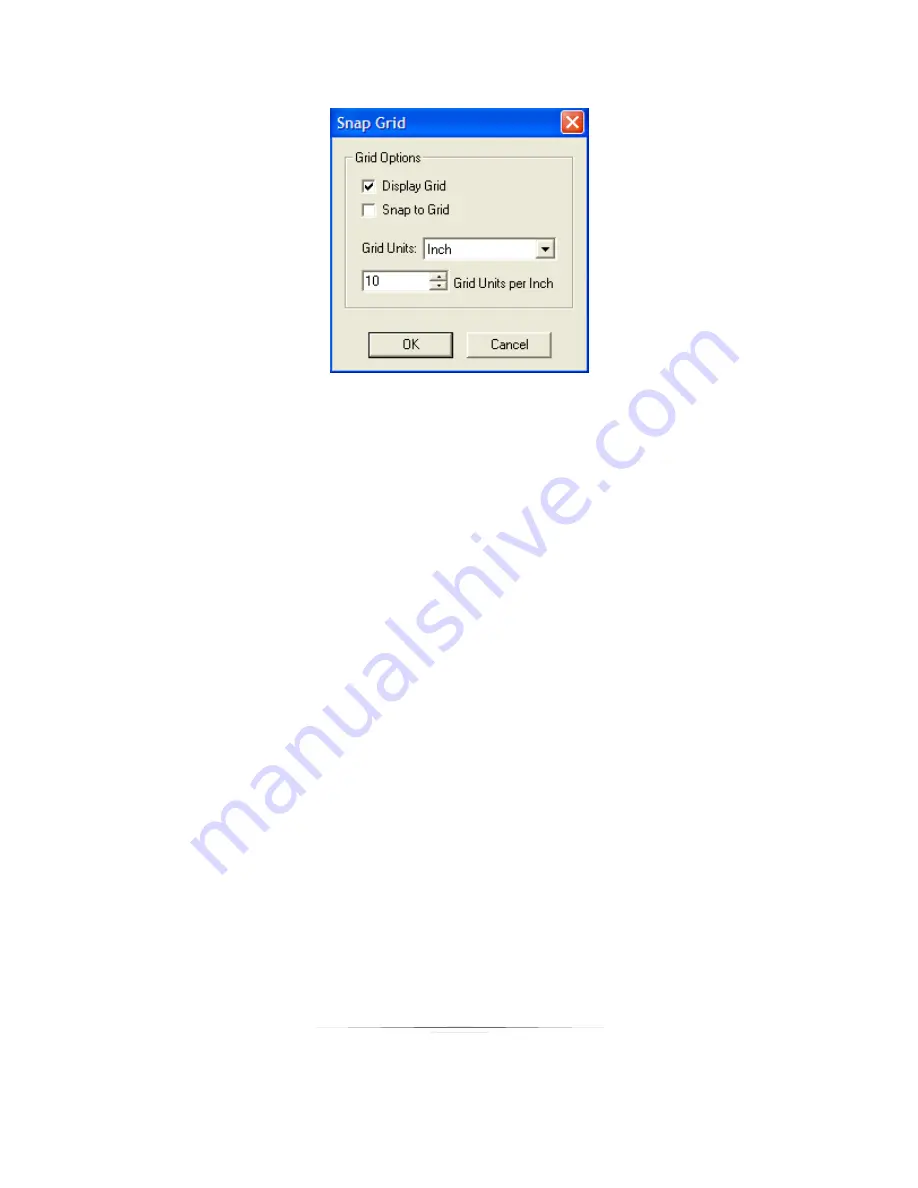
Studio Solution users have several options in this window. First, the photographer can
opt to display the grid when it is activated. This option is set to default as activated. To
deactivate the option, click on the checkmark to make it disappear.
The second option allows the user to make items ―Snap to Grid.‖ This means that when
photographer moves an object or photo around the border palate, the object will line
up directly on the grid lines. This means that the object or photos will snap to the visible
grid line as the photos are moves around. The application will pick the nearest grid line.
The third option allows the user to change the grid units. There are four units available in
the drop down menu. These include ―inch,‖ ―pixel,‖ ―centimeter (cm),‖ and ―millimeter
(mm).‖
Finally, users can change the number of grid units per inch. This allows the user to move
the grid dots to represent a larger size.
It is possible to activate this option by selecting a shortcut key. The keys assigned to this
operation are ―CTRL G.‖
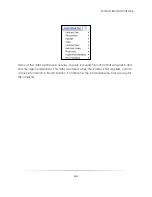
The next Border Workshop menu option is the feature called ―Auto Alignment.‖ This
feature allows the user to more closely line up a photo on the exact line on the border
palate. When the ―Auto Alignment‖ option is activated, guiding lines appear on the
screen to guide the user in correct alignment.
Summary of Contents for Studio Solution
Page 1: ...User Guide ...
Page 366: ...Index 366 Zoom 296 ...


