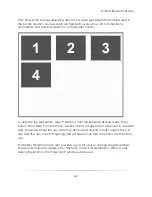
Tutorial: Border Workshop
272
Using the Border Items List
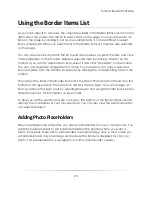
As you add objects to a border, the objects are listed in the Border Items column on the
right side of the screen. Use this list to select items on the page. You can also select an
item on the page by clicking it, but as you overlap items, it can be difficult to select
items underneath. When you select items in the Border Items list, they are also selected
on the page.
You can double-click an item in the list to edit its properties, or select the item and click
―item properties‖ on the toolbar. Delete a selected item by clicking ―delete‖ on the
toolbar. If you want to duplicate an item, select it and click ―duplicate‖ on the toolbar.
You can only duplicate a single item at a time. You can also cut or copy a selected
item and paste from the Windows Clipboard by clicking the corresponding tools on the
toolbar.
The order of the items in the Border Items list is important. The first item in the list is on the
bottom of the layer stack. The last item in the list is the top layer. You can change an
item’s position in the layer stack by selecting the layer and using the Order tool. See the
Order Tool
section for information on layer order
.
To help you set the position and size of objects, the bottom of the Border Items column
displays the coordinates of your mouse pointer. You can also view the size and position
of a selected object.
Adding Photo Placeholders
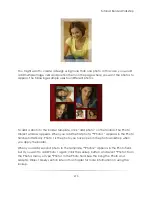
When creating border templates, you need a placeholder for one or more photos. You
add photo placeholders to the border template in the position where you want a
photo to appear. These photo placeholders are called image cells. In most cases, you
will probably have only one image cell because the border is designed for only one
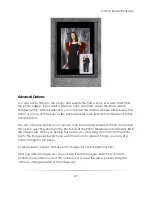
photo. The example below is a single photo with a simple border overlay.
Summary of Contents for Studio Solution
Page 1: ...User Guide ...
Page 366: ...Index 366 Zoom 296 ...

