Using: Border Workshop
210
Viewing in the Border Workshop
Viewing Front or Back
Borders can have both a front and back. The back of a border is often used for
information and identification, but can be as complex as the front.
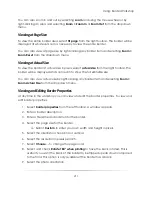
Select
Front
or
Back
from the top left of the software to view and edit the front or back
of your border. A • will appear to indicate which side you are currently viewing.
If your border does not have a back, you can select
Back
to create one.
Selecting Items
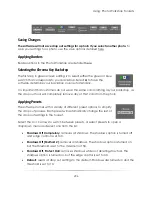
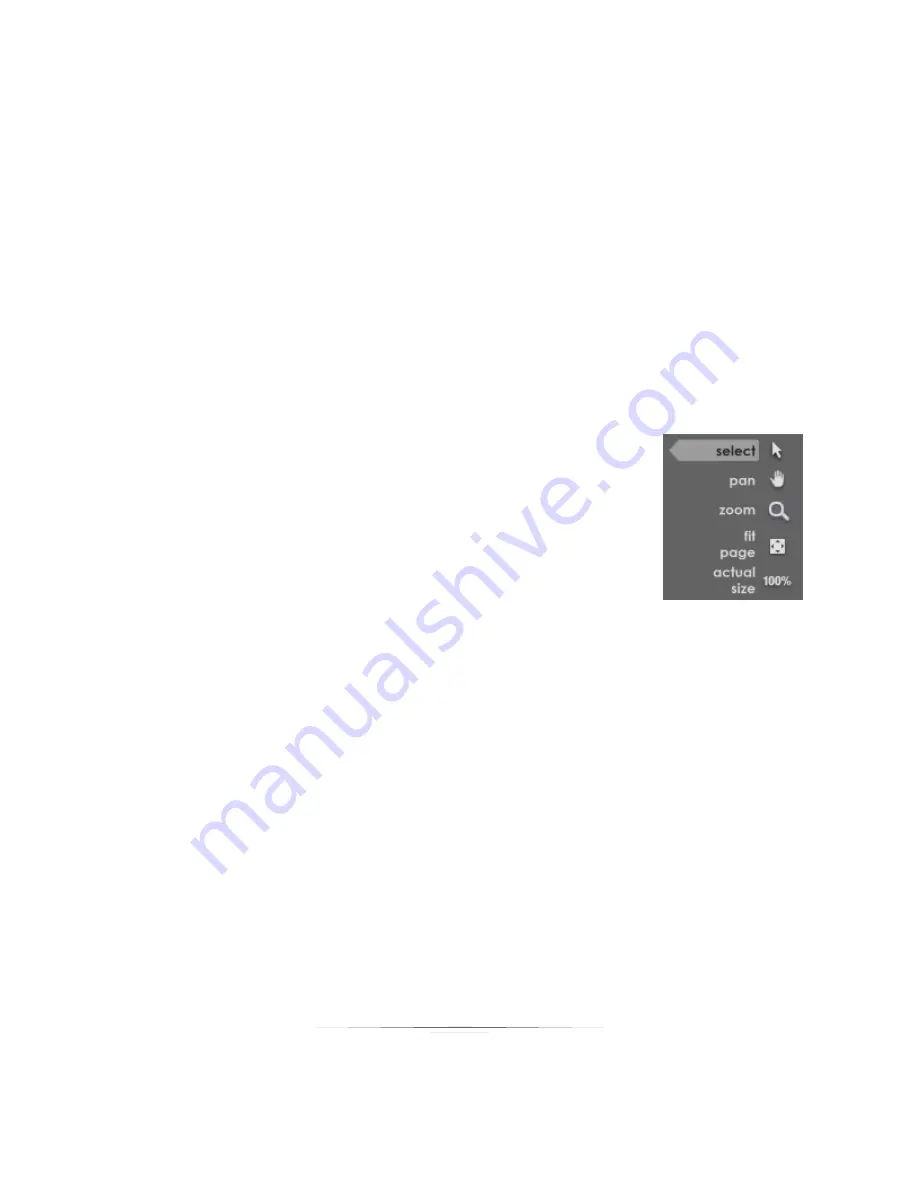
To select items in the workspace, choose
select
from the right
toolbar. You can now click and right-click on items in the
workspace.
Select and drag an item to move it around the workspace.
Select and drag edges of the item to stretch it.
Use the mouse wheel to resize the object with the same
proportions.
Panning within the Border
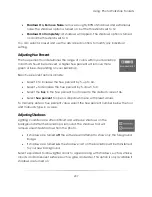
To use pan mode, select
Pan
from the right toolbar. Panning is quickly moving and
viewing by clicking and dragging an area in the direction you want to move it. This is a
viewing option and will not actually move the border.
You cannot select items while
panning.
Zooming In
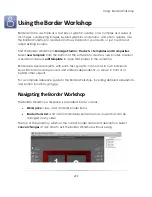
To zoom in on areas of the border, select
zoom
from the right toolbar.
Left-click on an area of the border to zoom in.
Right-click to zoom out.
Click and drag a box around an area to zoom in and fill the workspace with that
area.
Summary of Contents for Studio Solution
Page 1: ...User Guide ...
Page 366: ...Index 366 Zoom 296 ...


