Tutorial: Running a Shoot
241
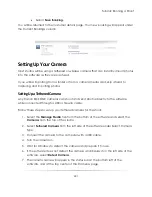
Select
Save Booking
.
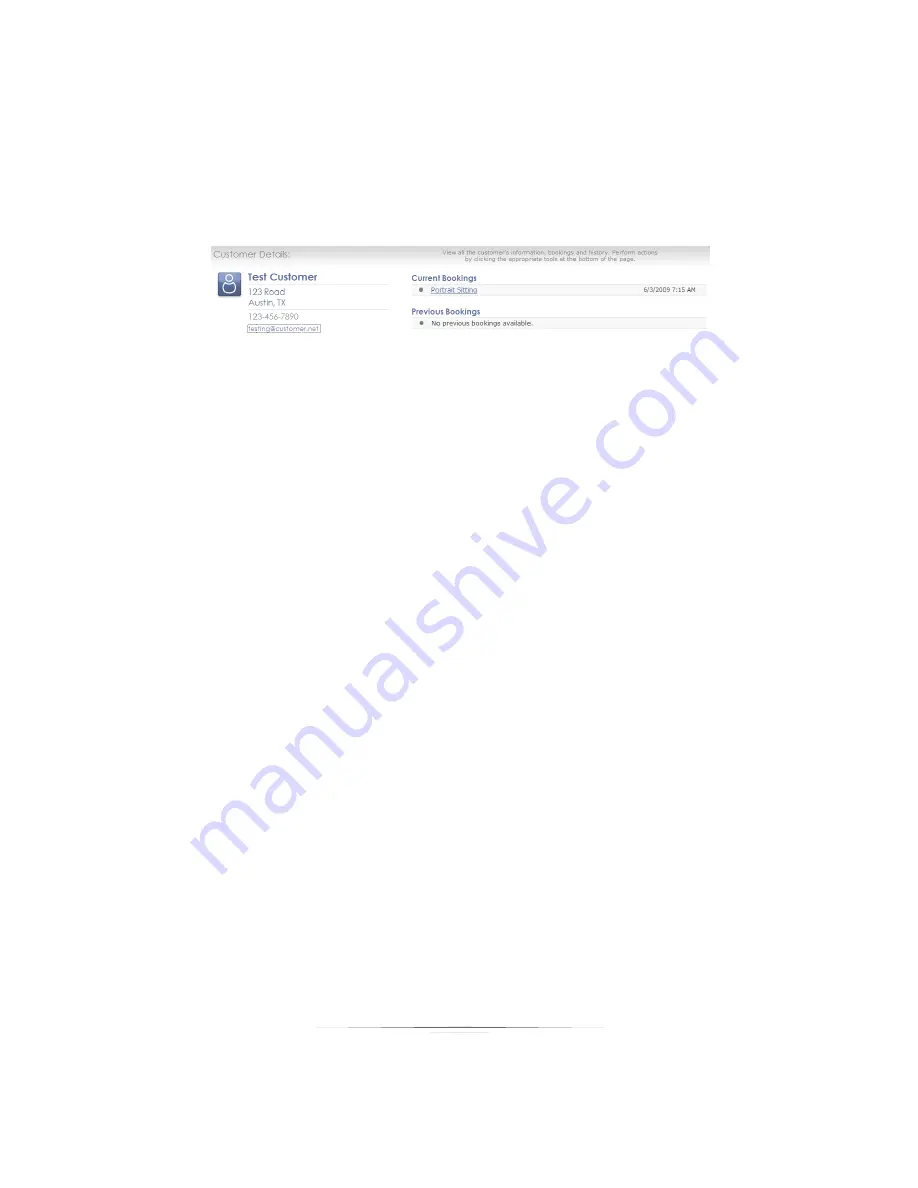
You will be returned to the customer details page. Your new booking will appear under
the Current Bookings column.
Setting Up Your Camera
Most studios will be using a tethered or wireless camera that can instantly import photos
into the software as they are captured.
If you will be importing from a folder or from a camera media card, skip ahead to
capturing and importing photos.
Setting Up a Tethered Camera
Any Canon EOS DSLR cameras can shoot and send photos directly to the software
while connected through a USB or firewire cable.
Follow these steps to set up your tethered camera for the shoot:
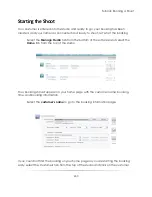
1.
Select the
Manage Studio
tab from the bottom of the software and select the
Cameras
from the top of the studio.
2.
Select
Tethered Camera
from the left side of the software under Select Camera
Type.
3.
Connect the camera to the computer with a USB cable.
4.
Turn the camera on.
5.
Wait for Windows to detect the camera and prepare it for use.
6.
If the software does not detect the camera and display it on the left side of the
software, select
Detect Camera
.
7.
The camera name will appear in the status bar at the bottom left of the
software, and at the top center of the Cameras page.
Summary of Contents for Studio Solution
Page 1: ...User Guide ...
Page 366: ...Index 366 Zoom 296 ...


