Setting Up: Your Network
59
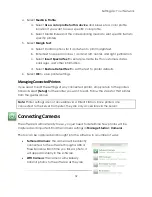
4.
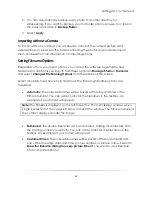
Select
Media & Profile
:
a.
Select
Use a color profile for this device
and browse to a color profile
location if you want to use a specific color profile.
b.
Select Media Rules and the corresponding media to sent specific items to
specific printers.
5.
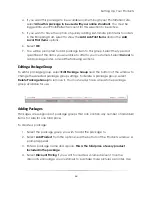
Select
Margin Text
:
a.
Select Control options for if and when to print margin text.
b.
Enter text to appear on lines 1 and 2 at left, center, and right justification.
c.
Select
Insert Special Text
to enter pre-made text for customers, dates,
packages, and other information.
d.
Select
Restore Default Text
to set the text to printer defaults.
6.
Select
OK
to save printer settings.
Managing Connected Printers
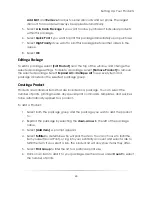
If you need to edit the settings of any connected printer, simply return to the printers
tab and select
[Setup]
for the printer you want to edit. Follow the steps for that printer
from the guides above.
Note:
Printer settings are not accessible via a Client Station. Since printers are
connected to the Server Computer, they are only accessible via the Server.
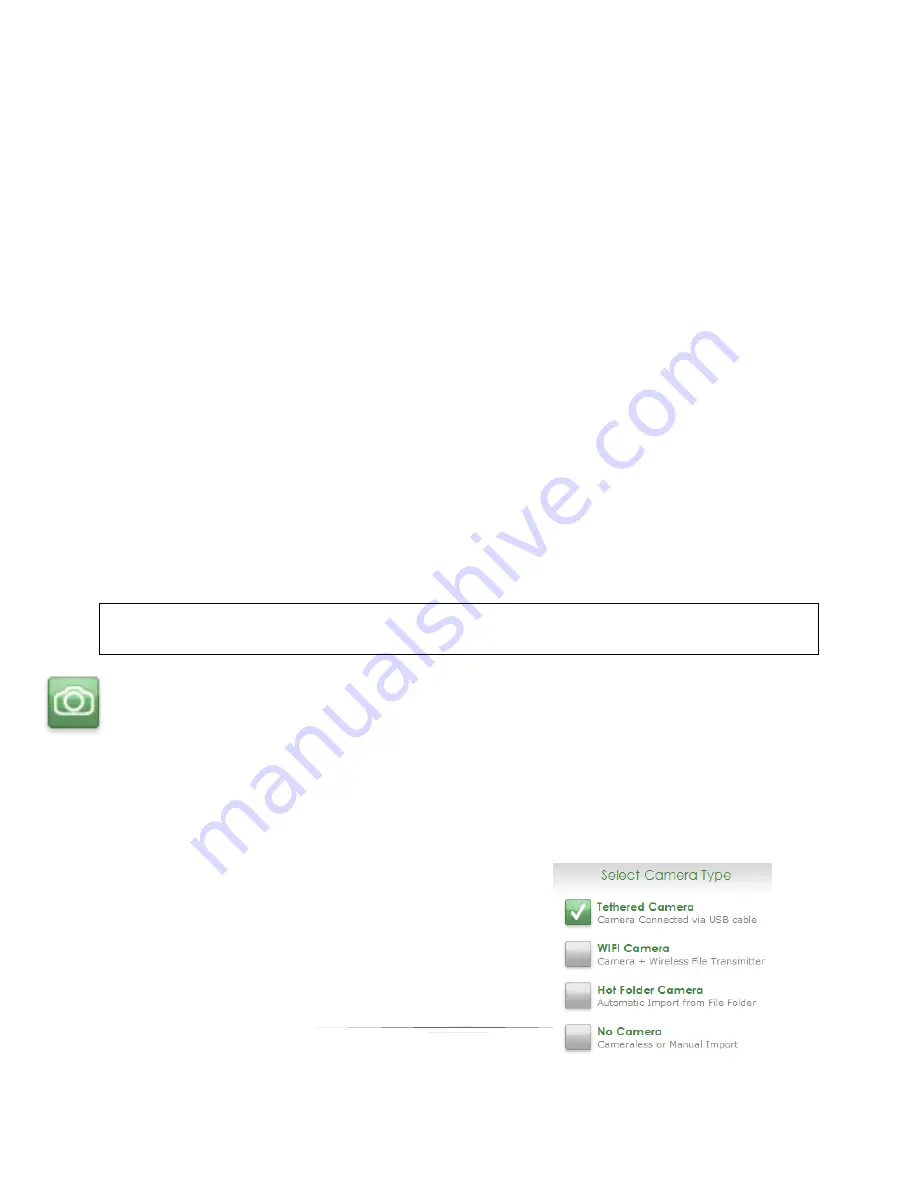
Connecting Cameras
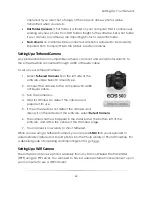
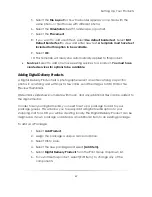
The software is almost ready to use, you just need to determine how photos will be
captured and imported. Find the camera settings in
Manage Studio > Cameras
.
Photos can be captured and brought into the software in a number of ways:
Tethered Camera
: the camera will be directly
connected to the software through a USB or
Firewire cable. Each time you take a photo, it
will appear instantly in the software.
WiFi Camera
: the camera will wirelessly
transmit photos to the software as they are
Summary of Contents for Studio Solution
Page 1: ...User Guide ...
Page 366: ...Index 366 Zoom 296 ...

