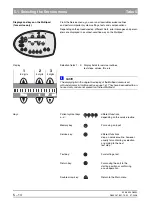
59 38 399 D3352
5 – 18
D3352.076.01.13.02
07.2008
5.3 Service routines with SIDEXIS
Tabs 5
5.3
Service routines with SIDEXIS
WARNING
Be sure to observe the radiation protection regulations applicable in
your country.
1.
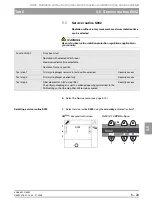
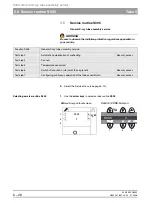
Switch the unit
ON
.
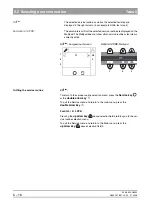
ORTHOPHOS XG
Plus
The X-Ray radiation indicator
ç
lights up briefly.
After approx. 2 s, the green LED
å
in the upper right corner of the Easypad
lights up. This LED remains permanently lit as long as the unit is ON.
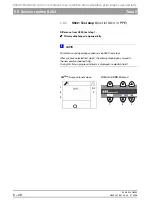
The start screen appears on the touchscreen of the Easypad and the sys-
tem’s self-adjustment routine starts running (for approx. 1 min.). At the
same time, the rotating element rotates briefly clockwise and counter-
clockwise and the diaphragm is positioned. The forehead and temple sup-
ports on the panoramic unit open and close and then stop moving in fully
opened position.
Once the self-adjustment routine is completed, the main menu appears
on the touchscreen and help message H301 prompts you to move the unit
to the starting position.
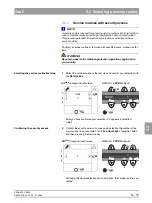
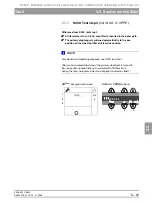
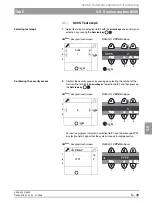
ORTHOPHOS XG 5 / 3 / 3 PPE
All LEDs and the LED display on the Multipad light up briefly.
The green LED in the upper right corner of the Multipad
å
remains perma-
nently lit as long as the unit is ON.
The initialization status is visualized by a progress indicator while the unit
performs a self-adjustment routine (approx. 1 min.). At the same time, the
rotating element rotates briefly clockwise and counterclockwise and the
diaphragm is positioned. The forehead and temple supports on the pan-
oramic unit open and close and then stop moving in fully opened position.
Once the self-adjustment routine is completed, help message H301
prompts you to move the unit to the starting position.
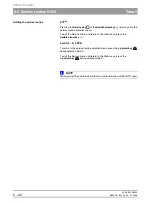
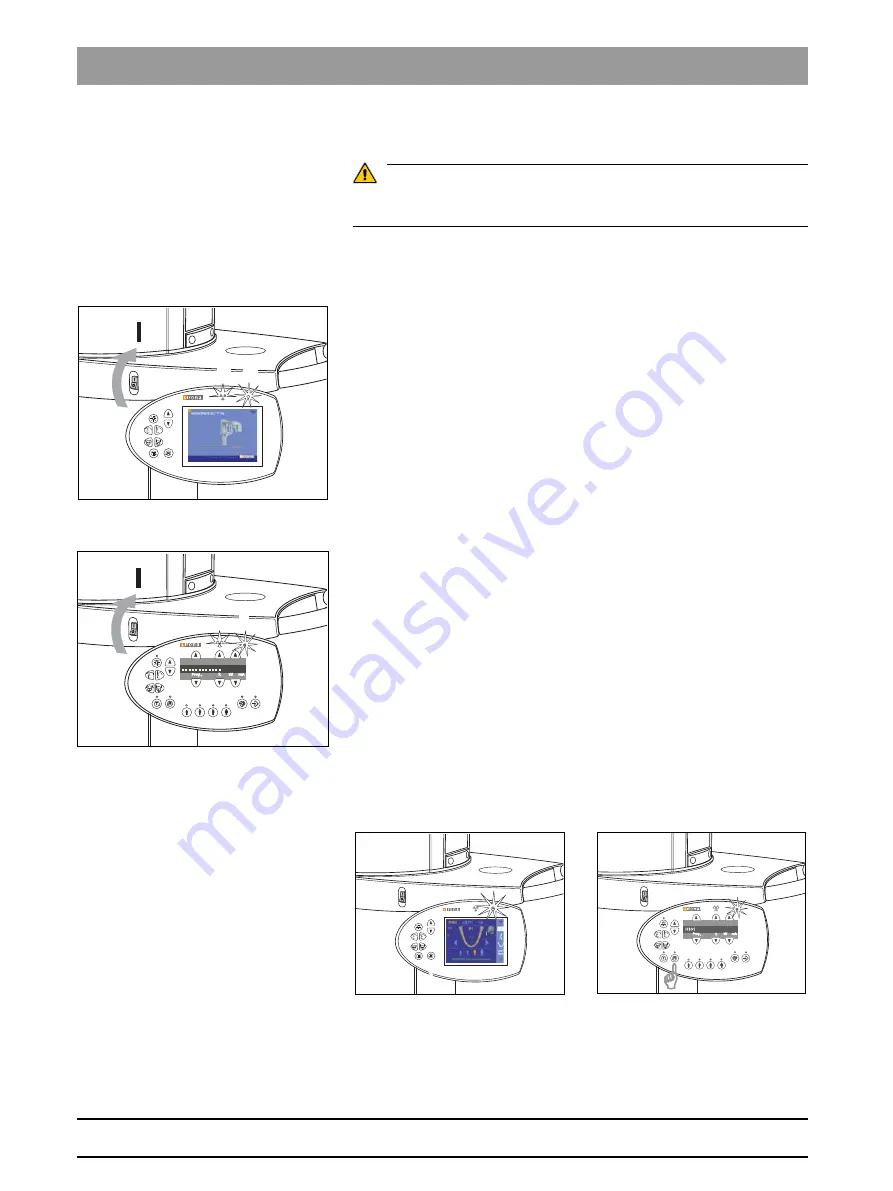
2.
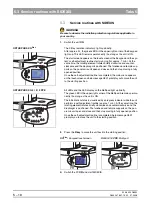
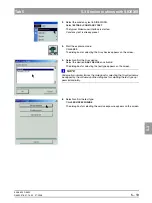
Press the
R key
to move the unit back to the starting position.
z
Switch the PC
ON
and start SIDEXIS.
o n
n
XG
Plus
:
Easypad touchscreen
XG 5 / 3 / 3 PPE
: Multipad
G
Содержание ORTHOPHOS XG 3 DS
Страница 4: ......
Страница 9: ...ORTHOPHOS XG 1General information...
Страница 12: ...59 38 399 D3352 1 4 D3352 076 01 13 02 07 2008 Tab1...
Страница 59: ...ORTHOPHOS XG 2 Messages...
Страница 124: ...59 38 399 D3352 2 66 D3352 076 01 13 02 07 2008 2 6 List of available service routines Tab 2...
Страница 125: ...ORTHOPHOS XG 3 Troubleshooting...
Страница 152: ...59 38 399 D3352 3 28 D3352 076 01 13 02 07 2008 3 10 Check data paths Generate test images Tab 3...
Страница 153: ...ORTHOPHOS XG 4 Adjustment...
Страница 268: ...59 38 399 D3352 4 116 D3352 076 01 13 02 07 2008 4 6 Resetting the adjustment XGPlus 5 3 3 PPE Tabs 4...
Страница 269: ...ORTHOPHOS XG 5 Service routines...
Страница 433: ...ORTHOPHOS XG 6 Repair...
Страница 436: ...59 38 399 D3352 6 4 D3352 076 01 13 02 07 2008 Tab6...
Страница 530: ...59 38 399 D3352 6 98 D3352 076 01 13 02 07 2008 6 21 Replacing cables Tabs 6...
Страница 531: ...ORTHOPHOS XG 7 Maintenance...
Страница 575: ...b 59 38 399 D3352 D3352 076 01 13 02 07 2008 7 45 Tab 7 7 14 Checking the device leakage current 7 14...
Страница 577: ...b 59 38 399 D3352 D3352 076 01 13 02 07 2008...


