2.3.3
2 - 7
(3) Toolbox
Contains a number of large buttons arranged vertically on
the left edge of the screen.
Buttons that are frequently used for start of measurement,
window selection, etc. are displayed here. As with the
toolbar buttons, the name of each button can be checked
by using the mouse.
(4) Status
Bar
Indicates the operational guide or instrument status located
at the bottom left corner of the screen.
The following guide is displayed with respect to mouse
pointer or cursor position.
Allowable input range for item
Description of toolbar or toolbox buttons
Description of command
For setting the instrument conditions for atomic absorption
spectrophotometer, click the necessary button to open a window,
and then display data or enter numerical values. A number of
input methods are available as described below.
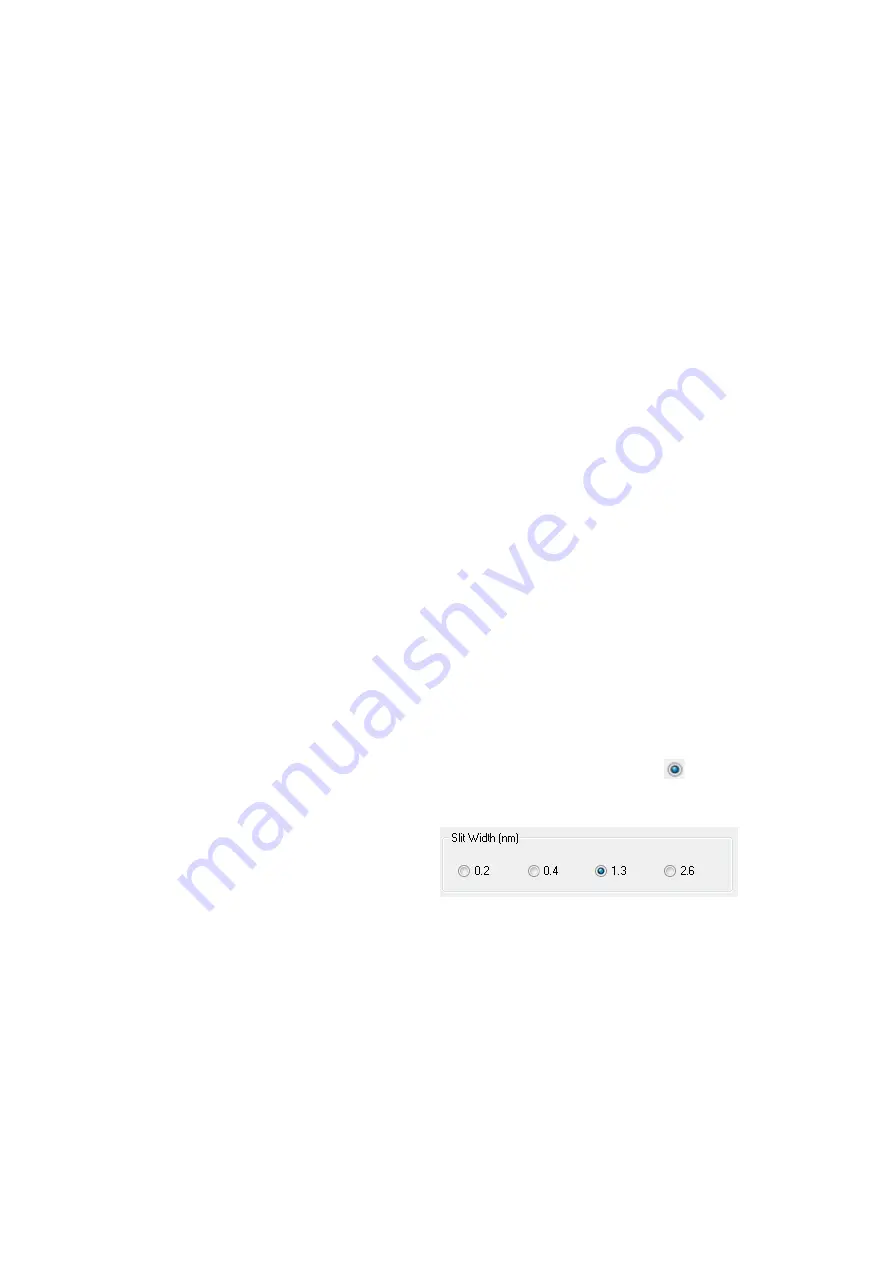
(1) Selection among Radio Buttons
Selectable items are displayed as shown in Fig. 2-9.
Among them, only one item is selected (
). To make a
change, click the circle before the desired item.
Fig. 2-9 Example of Radio Buttons
2.3.3 How to Input
Measurement
Conditions
Содержание ZA3000 Series
Страница 267: ...3 1 11 3 43 Fig 3 31 Parameter List Window Common conditions The setting of method is thus completed ...
Страница 357: ...5 5 Twin Injection 5 28 Fig 5 24 Dialog Box for Confirming Nozzle Position 7 Click Start measurement ...
Страница 423: ...9 3 5 9 11 Fig 9 14 Diagnosis Log Dialog Box ...
Страница 449: ...10 5 Reflecting on Analysis Conditions 10 24 Fig 10 16 Method Window Unmark the checkbox ...
Страница 455: ...INDEX 4 V Verify 3 34 W Working curve graph 4 1 Wavelength accuracy 9 1 ...
Страница 456: ...INSTRUCTION MANUAL 7J1 9027 000 Ver 1 February 2016 MODEL HFS 4 HYDRIDE FORMATION SYSTEM ...


