


Manual upgrade of an S8300A and G700 to R4.0
600 Installing and Upgrading the Avaya G700 Media Gateway and Avaya S8300 Media Server
Verifying media server configuration (Release 1.2 or later)
At this point, you should not have to enter any configuration information. In the following
procedure, click
Continue
to open each configuration screen and verify the that configuration
information is correct.
To verify media server configuration
1. Under Server Configuration click
Configure Server
to start the configure server process.
Click
Continue
until you reach the screen titled
Specify how you want to use this wizard
.
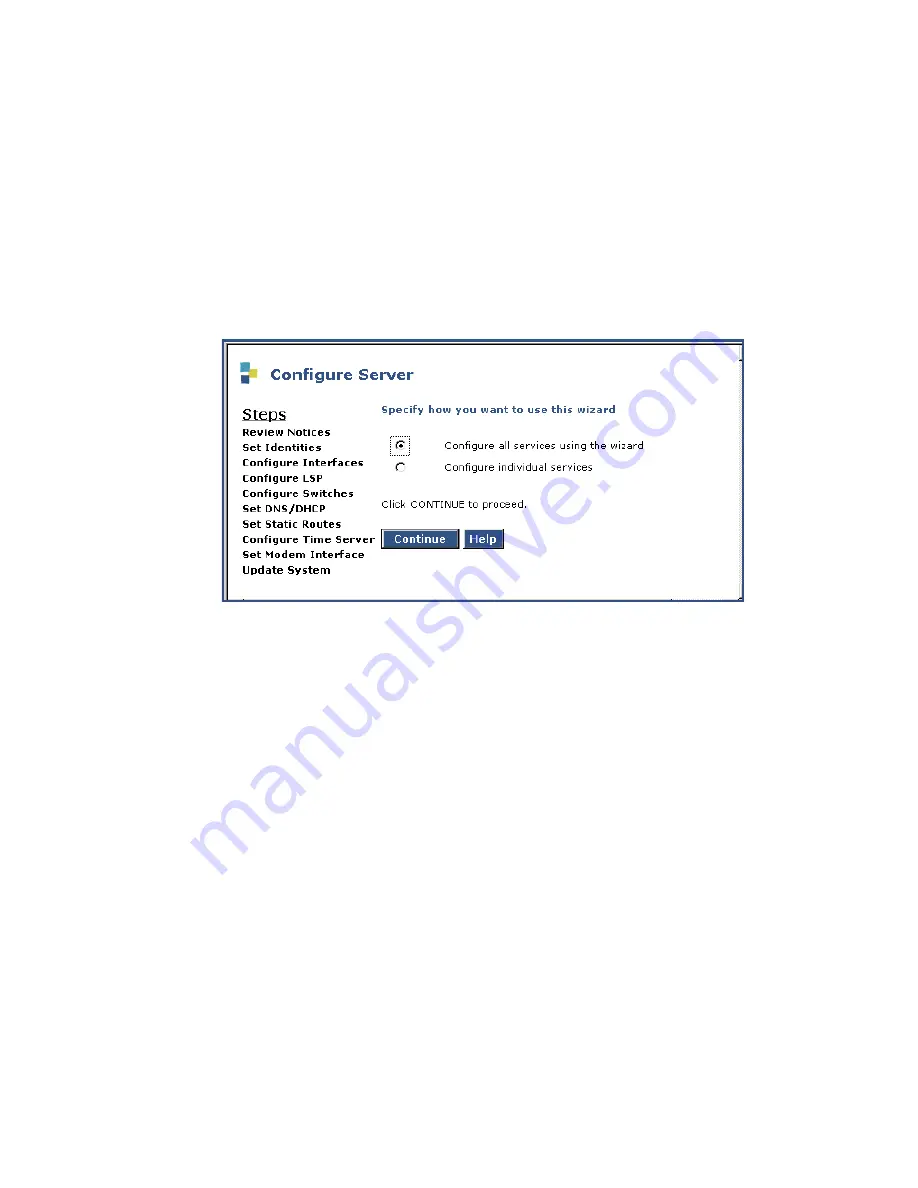
Specify how you want to use this wizard screen
2. Select
Configure all services using the wizard
.
3. Click
Continue
through all the screens.
Check for new screens and new fields on existing screens as mentioned in the planning
forms.
Note:
Note:
You must click
Continue
through all the screens whether there are changes or
not. You
do not
need to enter
Static Network Route
information.
4. Click
Continue
on the
Update System
screen.
The
Updating System Files
screen displays each configuration task as it completes. When
done, the screen displays the line
All configuration information was entered
.
5. Click
Close Window
.
6. Access the server’s command line interface using an SSH client, like PuTTY, and an IP
address of
192.11.13.6
.
7. Type
/opt/ws/drestart 1 4
to initialize the application process using the restored
configuration data.
You should see the response,
Killed
.
Summary of Contents for G700
Page 38: ...38 Installing and Upgrading the Avaya G700 Media Gateway and Avaya S8300 Media Server ...
Page 404: ...404 Installing and Upgrading the Avaya G700 Media Gateway and Avaya S8300 Media Server ...
Page 808: ...808 Installing and Upgrading the Avaya G700 Media Gateway and Avaya S8300 Media Server Index ...